Arduino Sensor Gerak PIR Untuk Otomatis Lampu Ruang Menggunakan WOKWI Tutorial DIY @tptumetro
Summary
TLDRIn this tutorial, learn how to use an Arduino and a PIR (Passive Infrared) motion sensor to create an automatic bathroom light system. The video walks you through setting up the hardware, including connecting the sensor and an LED to the Arduino. It covers the programming of the PIR sensor to detect movement and turn the light on, as well as adding a delay to keep the light on for a specified time even if the person remains still. This project offers a practical solution for automatic lighting, ideal for a damp environment like a bathroom.
Takeaways
- 😀 The PIR motion sensor detects movement but will not trigger if someone is standing still.
- 😀 To set up the PIR sensor, connect its first pin to 5V, the middle pin to a digital pin (e.g., pin 4), and the last pin to GND.
- 😀 The Arduino code reads the PIR sensor's output to detect movement using the `digitalRead()` function.
- 😀 When the PIR sensor detects movement, it will send a HIGH signal, which triggers an action (e.g., turning on the light).
- 😀 If there is no movement detected, the signal will be LOW, and the light will stay off.
- 😀 The Arduino code uses a 300ms delay to avoid rapid multiple detections of the same movement.
- 😀 The system can be modified to automatically turn on a light in the bathroom when movement is detected.
- 😀 To prevent the light from turning off too quickly when a person is still, a delay can be added to keep the light on (e.g., for 5 minutes).
- 😀 The PIR sensor and Arduino setup are great for automatic bathroom lighting, making it convenient for users with wet hands.
- 😀 You can easily adjust the delay time depending on how long a person stays still, such as in a bathroom setting.
- 😀 The system is a practical solution for bathrooms, eliminating the need to touch a switch and ensuring safety in damp environments.
Q & A
What is the purpose of using a PIR motion sensor in this project?
-The PIR motion sensor is used to detect movement, which triggers an automatic action, such as turning on or off a light. The sensor detects infrared radiation from moving objects, primarily humans.
How is the PIR sensor connected to the Arduino in this setup?
-The PIR sensor has three pins: VCC (connected to 5V), OUT (connected to a digital pin on Arduino, such as pin 4), and GND (connected to ground).
What does the Arduino code do when it detects movement?
-When movement is detected, the Arduino code reads the PIR sensor's status as high, and a message saying 'Movement Detected' is displayed on the serial monitor. If no movement is detected, it prints 'No Movement'.
Why is there a 300-millisecond delay in the code?
-The 300-millisecond delay ensures that the PIR sensor is read at intervals and reduces the risk of detecting multiple false positives or unnecessary motion events within a short span.
How does the system control the light based on the PIR sensor?
-The system uses the PIR sensor's output to control an LED light connected to pin 5. If movement is detected (PIR status is high), the light is turned on. If no movement is detected for a period (based on the delay), the light is turned off.
What happens if the user remains still for a long time, like when sitting on the toilet?
-If the person remains still for a set period (such as 5 minutes), the system assumes that the person is not moving and will automatically turn off the light to save energy.
What is the significance of the delay time for turning off the light?
-The delay time prevents the light from turning off too soon, especially when a person is not moving, like while sitting. It ensures the light stays on for a reasonable period, like when a person is in the bathroom for a while.
Can the delay time for detecting movement be adjusted?
-Yes, the delay time can be adjusted to accommodate different scenarios. For example, you can set a delay of 3 minutes or 5 minutes depending on how long the person stays still.
Why is the system useful in a bathroom setting?
-In a bathroom, the system provides hands-free operation. It turns on the light when someone enters and detects movement, and turns it off after a delay, making it convenient, especially when hands are wet and need to avoid touching light switches.
What is the role of the resistor in the circuit?
-The resistor is used to limit the current going to the LED, preventing damage to the LED and ensuring it operates safely. The specific resistor value adjusts the brightness and current flow to the LED.
Outlines

This section is available to paid users only. Please upgrade to access this part.
Upgrade NowMindmap

This section is available to paid users only. Please upgrade to access this part.
Upgrade NowKeywords

This section is available to paid users only. Please upgrade to access this part.
Upgrade NowHighlights

This section is available to paid users only. Please upgrade to access this part.
Upgrade NowTranscripts

This section is available to paid users only. Please upgrade to access this part.
Upgrade NowBrowse More Related Video
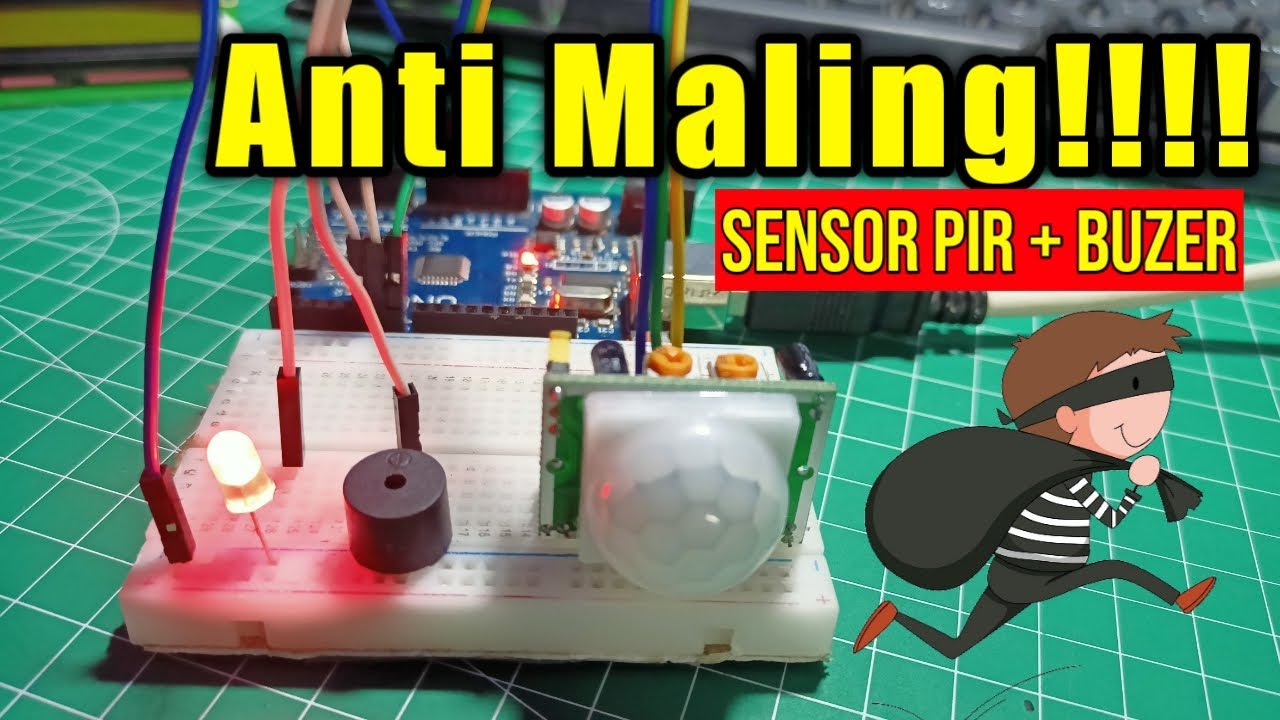
Alarm Anti Maling!!! Menggunakan Sensor PIR

Simulasi pemrograman arduino Uno menggunakan wokwi"Lampu otomatis menggunakan sensor gerak "

Automatic Lighting System with Arduino and PIR Sensor - Tinkercad Arduino Projects for Beginners
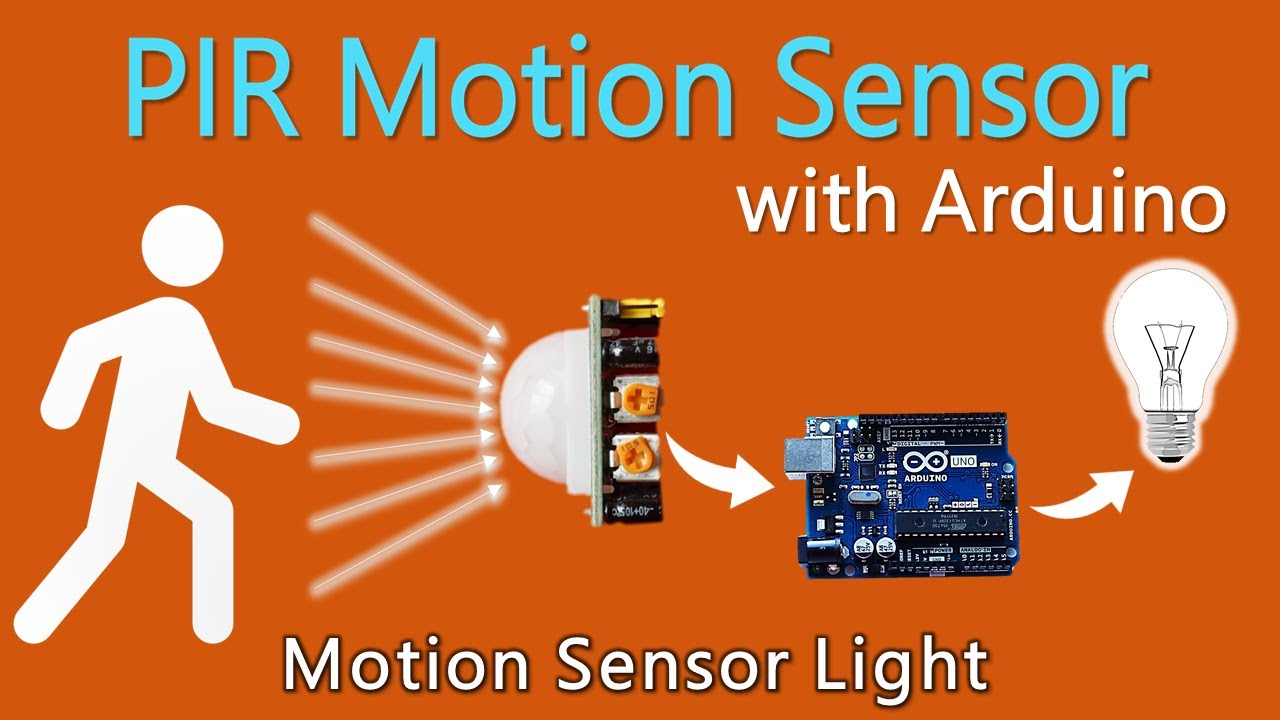
How to use PIR Motion Sensor with Arduino | Motion sensor light

Cara Membuat Tempat Sampah Pintar Otomatis Menggunakan Arduino Uno

DIY Automatic Door System with Ultrasonic Sensor & Servo Motor! 🚪🤖 (Live Demo)
5.0 / 5 (0 votes)