DIY Automatic Door System with Ultrasonic Sensor & Servo Motor! 🚪🤖 (Live Demo)
Summary
TLDRIn this video, you'll learn how to create an automatic door system using an ultrasonic sensor and a servo motor with Arduino. The system detects approaching objects and opens the door when within 30 cm. The tutorial walks through connecting the components, writing the code, and testing the setup. By integrating the ultrasonic sensor and servo motor, the door smoothly opens and closes based on the distance measured. The project is simple yet effective, offering a practical and efficient solution for automatic door systems. Ideal for those looking to combine motion detection and mechanical movement with Arduino.
Takeaways
- 😀 The project demonstrates how to build an automatic door system using an ultrasonic sensor and a servo motor with Arduino.
- 😀 The ultrasonic sensor detects objects and triggers the servo motor to open or close the door based on distance.
- 😀 Key components needed include an Arduino board, ultrasonic sensor, servo motor, jumper wires, USB cable, and a 9V battery.
- 😀 The ultrasonic sensor is connected to the Arduino using digital pins, with the trig pin to D11 and the eco pin to D10.
- 😀 The servo motor is connected to pin 3 on the Arduino for controlling the door's opening and closing mechanism.
- 😀 The code includes a function to measure distance using the ultrasonic sensor and another function to control smooth servo movement.
- 😀 The servo motor opens the door when an object is detected within 30 cm and closes it after 3 seconds of no detection.
- 😀 The code also includes debugging functionality through a serial monitor to display the measured distance.
- 😀 To run the project independently of a computer, a 9V battery and DC connector are used to power the Arduino.
- 😀 The final setup involves placing the servo motor in a cardboard door structure, ensuring the ultrasonic sensor is at the proper height.
- 😀 The system successfully detects objects, opens the door when you approach, and closes it when you move away, making it efficient and smart.
Q & A
What is the primary purpose of the automatic door system in the project?
-The primary purpose of the system is to automatically open and close a door when motion is detected using an ultrasonic sensor and a servo motor controlled by an Arduino board.
What components are needed for this project?
-You will need an Arduino board, an ultrasonic sensor, a servo motor, jumper wires, a USB cable for uploading code, and a battery to power the system.
How does the ultrasonic sensor detect motion or objects?
-The ultrasonic sensor measures distance by sending out sound waves from the trigger pin and receiving the reflected waves at the echo pin. It calculates the distance based on the time it takes for the sound waves to return.
What does the servo motor do in this project?
-The servo motor controls the movement of the door, opening it when an object is detected within a certain distance (30 cm) and closing it when the object is no longer within range.
Why is smooth movement important for the servo motor in this project?
-Smooth movement is important to avoid jerky door openings and closings. The system gradually moves the servo to its target position in small steps, ensuring the door operates more smoothly and realistically.
What programming language is used to code the Arduino in this project?
-The Arduino is programmed using the Arduino IDE and C++-based code specifically designed for controlling hardware components like the ultrasonic sensor and servo motor.
What happens if the object detected by the ultrasonic sensor is within 30 cm?
-If the object is within 30 cm, the door opens smoothly as the servo motor moves to a 90° position. After 3 seconds, the door closes automatically.
How is the door structure set up for the servo motor?
-The servo motor is installed in a cardboard door structure. When the motor rotates, it opens and closes the door, simulating an automatic door system.
What is the purpose of the 9V battery in the project?
-The 9V battery powers the Arduino board and the components when it's disconnected from the computer, allowing the system to operate independently.
How do you upload the code to the Arduino board?
-To upload the code, connect the Arduino Uno to your computer via the USB cable, select the correct board and port in the Arduino IDE, and then click the upload button to transfer the code.
Outlines

This section is available to paid users only. Please upgrade to access this part.
Upgrade NowMindmap

This section is available to paid users only. Please upgrade to access this part.
Upgrade NowKeywords

This section is available to paid users only. Please upgrade to access this part.
Upgrade NowHighlights

This section is available to paid users only. Please upgrade to access this part.
Upgrade NowTranscripts

This section is available to paid users only. Please upgrade to access this part.
Upgrade NowBrowse More Related Video
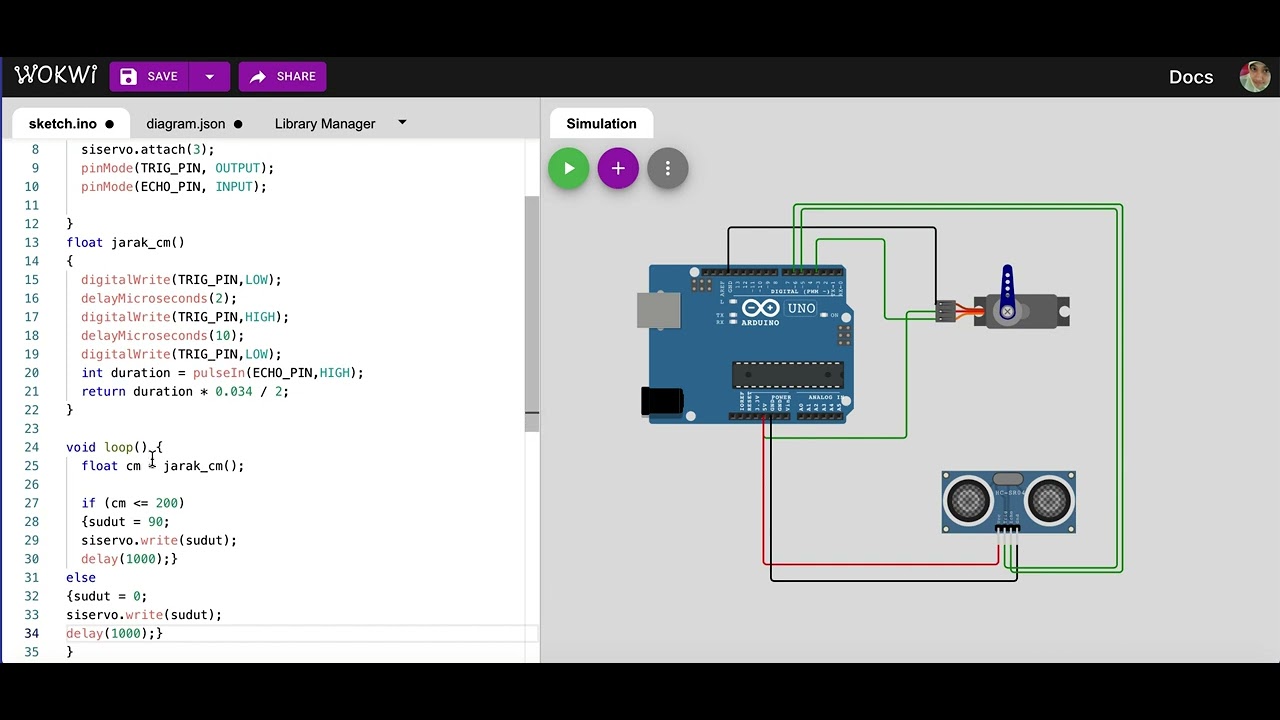
Simulasi kontrol gerakan servo dengan sensor ultrasonik | mikrokontroler arduino di wokwi.com

Project Membuat Palang pintu otomatis Jalan tol
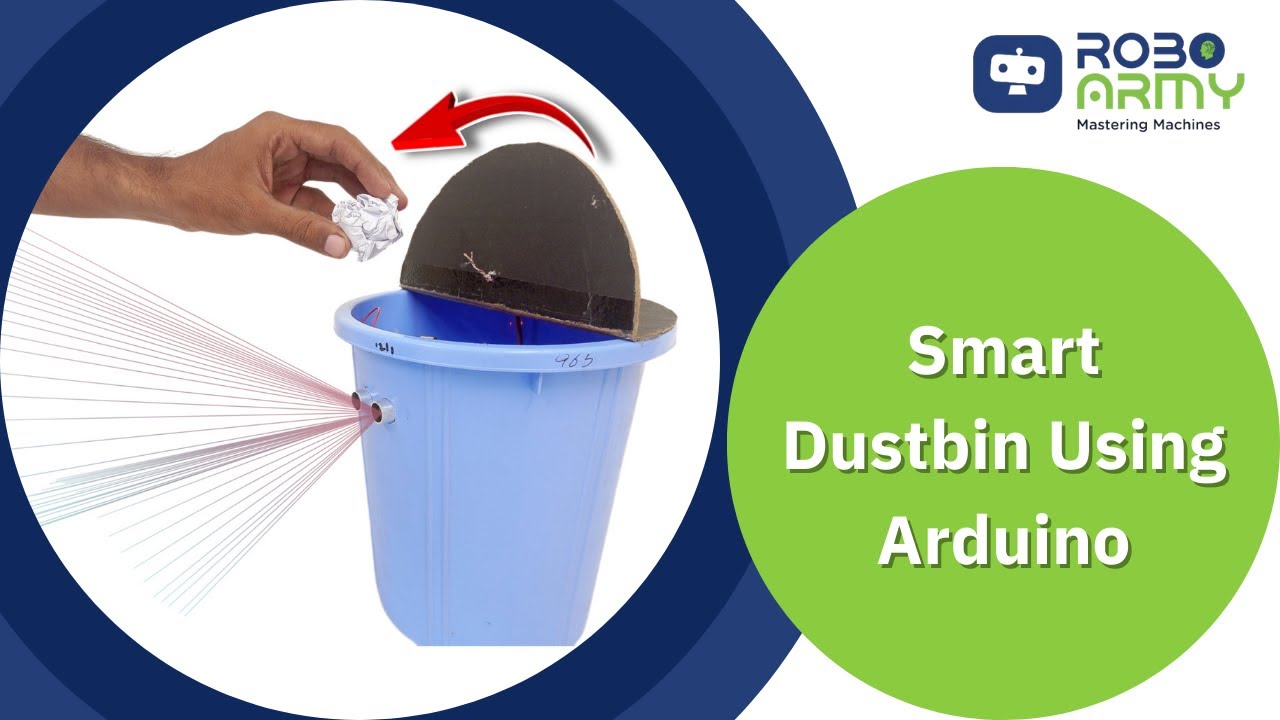
Waste Wizard: Crafting a Smart Dustbin using Arduino UNO I Robo Army I Arduino Basic
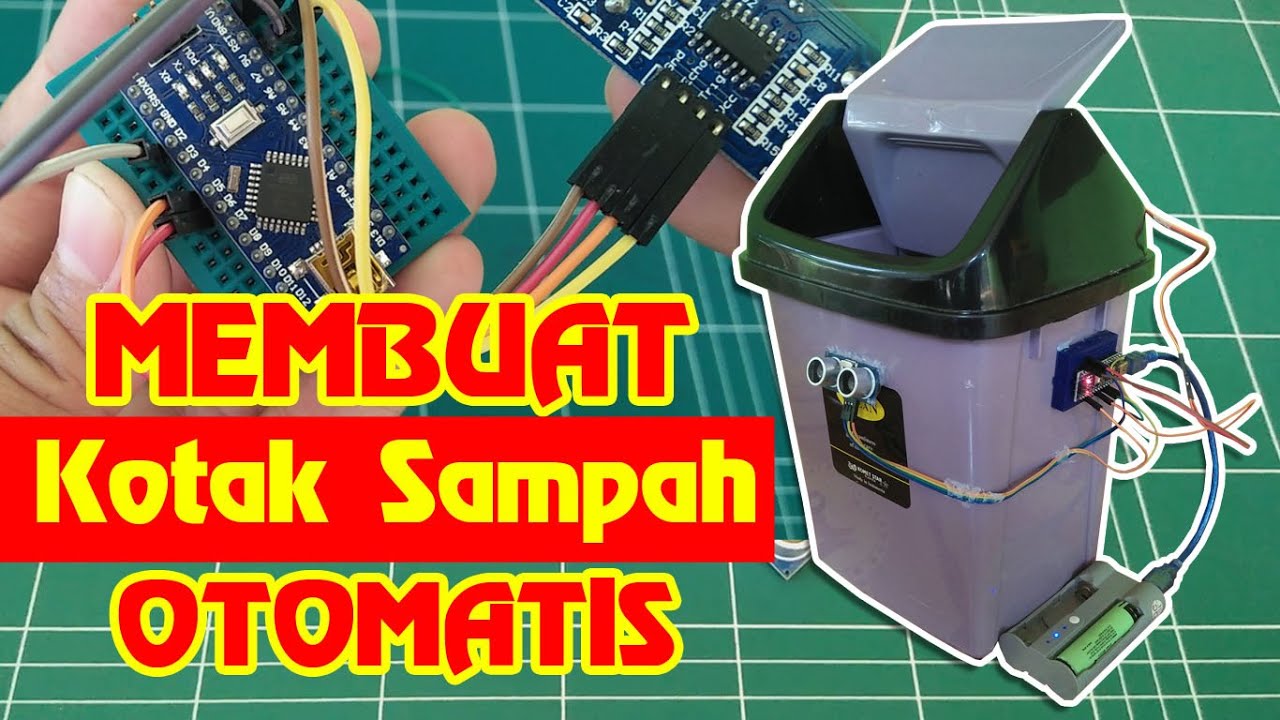
Dijamin Bisa | Membuat Kotak Sampah Otomatis

handsanitizer otomatis menggunakan arduino UNO R3 CH340. baca deskripsi ya

Membuat Pintu geser otomatis | automatic sliding door
5.0 / 5 (0 votes)