Share Internet ke Mikrotik VMware #MK2
Summary
TLDRThis tutorial explains how to share an internet connection from a computer to a Mikrotik router using VMware. The process involves selecting an Ethernet adapter connected to the internet, configuring sharing settings, and setting the correct IP address and gateway for the Mikrotik router. The guide also covers how to ensure proper routing, set up DNS, and test the internet connection by pinging Google. This method can be applied not only for VMware but also for sharing internet via LAN or Wi-Fi. The tutorial is ideal for users seeking to configure Mikrotik routers for internet sharing.
Takeaways
- 😀 To share internet from a computer using Mikrotik, you can use either a LAN or GSM modem as the source of the internet connection.
- 😀 The tutorial focuses on sharing internet via a virtual network (vmnet 1) on VMware, connecting Mikrotik to the internet.
- 😀 For successful internet sharing, you must configure your computer's Ethernet adapter to enable sharing in the properties section.
- 😀 The shared IP address generated by Windows for internet sharing is typically in the form of 192.168.137.1, which serves as the default gateway.
- 😀 The shared internet method is versatile and can be used for both LAN and Wi-Fi sharing, depending on your network setup.
- 😀 It's important to identify and set the correct IP and gateway on Mikrotik to ensure proper internet connectivity.
- 😀 Before accessing Mikrotik via VMware, ensure that the Ethernet connected to Mikrotik is disabled to avoid conflicts.
- 😀 Mikrotik should be accessed using its MAC address initially if the IP address is not set yet.
- 😀 After setting up the Mikrotik IP, check connectivity by pinging the device via CMD to confirm the connection to the shared internet.
- 😀 Configure the Mikrotik routing settings and DNS to allow internet access through Google DNS or the gateway's IP.
- 😀 The tutorial demonstrates the process with both a Mikrotik virtual machine in VMware and a physical router, showing how both can access the internet through shared computer connections.
Q & A
What is the purpose of this tutorial?
-The tutorial aims to show how to share your computer's internet connection using Mikrotik in a VMware environment.
What type of internet connection is shared in the tutorial?
-The tutorial demonstrates sharing an internet connection from a LAN network, which can also be a GSM modem or Wi-Fi connection.
Which virtual network is used for internet sharing in the tutorial?
-The virtual network used for internet sharing in the tutorial is vmnet 1, which is connected to Mikrotik in VMware.
How does the computer's internet sharing affect the IP address setup in Mikrotik?
-The computer's internet sharing automatically assigns a default IP address (192.168.137.1) to the network, which serves as the gateway for Mikrotik.
What should be done before accessing Mikrotik in VMware?
-Before accessing Mikrotik in VMware, ensure that the correct Ethernet interface is enabled and that the IP address is properly configured.
Why is it important to disable the Ethernet interface in the original Mikrotik router before accessing Mikrotik in VMware?
-Disabling the Ethernet interface in the original Mikrotik router prevents conflicts with the IP address configuration in the VMware Mikrotik instance.
How is the IP address configured for Mikrotik in VMware?
-The IP address for Mikrotik in VMware is set based on the default gateway IP, which is usually 192.168.137.1, and the class C subnet is used with an IP like 192.168.137.2.
How can you check if Mikrotik is properly connected to the shared internet?
-You can check the connection by pinging the Mikrotik IP from the command prompt (CMD) to ensure there is a stable connection.
What steps are needed to enable internet access on Mikrotik after configuring the IP?
-After configuring the IP, you need to set the routing by adding the correct gateway (e.g., 192.168.137.1), and configure DNS settings, which can either be set to Google DNS (8.8.8.8) or the gateway's DNS.
Can this setup be applied to other types of Mikrotik devices besides the VMware instance?
-Yes, the same method can be used for other Mikrotik devices, such as RouterOS, by adjusting the IP settings, gateway, and DNS according to the specific network setup.
Outlines

This section is available to paid users only. Please upgrade to access this part.
Upgrade NowMindmap

This section is available to paid users only. Please upgrade to access this part.
Upgrade NowKeywords

This section is available to paid users only. Please upgrade to access this part.
Upgrade NowHighlights

This section is available to paid users only. Please upgrade to access this part.
Upgrade NowTranscripts

This section is available to paid users only. Please upgrade to access this part.
Upgrade NowBrowse More Related Video

How to access Mikrotik router via Internet using WinBox
Belajar Mikrotik untuk pemula - Part 11/26

Cara Cepat Seting Internet dan Wireless Mikrotik hAP Lite RB941-2nd
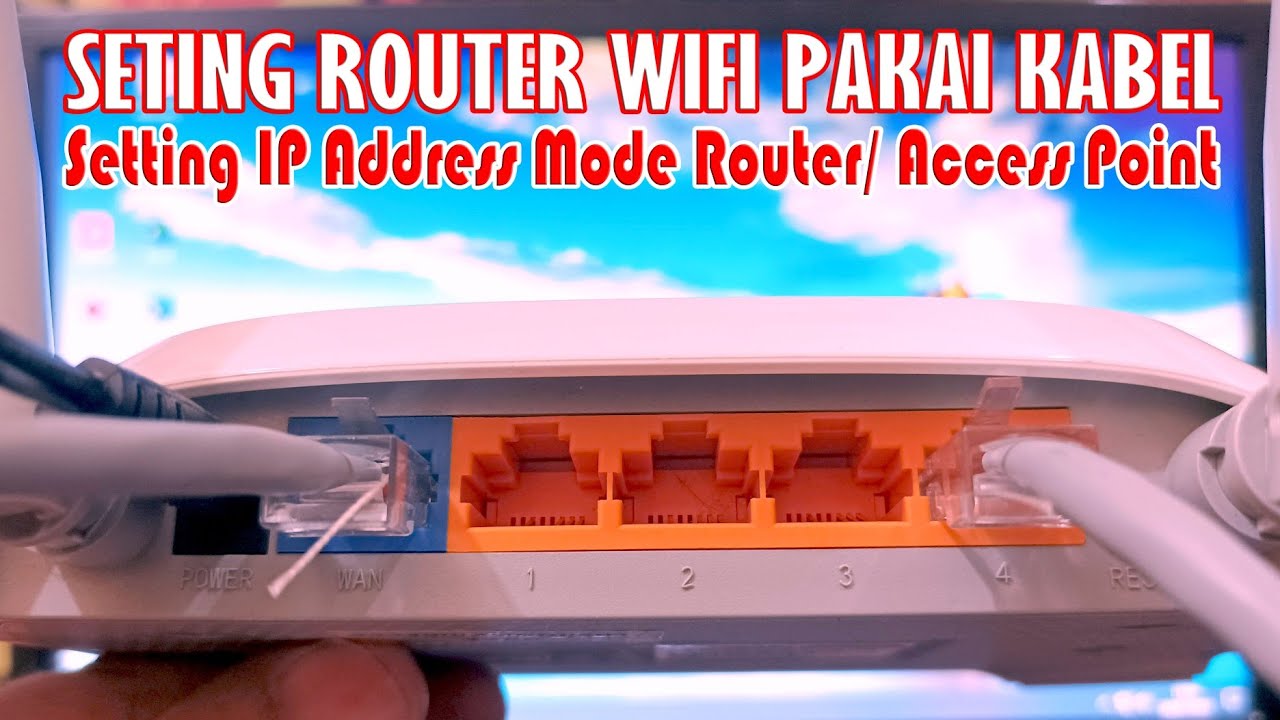
Cara Seting Router WiFi Pakai Kabel LAN || Seting IP Address Router WIFI
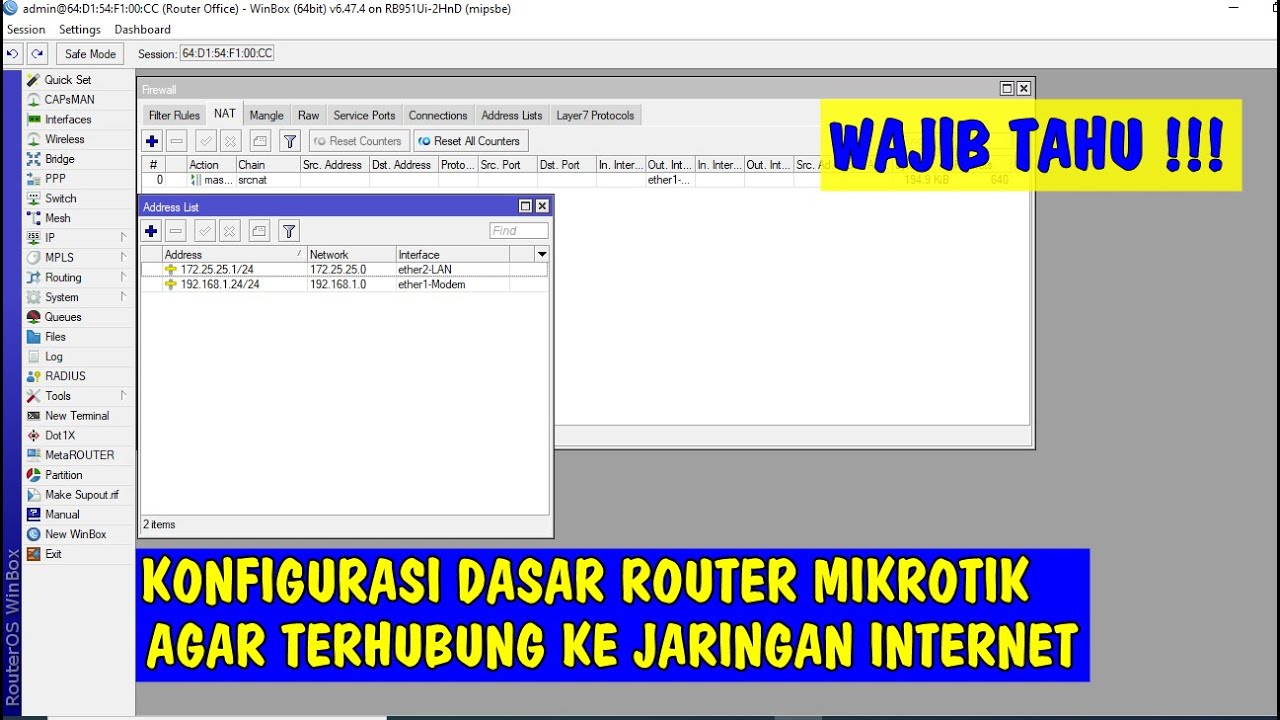
Konfigurasi Dasar Router Mikrotik agar terhubung ke Jaringan Internet

Koneksi Jaringan Lan Ke Internet Melalui Mikrotik Rb941 2Nd
5.0 / 5 (0 votes)