Belajar Mikrotik untuk pemula - Part 11/26
Summary
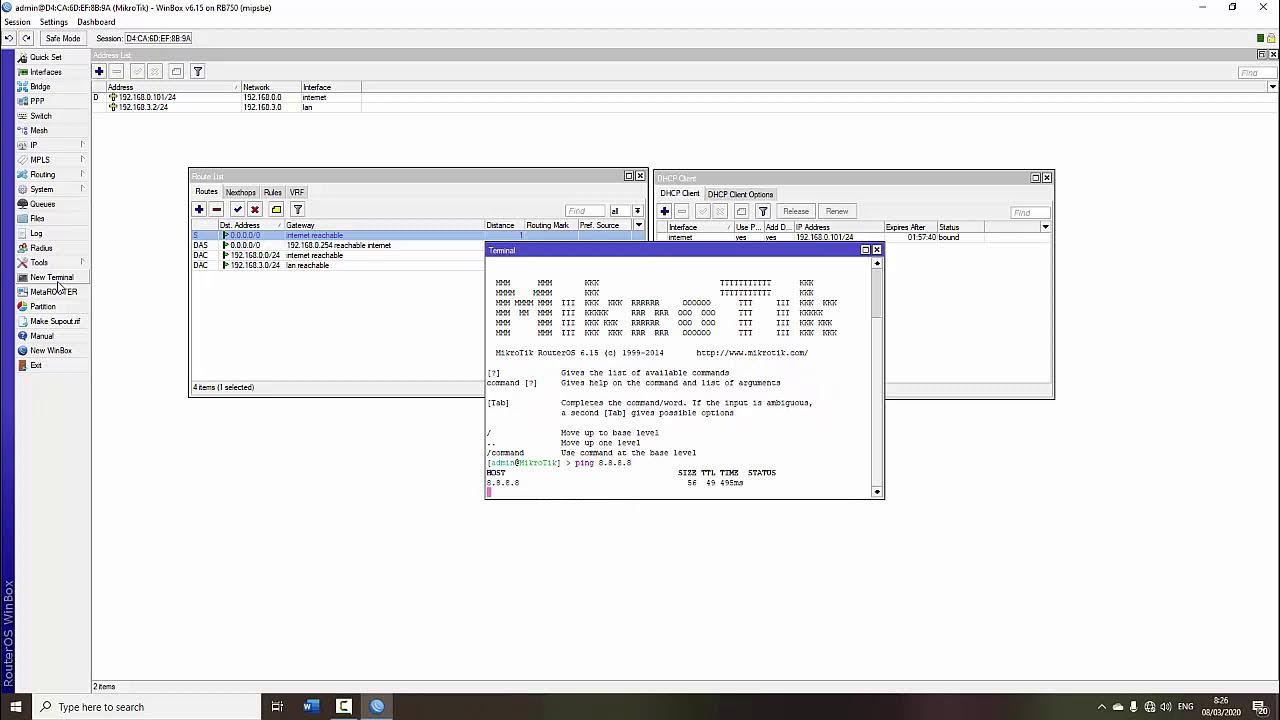
TLDRThis video tutorial demonstrates how to connect a Mikrotik router to the internet using both wireless and wired connections. The speaker explains the process of linking the Mikrotik device to a home modem, configuring DHCP settings, and setting up IP firewall NAT for proper internet access. The session covers troubleshooting techniques and provides detailed guidance for users to successfully set up their home networks. Whether using a wired Ethernet connection or a wireless setup, viewers can learn how to ensure a stable and efficient internet connection with Mikrotik routers.
Takeaways
- 😀 Ensure proper connection setup between MikroTik router and modem using either Ethernet cable or wireless.
- 😀 Use DHCP configuration to assign IP addresses to connected devices within the network.
- 😀 Configure IP firewall NAT settings to ensure proper internet routing and security.
- 😀 When using an Ethernet cable, plug the MikroTik router into the modem and configure the corresponding network settings.
- 😀 Make sure to match the IP address range of the MikroTik router and modem for proper connectivity (e.g., 192.168.1.1).
- 😀 Test the internet connection via the router’s interface, using tools like traceroute to verify the connection path.
- 😀 Adjust router settings in case of issues, including IP, DHCP, and firewall configurations to ensure a stable connection.
- 😀 If using wireless setup, ensure the MikroTik router’s Wi-Fi settings are properly configured for internet access.
- 😀 Understanding basic networking principles, like IP addresses and DHCP, is crucial for troubleshooting and maintaining a network.
- 😀 Repeatedly reviewing the steps and configurations helps reinforce learning and prevent mistakes in future setups.
Q & A
What is the main topic of the video?
-The video primarily discusses how to set up and configure a Mikrotik router to connect to an internet modem, either using a wired connection (Ethernet) or wireless connection (Wi-Fi).
What is the purpose of using a Mikrotik router in this setup?
-The Mikrotik router is used to manage the internet connection, either through a wired or wireless connection, by linking it to an existing modem at home, enabling internet access for other devices.
How can you connect a Mikrotik router to a modem using a cable?
-To connect a Mikrotik router to a modem using a cable, plug the Ethernet cable from the modem into the Mikrotik router’s Ethernet port (Ether1). You will then configure the router's settings to assign a proper IP address and enable the connection.
What is the significance of DHCP in the configuration?
-DHCP (Dynamic Host Configuration Protocol) is used to automatically assign IP addresses to devices on the network. In the context of this setup, enabling DHCP ensures that the Mikrotik router will distribute IP addresses to connected devices, making them ready to access the internet.
What role does the IP firewall NAT play in the setup?
-The IP firewall NAT (Network Address Translation) is used to allow internet traffic from local devices to access the internet via the Mikrotik router. It ensures that the local network’s private IP addresses are translated into the public IP address provided by the modem.
What is the difference between using a wired connection and a wireless connection in this setup?
-Using a wired connection requires physically connecting an Ethernet cable from the modem to the Mikrotik router. In contrast, a wireless connection allows the Mikrotik router to connect to the modem or access point wirelessly, offering more flexibility but potentially less stability compared to wired connections.
What specific settings need to be configured in the Mikrotik router for the internet connection to work?
-The key settings to configure include selecting the correct interface (Ether1 or wlan1), setting up DHCP for IP address assignment, configuring NAT in the firewall for internet access, and ensuring that the Mikrotik router is properly linked to the modem via either a wired or wireless connection.
What happens if you forget to enable the necessary settings like NAT or DHCP?
-If NAT or DHCP is not enabled, devices on the network may not be able to access the internet. Without NAT, the router won’t be able to translate internal IP addresses to the public IP, and without DHCP, devices won't automatically receive IP addresses and could fail to connect.
How do you test the internet connection after setting up the Mikrotik router?
-You can test the internet connection by performing a traceroute, which shows the path taken by the data from your network to the internet. In the script, the traceroute command is used to verify that the data is correctly routed through the Mikrotik router and out to the modem.
What should you do if the connection isn’t working as expected?
-If the connection isn’t working, double-check the physical connections (e.g., Ethernet cables), ensure the correct interface is configured (Ether1 or wlan1), verify DHCP settings are enabled, and check the NAT settings in the firewall. Additionally, ensure the modem is functioning correctly.
Outlines

This section is available to paid users only. Please upgrade to access this part.
Upgrade NowMindmap

This section is available to paid users only. Please upgrade to access this part.
Upgrade NowKeywords

This section is available to paid users only. Please upgrade to access this part.
Upgrade NowHighlights

This section is available to paid users only. Please upgrade to access this part.
Upgrade NowTranscripts

This section is available to paid users only. Please upgrade to access this part.
Upgrade NowBrowse More Related Video

TUTORIAL DASAR MIKROTIK (KONEKSI INTERNET)

Wireless Access Point vs Wi-Fi Router

Konfigurasi MikroTik DHCP Client, DHCP Server dan Static

Cara Cepat Seting Internet dan Wireless Mikrotik hAP Lite RB941-2nd

Tutorial konfigurasi dasar mikrotik beserta sharing file & sharing printer

Belajar Mikrotik untuk pemula - Part 9/26
5.0 / 5 (0 votes)