Getting Started with SketchUp Pro 2025! (BEGINNERS START HERE!)
Summary
TLDRThis tutorial provides a step-by-step guide to mastering SketchUp 2025 for beginners. It covers essential tools, from basic navigation and interface setup to creating 3D shapes and refining models. The video walks users through drawing lines, forming faces, using keyboard shortcuts, and employing the Push/Pull tool to create simple 3D structures like houses. Emphasis is placed on precision, geometry management, and efficient modeling techniques. The tutorial also highlights resources for more advanced learning and personalized assistance, making it an ideal introduction for those new to SketchUp.
Takeaways
- 😀 The tutorial focuses on getting started with SketchUp 2025, specifically the Pro version for desktop users.
- 😀 When opening SketchUp, it's important to select a template based on the units you will use for your project (e.g., architectural units).
- 😀 The 3D workspace is where all modeling takes place. You’ll be orbiting and interacting with your designs in this space.
- 😀 Toolbars in SketchUp are customizable. You can dock them to the side or let them float to optimize your workspace.
- 😀 Keyboard shortcuts are essential for efficiency. For example, press the 'L' key to activate the Line tool.
- 😀 Right-clicking in the toolbar space allows access to additional toolbars and helps you fine-tune your workspace layout.
- 😀 The Tray on the right contains essential tools for modifying materials, applying styles, and accessing object properties like entity info.
- 😀 Navigation in SketchUp is easiest with a three-button mouse with a scroll wheel. It allows smooth zooming, orbiting, and panning.
- 😀 Inferences in SketchUp help guide accurate modeling by snapping to specific directions (e.g., red, green, blue axes) when drawing lines.
- 😀 The Push/Pull tool (shortcut: 'P') is vital for turning 2D shapes into 3D models by extruding faces.
- 😀 The ability to erase or redraw edges can restore faces in your model, allowing you to heal missing geometry and keep your project intact.
Q & A
What is the purpose of the video tutorial?
-The purpose of the tutorial is to teach viewers how to create a simple 3D shape in SketchUp by starting from a flat 2D face and extruding it into a three-dimensional form.
What is the first step mentioned in the video for creating a 3D shape?
-The first step is to draw a rectangle in SketchUp using the 'Rectangle' tool to define the base of the shape.
How does the video suggest to start modifying the shape after creating the rectangle?
-After creating the rectangle, the video suggests using the 'Line' tool to connect two corners of the rectangle and then erase some of the edges to form a new face.
Why is the 'E' key mentioned in the tutorial?
-The 'E' key is used to activate the 'Eraser' tool in SketchUp, allowing users to erase unwanted edges to refine the shape.
What happens after erasing certain edges in the process?
-Erasing certain edges merges the remaining edges into a single face, which can then be extruded into 3D.
How is the extrusion process done in SketchUp?
-The extrusion process is done by selecting the 'Push/Pull' tool, pressing the 'P' key, and then clicking and dragging to extend the face into the desired 3D shape. The tutorial suggests moving it out by 15 feet as an example.
What is the significance of using the 'P' key in the process?
-The 'P' key activates the 'Push/Pull' tool, which is used to extrude the face into a 3D shape, allowing users to manipulate the form's height.
What final result does the tutorial aim to achieve?
-The final result is the creation of a simple 3D shape from a 2D rectangle by extruding it to give depth and volume.
Does the video offer additional learning resources?
-Yes, the video offers a link to a course where viewers can receive more personalized help and a step-by-step guide to learning SketchUp.
What key tool is emphasized throughout the tutorial for editing the 3D shape?
-The 'Push/Pull' tool, activated with the 'P' key, is emphasized for editing the 3D shape by extruding faces into three dimensions.
Outlines

This section is available to paid users only. Please upgrade to access this part.
Upgrade NowMindmap

This section is available to paid users only. Please upgrade to access this part.
Upgrade NowKeywords

This section is available to paid users only. Please upgrade to access this part.
Upgrade NowHighlights

This section is available to paid users only. Please upgrade to access this part.
Upgrade NowTranscripts

This section is available to paid users only. Please upgrade to access this part.
Upgrade NowBrowse More Related Video
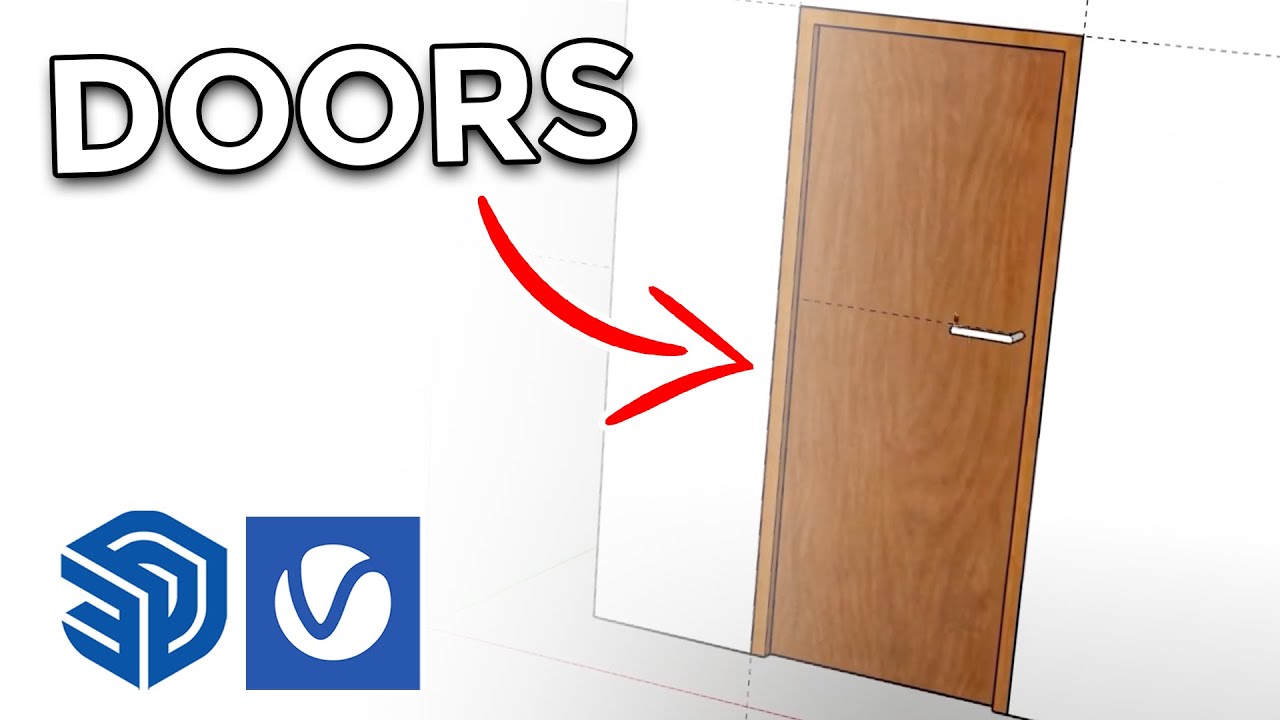
How to create Doors FAST in Sketchup

DRAWING SKIN TONES WITH COLORED PENCILS | Color Guide

Build your First AI Agent using N8N

TEKNIK DASAR PEMOTONGAN BLOCK PARAFIN MENGGUNAKAN MICROTOM LEICA RM 2235
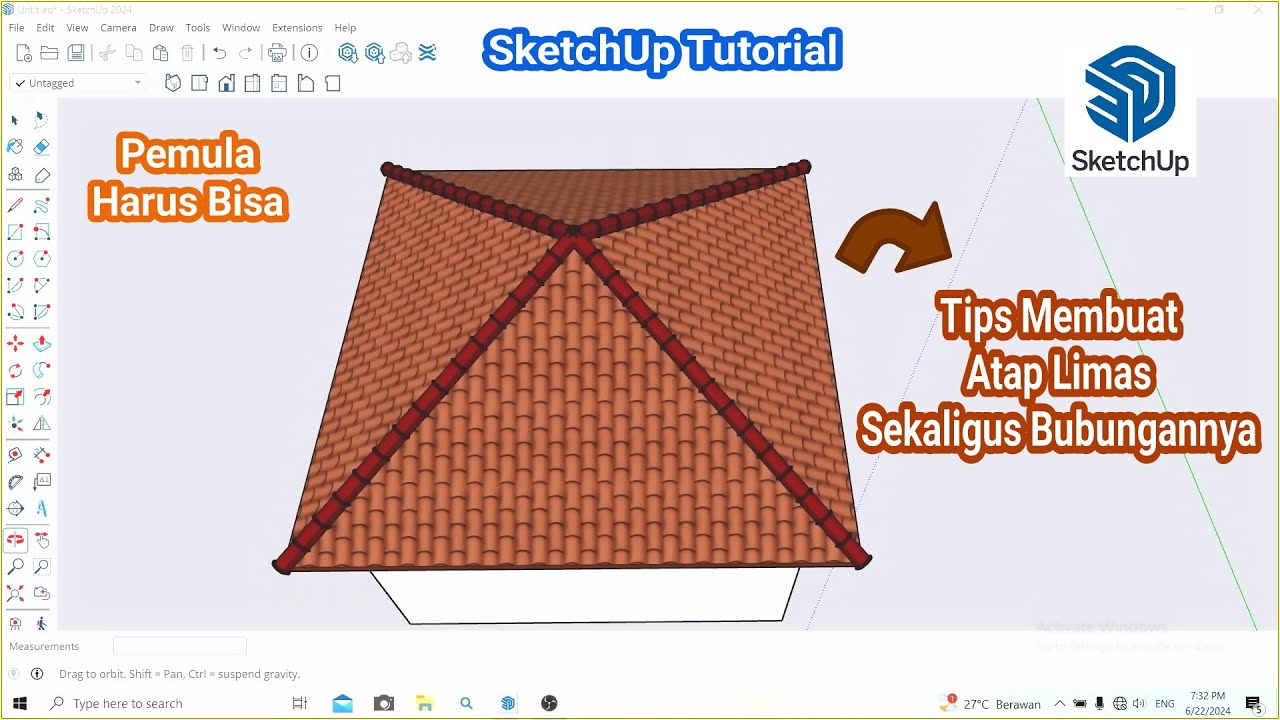
Tips Membuat Atap Limas dan Bubungan di SketchUp || Belajar SketchUp
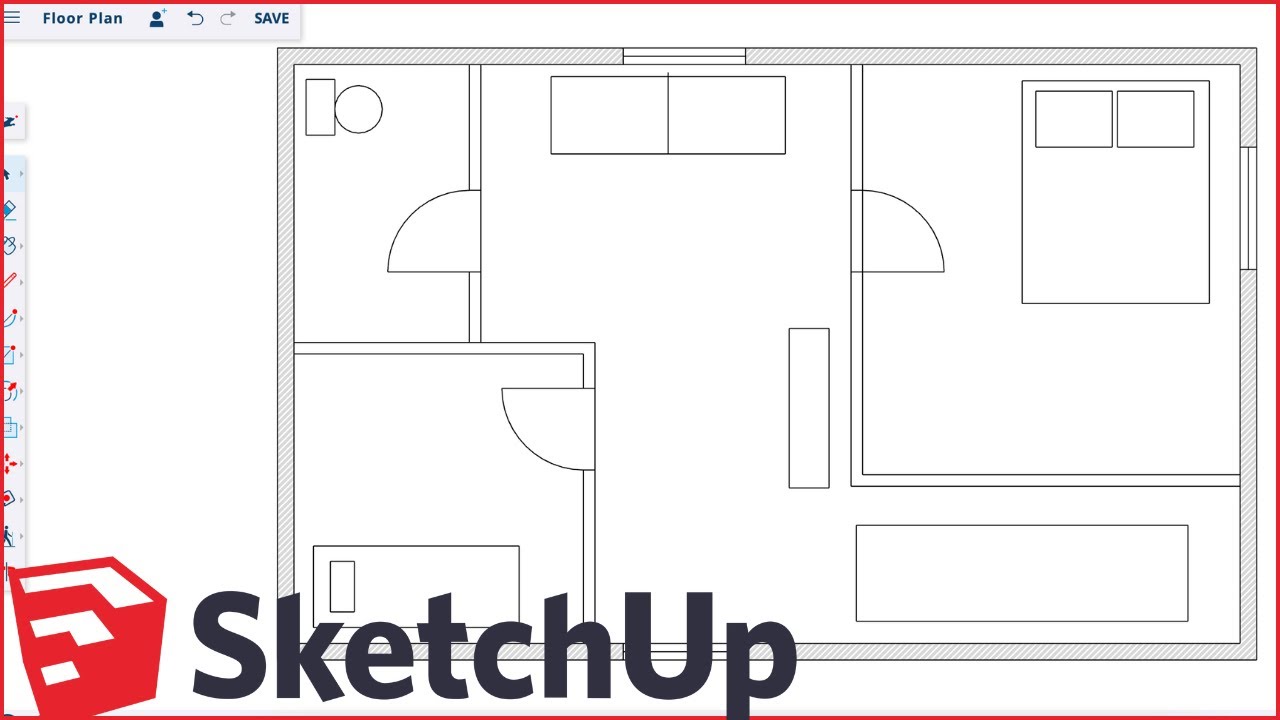
How to Make Floor Plans for Free in SketchUp
5.0 / 5 (0 votes)