Create a Donut in Blender Fast!
Summary
TLDRThis tutorial guides users through the creation of a photo-realistic donut in Blender. It covers every step, from modeling the donut using a torus and adding imperfections, to creating the icing with a smooth and solidified effect. The script also details the painting of textures, including color manipulation and the use of procedural textures for realism. Sprinkles are added using particles, followed by a deep dive into shader settings for variety and visual appeal. Finally, lighting is adjusted for a photorealistic render, completing the donut creation process with emphasis on details and creative control.
Takeaways
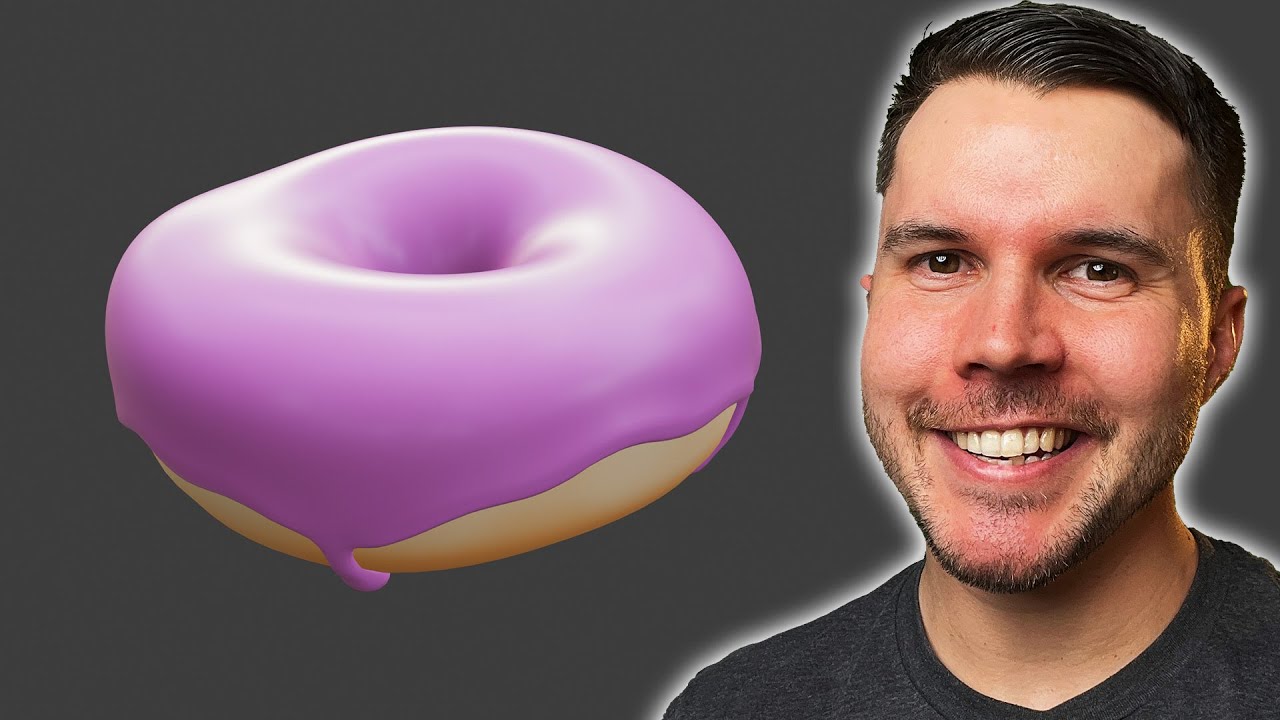
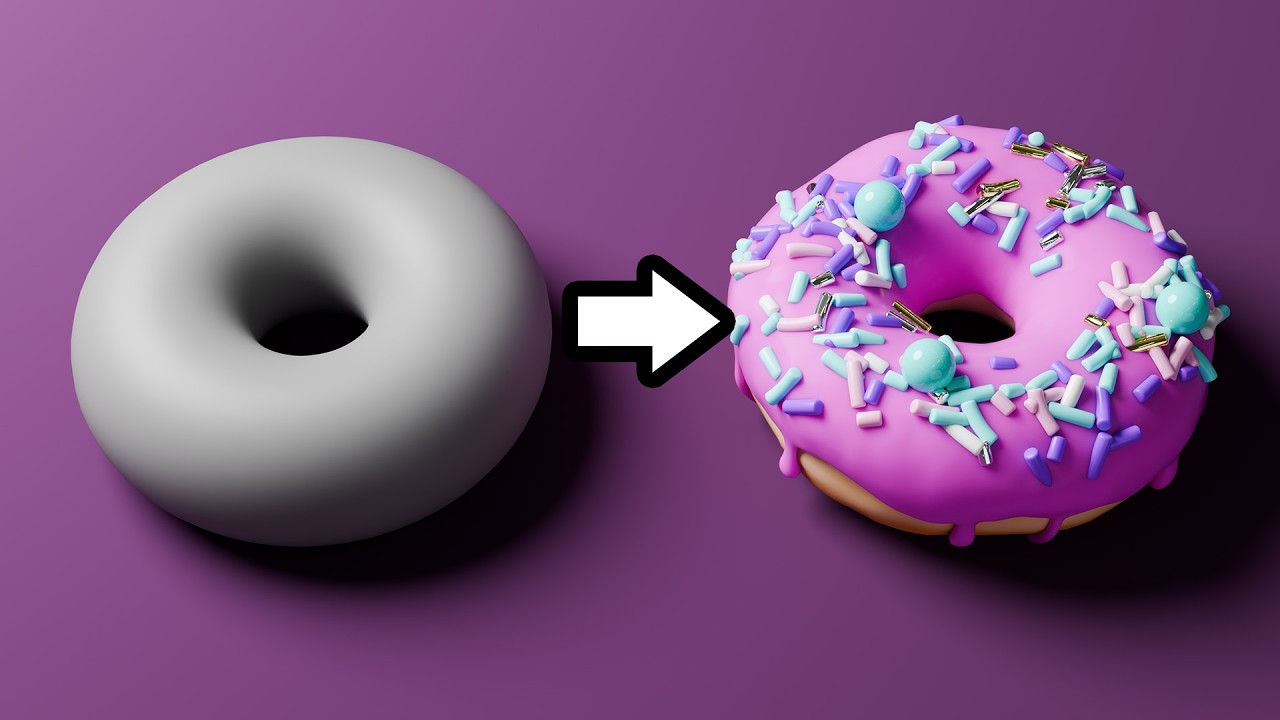
- 😀 Create a photorealistic donut using Blender by starting with a torus and modifying its shape for imperfections.
- 😀 Use the 'Subdivision Surface' modifier to smooth the donut and the 'Solidify' modifier for thickness in the icing.
- 😀 Sculpting is key for adjusting the drips of icing and making it look more realistic.
- 😀 Use UV unwrapping and texture painting to create the donut’s surface and apply a peachy, smooth texture.
- 😀 Apply procedural texturing for subtle details, using nodes like noise texture and displacement for realism.
- 😀 Sprinkles are created by modeling small spheres and distributing them using a particle system for randomness.
- 😀 The sprinkles’ color and randomness can be controlled with the 'Color Ramp' and 'Object Info' nodes.
- 😀 Properly adjust lighting settings (e.g., area light) to enhance shadows and the realism of the donut render.
- 😀 Set render settings to Cycles for photorealistic results, ensuring a high-quality render with more accurate lighting.
- 😀 Fine-tune the texture painting and materials to make the donut’s surface look realistic, with some texture variation for added depth.
Q & A
What is the first step in creating the donut in Blender?
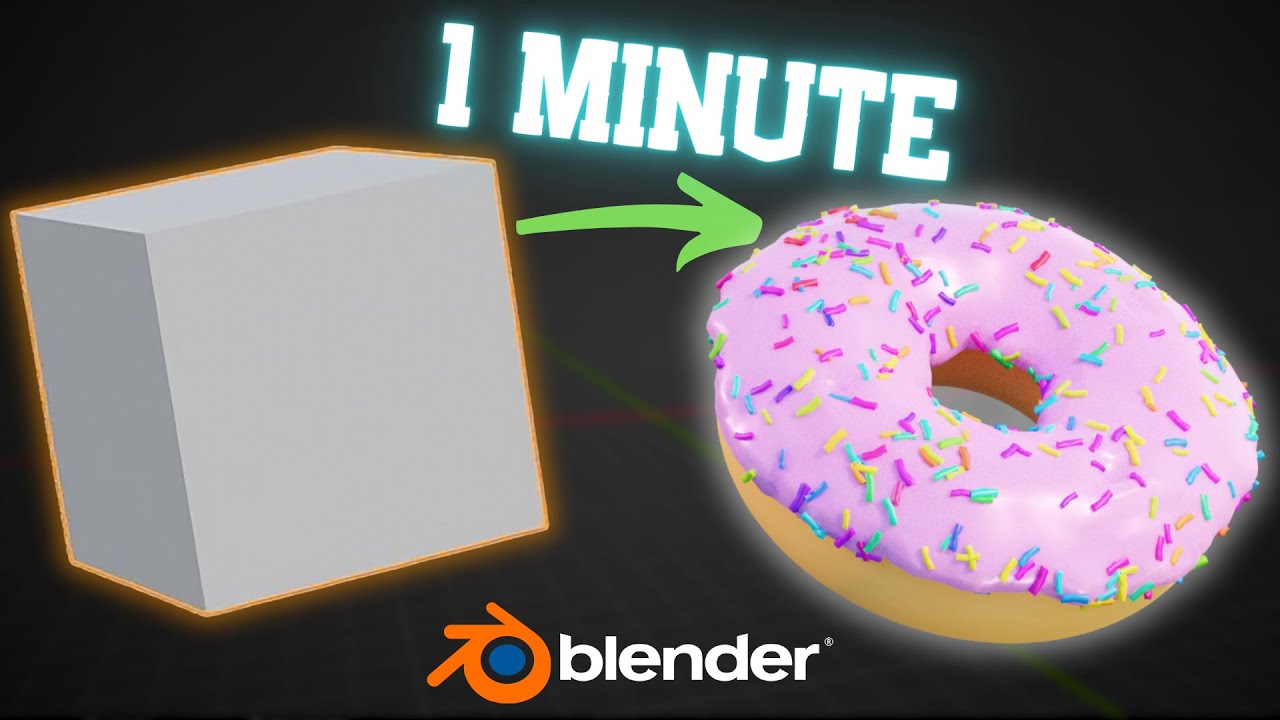
-The first step is to delete the default cube and add a torus by pressing Shift + A. Then, set the minor radius to 0.025, major radius to 0.04, and the major segments to 28.
How do you create imperfections in the donut shape?
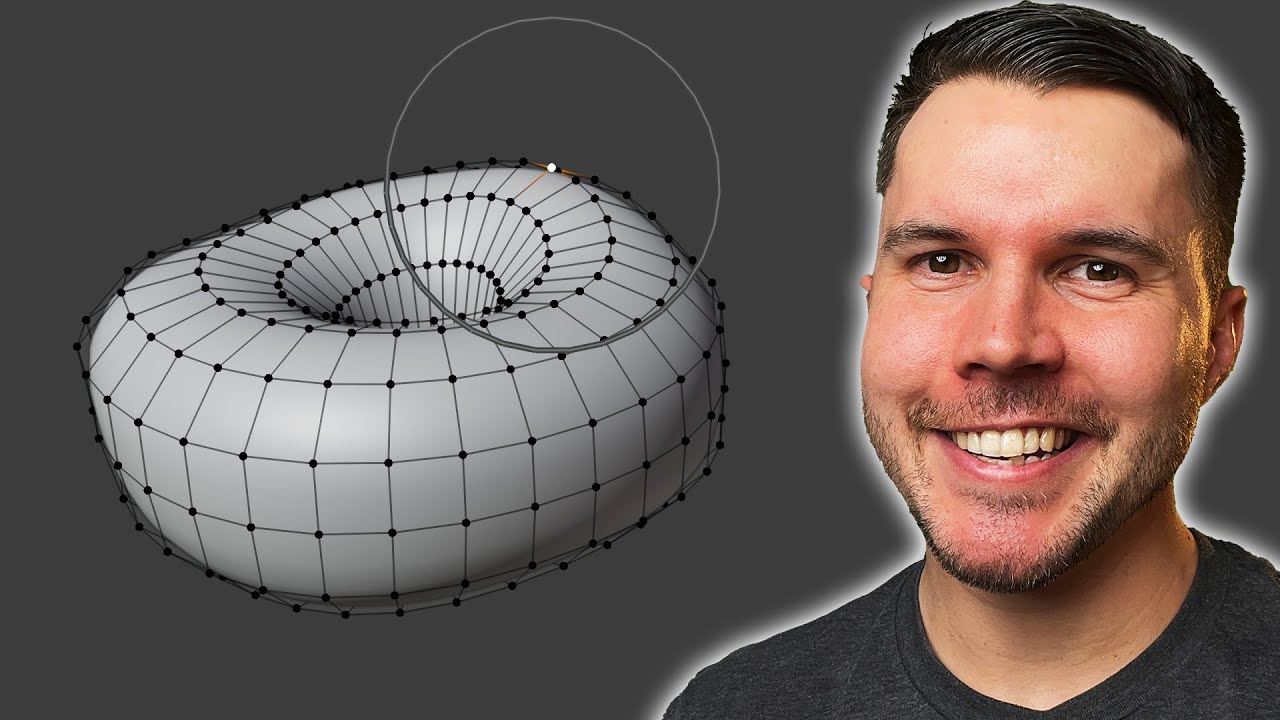
-You can create imperfections by selecting the circle (torus) in edit mode, using the move tool to manipulate the points, and moving them up, down, or inward to vary the donut's shape.
What modifiers are applied to the donut in the process?
-The modifiers applied include the subdivision surface modifier to smooth the shape and the solidify modifier to add thickness to the icing.
How is the icing created for the donut?
-The icing is created by duplicating the donut shape, applying a solidify modifier for thickness, and then sculpting it with the inflate tool in sculpt mode to create drip effects.
What role does the 'subsurface scattering' play in the material of the donut?
-Subsurface scattering is used to give the donut a more realistic, peachish color with a slightly translucent effect, making it appear like a real donut with a soft interior.
How is the texture painting process handled in Blender?
-The texture painting involves unwrapping the UVs, painting the donut texture in the 2D viewport, and saving it as an image file. The texture is then applied through an image texture node in the shading tab.
What method is used to add detail to the donut's surface?
-Procedural texture is used with a noise texture node connected to a displacement node, creating subtle bumps and surface detail for the donut.
How are the sprinkles created and added to the donut?
-The sprinkles are created by adding a UV sphere, using particle settings to emit them, and then randomly assigning colors to the sprinkles using the object info node and color ramp.
What settings are used for the sprinkles' appearance?
-The sprinkles are made with a variety of sizes (small, medium, and long), and the render settings are adjusted to control their number and distribution. The colors are randomized to make them look more natural.
What lighting adjustments are made for the final render of the donut?
-For the final render, the light type is switched to area light, and it's adjusted to cast shadows around the donut for a more realistic effect.
Outlines

This section is available to paid users only. Please upgrade to access this part.
Upgrade NowMindmap

This section is available to paid users only. Please upgrade to access this part.
Upgrade NowKeywords

This section is available to paid users only. Please upgrade to access this part.
Upgrade NowHighlights

This section is available to paid users only. Please upgrade to access this part.
Upgrade NowTranscripts

This section is available to paid users only. Please upgrade to access this part.
Upgrade NowBrowse More Related Video

Blender 3D Modeling software: Glass Perfume Bottle Tutorial
Beginner Blender 4.0 Tutorial - Part 5: Shading
Create a Donut in Blender in 1 Minute!

How to make a Character in Blender - My Full Process in 10 Minutes
Beginner Blender 4.0 Tutorial - Part 2: Basic Modelling
Blender Tutorial for Complete Beginners - Part 1
5.0 / 5 (0 votes)