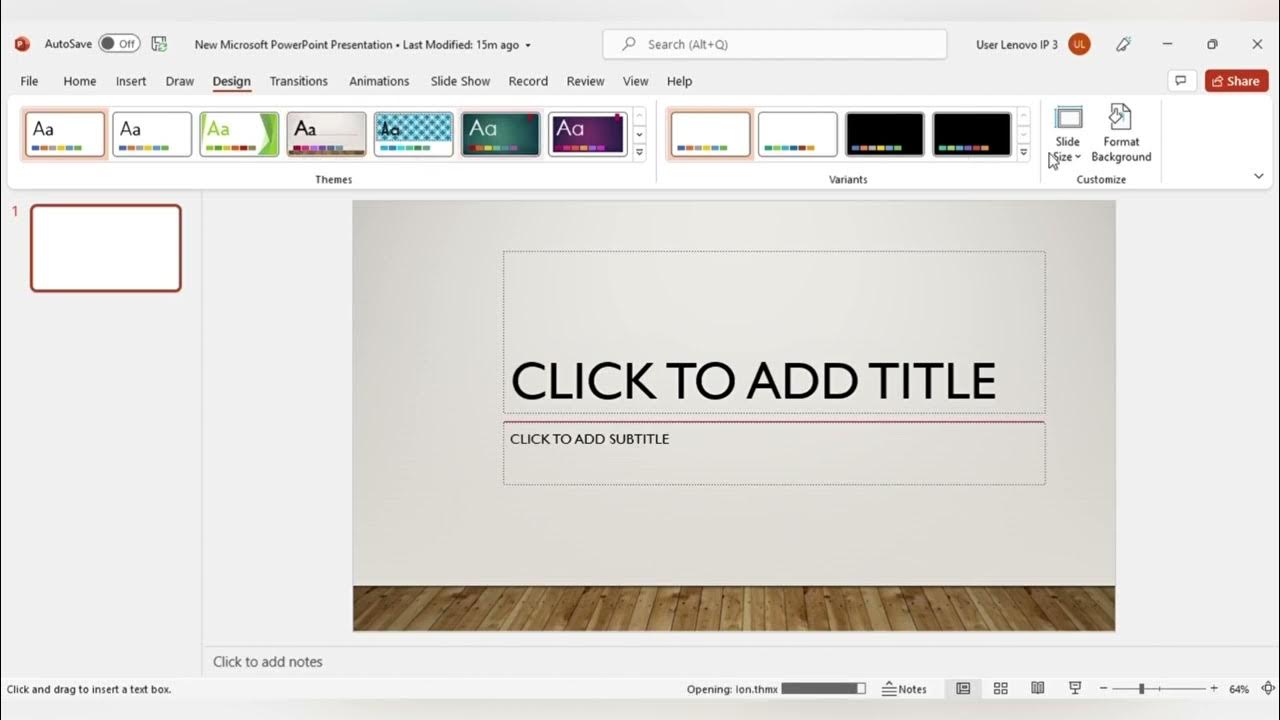
Tutorial Membuat dan Format Shapes di PowerPoint
Summary
TLDRIn this tutorial, you'll learn how to effectively use and manipulate shapes in PowerPoint to enhance your presentations. It covers inserting and formatting shapes, rotating and resizing them, adjusting their layering, and customizing their design with various effects like shadows. You'll also discover how to edit shapes using 'Edit Points,' combine or cut shapes for unique designs, and master techniques like sending shapes forward or backward in the layering order. This guide is essential for creating dynamic, visually appealing presentations that engage your audience.
Takeaways
- 😀 Learn how to insert shapes in PowerPoint by going to the Insert tab and selecting from various options.
- 😀 Hold the Shift key while resizing shapes to maintain proportional dimensions.
- 😀 Customize shapes by adjusting their fill color, outline, and shadow effects using the Format tab.
- 😀 Resize and rotate shapes easily by dragging their handles or using keyboard shortcuts.
- 😀 Rearrange the order of objects in your slide using the Send to Back and Bring to Front options.
- 😀 Modify shape dimensions using yellow handles for radius adjustments or custom shape modifications.
- 😀 Use the 'Edit Points' option to create custom shapes by adding, moving, or deleting points.
- 😀 Cut and combine shapes using the 'Merge Shapes' options like Subtract and Union for creative designs.
- 😀 Create visually appealing placeholders by combining shapes in various ways to enhance slide layouts.
- 😀 To rotate shapes precisely, use the Alt key with arrow keys for a 15-degree rotation increment.
- 😀 Practice using the 'Edit Points' feature to master creating intricate custom shapes for unique slide designs.
Q & A
What is the first step in creating a shape in PowerPoint?
-The first step is to go to the *Insert* menu, then click on *Shapes* to choose from various shape options.
How can you make a shape proportional when drawing it in PowerPoint?
-Hold down the *Shift* key while drawing the shape to ensure that its width and height are proportional, such as creating a perfect circle or square.
What options can you use to modify the color of a shape?
-You can change the color of a shape by selecting the shape, then using the *Shape Format* tab. You can pick a preset color or choose a custom color from the color options.
How do you remove the border from a shape in PowerPoint?
-To remove the border, select the shape, go to the *Shape Format* tab, and click on *No Outline*.
What is the function of the 'Edit Points' option in PowerPoint?
-'Edit Points' allows you to modify the shape by adjusting its vertices or adding and deleting points, giving you control over its design.
How can you rotate a shape in PowerPoint?
-To rotate a shape, click on the rotation handle and drag it, or use the *Alt + arrow keys* shortcut to rotate the shape in 15-degree increments.
What should you do if you want a shape to appear behind another shape?
-Right-click the shape you want to move, then choose *Send to Back* to position it behind the other shapes. You can also use *Send Backward* to move it one step back in the layering order.
How do you change the shape order when two shapes overlap?
-Right-click the shape, then choose *Bring to Front* or *Send to Back* to adjust its position relative to other shapes. You can also use the *Send Backward* and *Bring Forward* options for finer control.
What is the purpose of the 'Union' command in PowerPoint?
-The 'Union' command combines two or more shapes into a single shape. This can be accessed through the *Shape Format* tab by selecting the *Union* option after selecting the shapes.
How can you cut one shape using another shape in PowerPoint?
-To cut a shape, first select the shape you want to cut, then hold down *Shift* and click on the shape you want to use for cutting. After both shapes are selected, use the *Shape Format* tab and choose *Subtract* or another cutting tool to modify the shape.
Outlines

This section is available to paid users only. Please upgrade to access this part.
Upgrade NowMindmap

This section is available to paid users only. Please upgrade to access this part.
Upgrade NowKeywords

This section is available to paid users only. Please upgrade to access this part.
Upgrade NowHighlights

This section is available to paid users only. Please upgrade to access this part.
Upgrade NowTranscripts

This section is available to paid users only. Please upgrade to access this part.
Upgrade NowBrowse More Related Video

Cara membuat hyperlink di Power Point - Belajar power point untuk pemula

How to make a good PowerPoint slide - Easy Tutorial

MENGENAL FITUR FITUR MICROSOFT POWER POINT DAN FUNGSI FUNGSINYA (TUGAS KEL PENG APLIKASI KOMPUTER)

Design System 101: free Beginner Figma Tutorial for UIUX Designers

ChatGPT AI for Kali Linux terminal | How hackers run ChatGPT in Kali Linux Terminal? Terminal-GPT

Adobe illustrator 2021 : How to Make simple Logo Design
5.0 / 5 (0 votes)