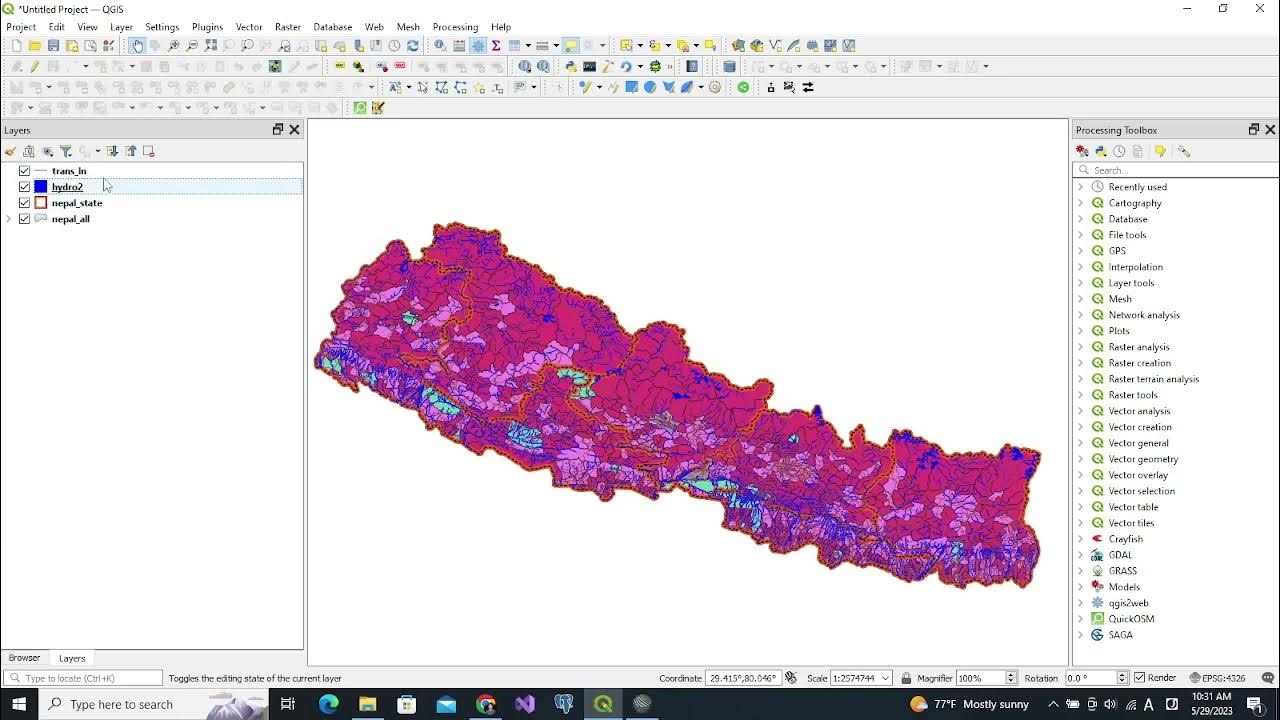
Object-based Image classification in QGIS || OBIA !! || A complete Tutorial
Summary
TLDRIn this detailed tutorial, users learn how to perform Object-Based Image Analysis (OBIA) in Quantum GIS (QGIS) using high-resolution imagery. The tutorial covers key steps such as defining classification schemes (buildings, trees, grass, roads, bare ground), creating training samples, performing image segmentation with the Orfeo Toolbox (OTB), and applying classification algorithms. The guide also demonstrates how to customize the output with color schemes, visualize classified results, and compute area statistics for each class. Perfect for those looking to enhance their GIS skills with OBIA techniques for accurate land-use classification.
Takeaways
- 😀 Create a new QGIS project and save it under an appropriate name, such as 'obr2gs'.
- 😀 Add a high-resolution raster image to the project, containing features like trees, houses, roads, and grass.
- 😀 Define the classes for classification (Buildings, Trees, Grass, Roads, Bare Ground) and assign class IDs to each one (1 to 5).
- 😀 Select at least 30 training samples for each class and assign a unique class ID to each point in the sample layer.
- 😀 Use the OBIA (Object-Based Image Analysis) toolbox to segment the raster image using the Mean Shift algorithm.
- 😀 After segmentation, adjust the symbology settings to visualize the segments in the image.
- 😀 Use the 'Zonal Statistics' tool to compute statistical parameters (mean, standard deviation, etc.) for each segmented area.
- 😀 Join the calculated statistics with the training sample data to prepare it for classification.
- 😀 Train a vector classifier using the statistical features (e.g., mean and standard deviation) for the different classes.
- 😀 Use the trained classifier to classify the image, applying categorized symbology to differentiate the classes visually.
- 😀 Calculate the area of each classified feature using the Field Calculator, and convert the area values to appropriate units (e.g., square meters, hectares).
Q & A
What is Object-Based Image Analysis (OBIA) in Quantum GIS?
-OBIA is a method for classifying images by segmenting them into objects (groups of pixels with similar characteristics) and then assigning labels to those objects based on predefined classes, such as buildings, trees, or roads.
What is the first step in performing OBIA in Quantum GIS?
-The first step is to create a new project in QGIS and save it with an appropriate name (e.g., 'obr2gs'). Afterward, the high-resolution imagery is loaded into the project.
How are the classes for image classification defined in OBIA?
-The classes are defined based on the features present in the image. In the tutorial, the classes are: Buildings, Trees, Grass, Roads, and Bare Ground. Each class is assigned a unique ID (e.g., 1 for buildings, 2 for trees).
What is the purpose of selecting training samples for OBIA?
-Training samples are selected to help the algorithm learn the characteristics of each class. These samples are marked as points in the image and assigned the class IDs to guide the classification process.
What tool is used to perform segmentation in QGIS for OBIA?
-The segmentation is done using the OTB (Orfeo Toolbox) plugin in QGIS. The 'Segmentation' tool is used with the 'Mean Shift' algorithm to segment the image into objects.
What is the role of the 'Zone Statistics' tool in OBIA?
-The 'Zone Statistics' tool computes statistical values (such as mean, standard deviation, etc.) for each segment created during the segmentation process. These statistics are then used for classifying the segments.
How do you join the statistical data with the training samples in OBIA?
-The statistical data is joined with the training samples using the 'Join Attributes by Location' tool in QGIS. This allows each sample point to be associated with its corresponding statistical features for training the classifier.
What type of classifier is used in OBIA for image classification?
-In the tutorial, the 'Train Vector Classifier' tool is used. The classification model can be trained with algorithms such as SVM, decision trees, or random forests, with the model saving the output as a '.model' file.
How is the classified output visualized in QGIS after running the vector classifier?
-The classified output is visualized by applying categorized symbology in QGIS. Different colors are assigned to each class (e.g., red for buildings, green for trees) to visually distinguish the classes in the image.
What steps are involved in calculating the area of each class in OBIA?
-After classification, the 'Dissolve' tool is used to merge features by their predicted class. Then, the Field Calculator is used to compute the area of each class in square meters (or other units) based on the projection system used in the project.
Outlines

This section is available to paid users only. Please upgrade to access this part.
Upgrade NowMindmap

This section is available to paid users only. Please upgrade to access this part.
Upgrade NowKeywords

This section is available to paid users only. Please upgrade to access this part.
Upgrade NowHighlights

This section is available to paid users only. Please upgrade to access this part.
Upgrade NowTranscripts

This section is available to paid users only. Please upgrade to access this part.
Upgrade NowBrowse More Related Video

Tutorial Geobia for ArcGIS

Cara Download Citra Resolusi Tinggi di SAS Planet 2023 | Mudah dan Cepat dengan Hasil yang Jernih

Vector GIS Data Symbology - Part 1

Tutorial Qgis | Cara Mendownload dan Menginstal Qgis | Terbaru 2022

QGIS Remote Sensing - Calculate NDVI

02_Pengenalan Menu dan Perintah Dasar QGIS
5.0 / 5 (0 votes)