COUNTER UP DOWN SHIFT REGISTER
Summary
TLDRThis tutorial explains the implementation of a seven-segment display using a shift register with an Arduino. The instructor details how to light specific segments to display numbers, starting with zero and progressing to one. Key concepts include the use of a clock signal for data transmission, input buttons for incrementing and decrementing values, and the importance of maintaining a high reset signal. The demonstration showcases how to manage the display through programming logic, allowing for dynamic updates based on user input, making it a practical guide for electronics enthusiasts.
Takeaways
- 😀 The tutorial focuses on using a shift register to control a seven-segment display with an Arduino.
- 😀 Each segment of the display is controlled by outputs from the shift register, allowing for flexible data manipulation.
- 😀 Activating segments A through G can be achieved by sending corresponding data signals from the shift register.
- 😀 The reset pin of the shift register should remain high for proper functioning during data transmission.
- 😀 The clock signal for the shift register is set to a frequency of 16, effectively doubling the standard clock speed.
- 😀 The data sent to the display can be represented numerically, with specific segments lighting up to form digits.
- 😀 The programming logic ensures that only specific segments are activated depending on the input number.
- 😀 Buttons are used to increment or decrement the displayed number, with high active voltage indicating button presses.
- 😀 The process includes a limit on the maximum count to prevent overflow, ensuring the display only shows valid digits.
- 😀 Simulations in the tutorial illustrate the functionality and response of the shift register and display system.
Q & A
What is the main focus of the tutorial?
-The tutorial focuses on using a shift register with an Arduino to control a seven-segment display for an Afghan ton counter.
How many outputs are mentioned for the seven-segment display?
-There are eight outputs (a, b, c, d, e, f, g, and DP) for the seven-segment display.
What does activating the high reset signal do?
-Activating the high reset signal keeps the reset function active, allowing the system to reset continuously.
What is the purpose of the clock signal in this context?
-The clock signal is used to synchronize the data being sent to the shift register, allowing it to correctly process and display numbers.
How does the tutorial describe sending the number zero to the display?
-To display the number zero, the outputs for segments A, B, C, D, E, F, and G are activated, while segment DP remains off.
What role do the buttons PB1 and PB2 play in the circuit?
-PB1 and PB2 are defined as input buttons for incrementing and decrementing the counter value.
What happens when the increment button is pressed?
-When the increment button is pressed, the counter value increases by one, and the display updates accordingly.
What is the significance of the variable 'X' in the program?
-The variable 'X' tracks the current count value and is used to determine what number to display on the seven-segment display.
Why is there a limitation on the maximum count value?
-The maximum count value is limited to prevent the display from exceeding the range of the seven-segment display, which typically shows numbers from 0 to 9.
What does the tutorial suggest for testing the functionality?
-The tutorial suggests simulating the process to visually verify the counter's behavior, including increments and resets.
Outlines

This section is available to paid users only. Please upgrade to access this part.
Upgrade NowMindmap

This section is available to paid users only. Please upgrade to access this part.
Upgrade NowKeywords

This section is available to paid users only. Please upgrade to access this part.
Upgrade NowHighlights

This section is available to paid users only. Please upgrade to access this part.
Upgrade NowTranscripts

This section is available to paid users only. Please upgrade to access this part.
Upgrade NowBrowse More Related Video
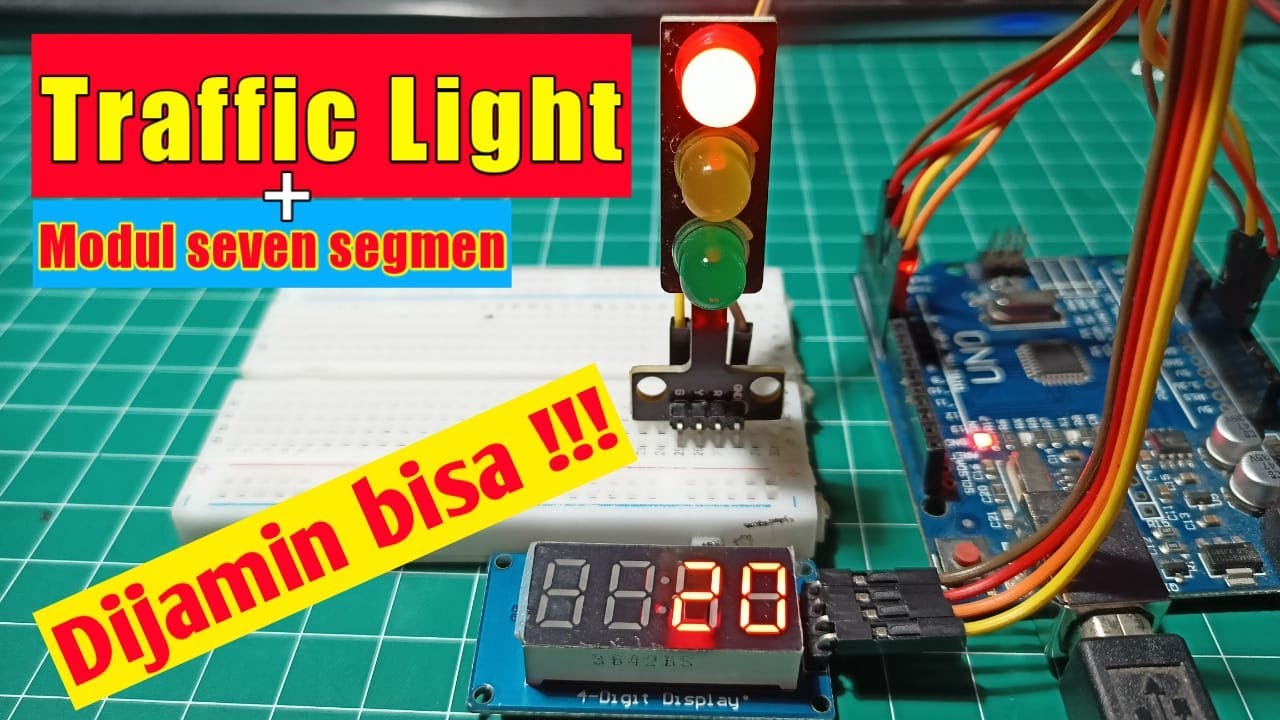
Simulasi Lampu Lalu Lintas - Arduino

8086 | XLAT Instruction | With Notes | Bharat Acharya Education

Lab5 using REVISED LCD V5 MBED Library
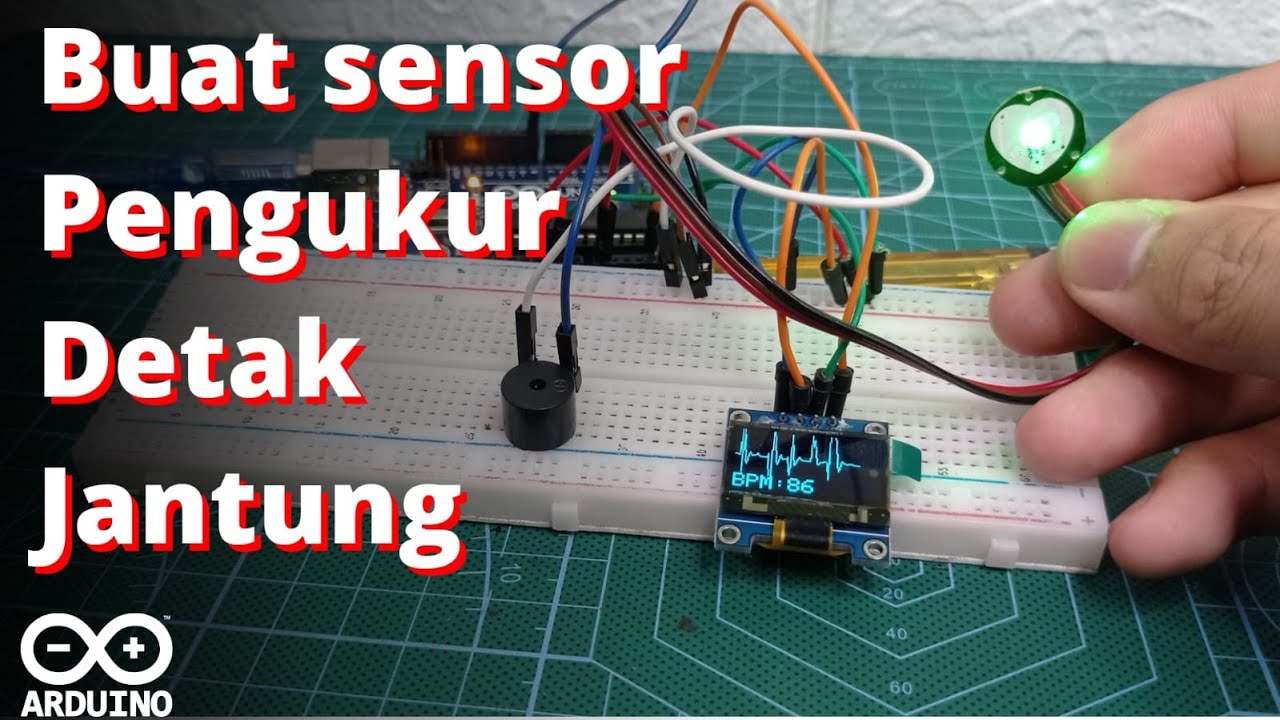
Buat Sensor Pengukur detak Jantung || Heart Rate Sensor Arduino || Pulse sensor [#Tutorial12]

Tutorial LCD 20 Ribuan | Arduino Untuk Pemula

How To Drive A 7-segment Display - The Learning Circuit
5.0 / 5 (0 votes)