2.9.1 Packet Tracer - Basic Switch and End Device Configuration
Summary
TLDRIn this video, viewers learn how to configure a basic network setup using Packet Tracer, focusing on two Cisco switches and two end devices (PCs). The tutorial covers configuring hostnames, IP addresses, passwords, and encryption for network devices. The video provides step-by-step instructions on connecting devices via console cables, applying security settings, and verifying network connectivity with ping tests. By the end of the activity, users will have configured and tested a small LAN, ensuring complete end-to-end connectivity between devices. The tutorial emphasizes practical skills for configuring switches and end devices in a simple network environment.
Takeaways
- 😀 Subscribe to the channel and enable notifications to stay updated with future technical content.
- 😀 You can contact the team through the website if you need technical support or the Packet Tracer activity file.
- 😀 In this video, we will configure two switches, two PCs, and set up network connectivity using Cisco Packet Tracer.
- 😀 The configuration involves setting hostnames, IP addresses, subnet masks, and configuring passwords for switches and PCs.
- 😀 Devices used in this activity include Class-A and Class-B switches and Student-1 and Student-2 PCs.
- 😀 Use console connections to access switches for basic configuration tasks such as setting hostnames and configuring IP addresses.
- 😀 Configure passwords for console and vty lines to secure device access and ensure proper network security.
- 😀 Enable 'service password encryption' to protect passwords and prevent them from being displayed in plaintext.
- 😀 Set up a 'Message of the Day' banner to warn users about unauthorized access on both switches.
- 😀 After configuring the devices, save your configuration using the 'copy running-config startup-config' command.
- 😀 Verify network connectivity between devices by performing a ping test from Student-1 PC to Student-2 PC.
Q & A
What is the focus of the video tutorial?
-The video tutorial focuses on basic switch and end-device configuration in Cisco Packet Tracer for CCNA version 7 certification preparation.
What equipment is used in the packet tracer activity?
-The activity involves configuring two Cisco switches (Class A and Class B) and two PCs (Student 1 and Student 2), along with their IP addressing and basic configurations.
What is the first step in the setup process?
-The first step is connecting the switches to the PCs using console cables to enable configuration via terminal connections.
How do you set the hostname for a switch in Cisco Packet Tracer?
-To set the hostname for a switch, enter global configuration mode and use the 'hostname' command followed by the desired name. For example: 'hostname Class-A'.
What command is used to set a password for the console line?
-The command 'line console 0' followed by 'password <password>' is used to set a password for the console line, and 'login' enables password protection.
Why is it important to use the 'enable secret' command on Cisco devices?
-The 'enable secret' command sets a secure password for entering privileged EXEC mode, providing an additional layer of security over the 'enable password'.
What does the 'service password-encryption' command do?
-'service password-encryption' encrypts all plaintext passwords in the device configuration to prevent unauthorized users from viewing them.
What is the purpose of configuring a Message of the Day (MOTD) banner?
-The MOTD banner is used to display a warning message on the device console and terminal screens, typically for legal or security reasons.
How are the IP addresses for the devices set in this activity?
-IP addresses are configured for both the end-devices (PCs) and switches (VLAN interfaces) according to the addressing table provided, using the 'IP Configuration' section for PCs and 'interface vlan1' for switches.
What command is used to save the configuration on a Cisco device?
-The command 'copy running-config startup-config' is used to save the current configuration to the startup configuration, ensuring that changes persist after a reboot.
How do you verify connectivity between devices in this activity?
-Connectivity is verified by using the 'ping' command from one PC to another to test end-to-end communication between devices on the network.
Outlines

This section is available to paid users only. Please upgrade to access this part.
Upgrade NowMindmap

This section is available to paid users only. Please upgrade to access this part.
Upgrade NowKeywords

This section is available to paid users only. Please upgrade to access this part.
Upgrade NowHighlights

This section is available to paid users only. Please upgrade to access this part.
Upgrade NowTranscripts

This section is available to paid users only. Please upgrade to access this part.
Upgrade NowBrowse More Related Video

Belajar Cisco untuk pemula - Part 3/5 | Cisco Packet Tracer
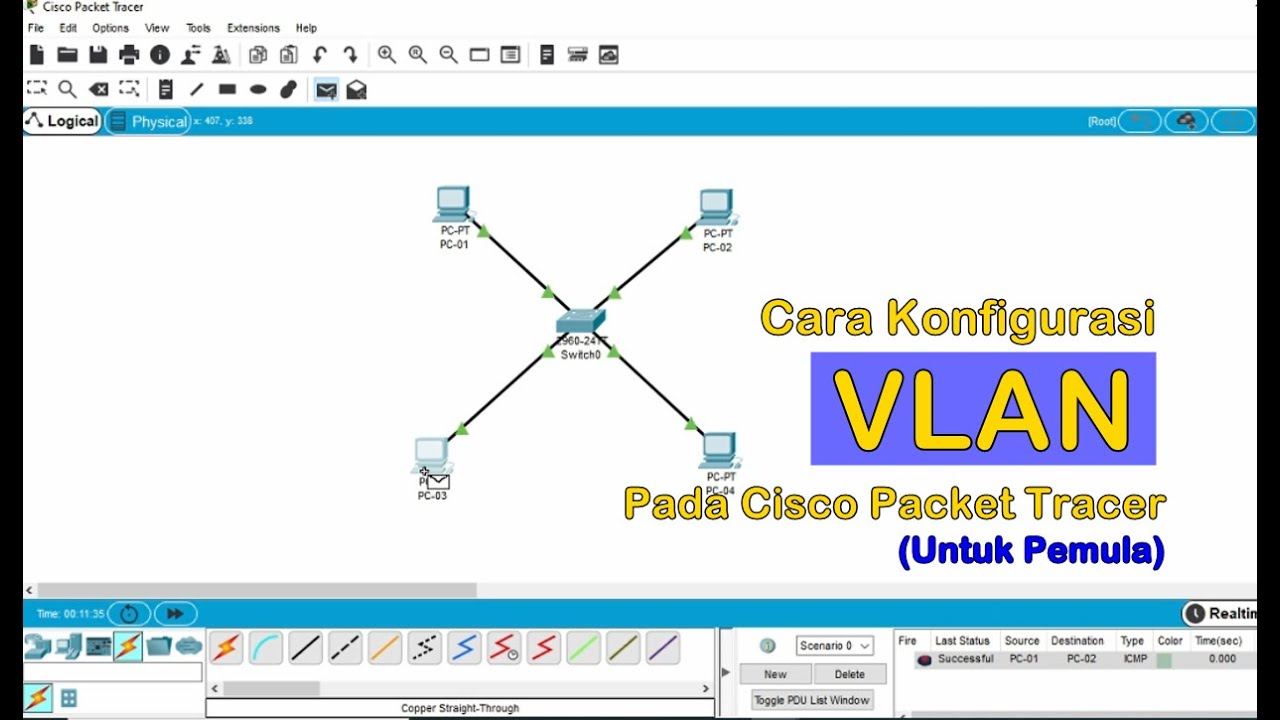
Tutorial - Cara Konfigurasi VLAN pada Cisco Packet Tracer (Untuk Pemula)

Jaringan Komputer Sederhana | Tutorial Belajar Online Lengkap CISCO CCNA 200-301 Part 5
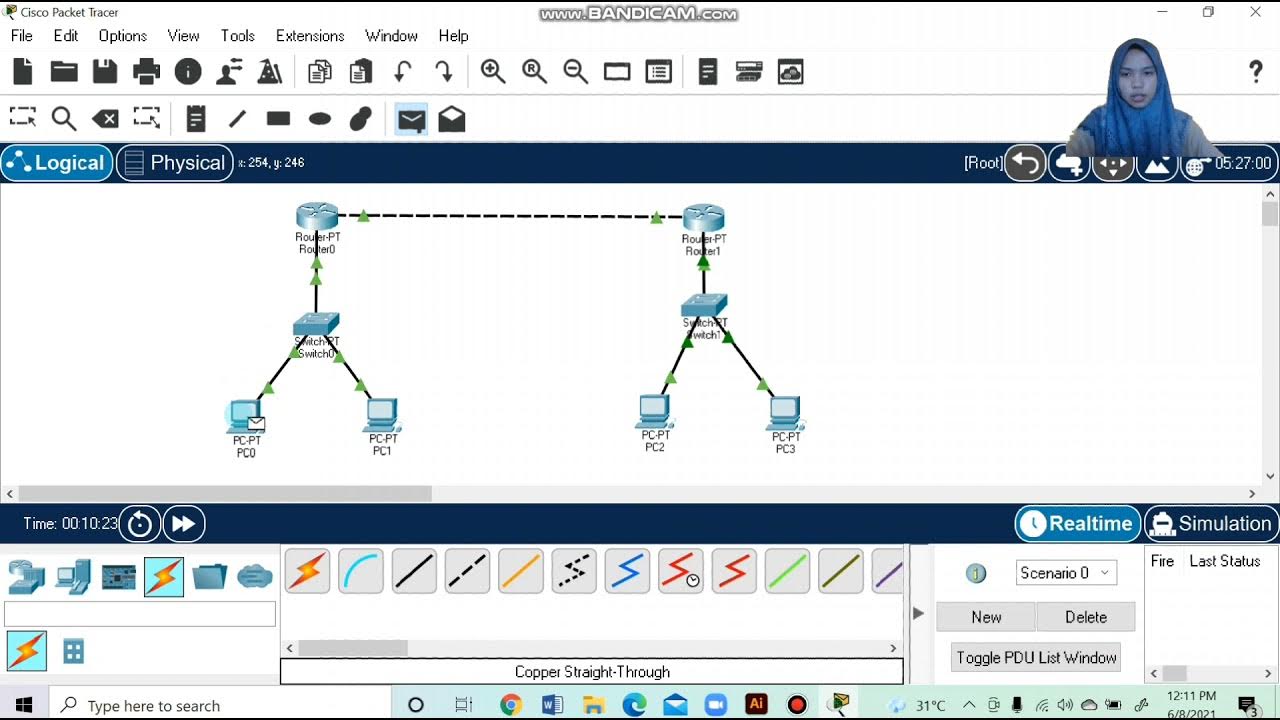
Topologi Jaringan Menghubungkan 2 Router 2 Switch dan 4 PC Packet Tracer
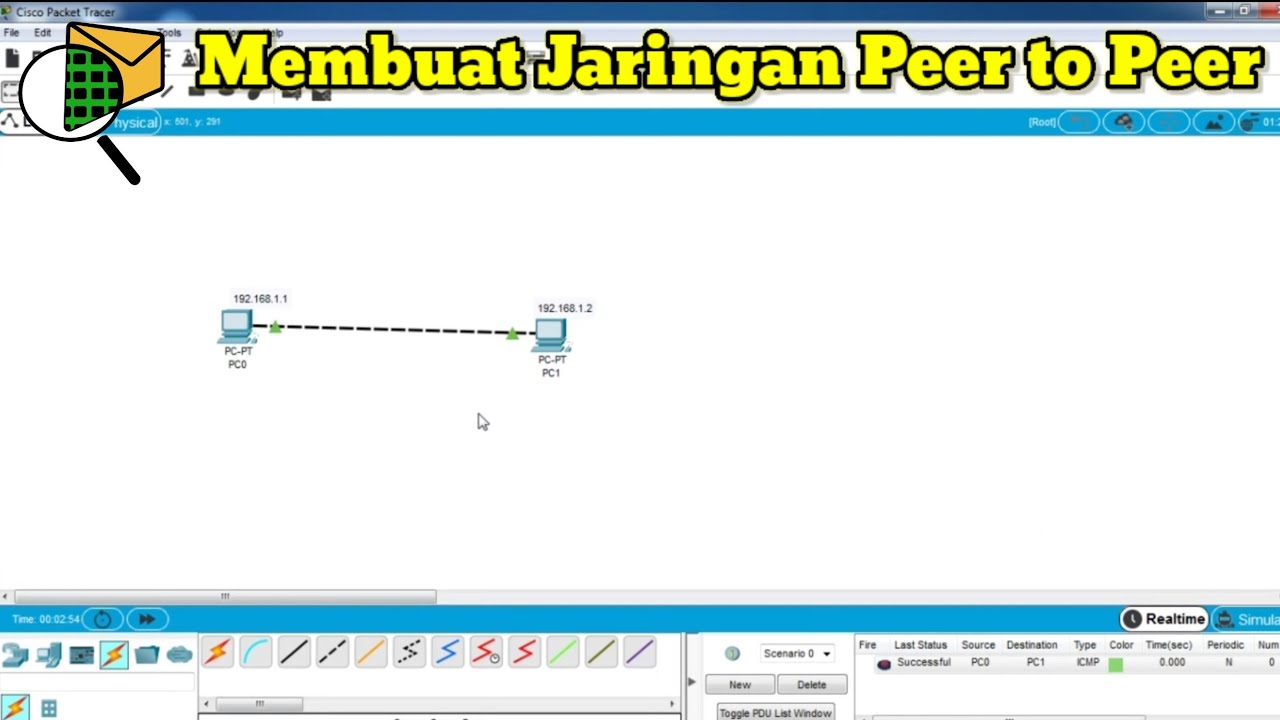
Cara Membuat Jaringan Peer To Peer di Cisco Packet Tracer

Merancang-Bangun Jaringan dengan Aplikasi Cisco Paket Tracert Version Mobile
5.0 / 5 (0 votes)