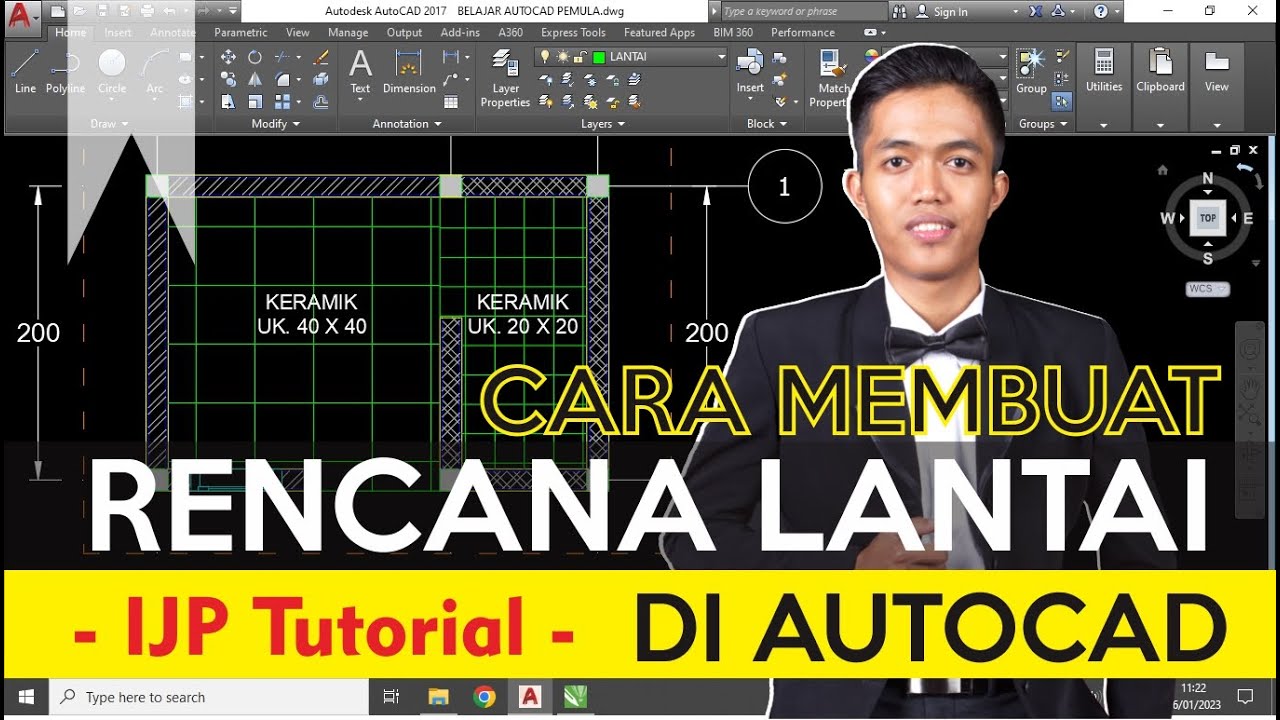
Making a simple floor plan in AutoCAD: Part 1 of 3

SourceCAD
7 Nov 201712:17

Summary

TLDRThis tutorial guides viewers on creating a floor plan from scratch in AutoCAD. Starting with setting units, the instructor adds walls using rectangles and lines. Thickness is given to walls using the offset tool. Doors and windows are created as blocks and inserted into the plan. Layers are organized with specific colors for doors, windows, blocks, hatches, text, and dimensions. The video concludes with creating door and window blocks, setting the stage for the next part where these blocks will be added to the floor plan.

Takeaways

  • 📏 Start by setting the drawing units with the 'unu' command, selecting architectural units, and setting precision to 1/4 and insertion scale to inches.
  • 🏗️ Use the rectangle tool to create a base floor plan with specific dimensions, ensuring to input values followed by the unit sign.
  • 🧱 Utilize the line tool to add walls to the floor plan, employing object snap and extension options for precise alignment.
  • 🔄 Use the offset tool to add thickness to the walls by specifying an offset distance and selecting the appropriate lines.
  • ✂️ Clean up the geometry using the trim tool to remove unwanted parts of the drawing where lines intersect.
  • 🎨 Organize the drawing by creating different layers for doors, windows, blocks, hatches, text, and dimensions, assigning each a unique color for easy identification.
  • 🚪 Create door blocks by drawing rectangles and arcs, then duplicating and modifying them to create variations.
  • 🪟 Construct window blocks by drawing rectangles and using the offset tool to create depth, then copying and trimming to finalize the design.
  • 🔗 Convert door and window designs into blocks using the 'create block' tool, which allows for easy reuse in the drawing.
  • 🔄 Learn to add these blocks and other elements to the floor plan in subsequent tutorial videos.

Outlines

00:00

📐 Setting Up a Floor Plan

The video begins with an introduction to creating a floor plan from scratch. The presenter starts by setting the units for the drawing, selecting 'architectural' as the unit type with a precision of 1/4 and an insertion scale of inches. They then proceed to draw a rectangle with dimensions of 50 feet by 31 feet. The presenter uses the line tool to add additional lines, making use of the extension option for better precision. They also demonstrate how to use the offset tool to add thickness to the walls and clean up the geometry using the trim tool. The process involves careful attention to detail, ensuring that lines intersect correctly and that the floor plan boundaries are accurately defined.

05:01

🚪🪟 Creating Door and Window Blocks

In this segment, the focus shifts to creating door and window blocks. The presenter first sets up layer properties to organize different objects into separate layers, assigning specific colors for doors, windows, blocks, hatches, text, and dimensions. They then proceed to draw a door block, demonstrating how to use the rectangle and arc tools, and how to copy and mirror objects to create variations. The process is repeated for window blocks, with the presenter changing the layer to 'window' and adjusting the color for visibility. The presenter also shows how to use the offset tool to create the window frame and the trim tool to refine the geometry. Once the door and window blocks are ready, they are converted into blocks named 'door one', 'door two', 'window one', and 'window two', which are then ready to be added to the floor plan.

10:03

🛠️ Trimming and Preparing Blocks

The final paragraph details the process of trimming and preparing blocks for the floor plan. The presenter uses the trim tool to refine the geometry of the windows and demonstrates how to use the rectangle tool to create additional windows. They show how to offset lines to create the window frame and make copies of lines for symmetrical design. The presenter then converts the prepared doors and windows into blocks, which can be reused throughout the drawing. The video concludes with a teaser for the next part of the tutorial, where the presenter will cover adding these blocks to the floor plan and other elements like hatches and dimensions.

Transcripts

play00:02

[Music]

play00:05

hello and welcome to sourcecad in this

play00:08

video I will tell you about making a

play00:10

floor plan from a completely blank

play00:12

drawing so right now we have this

play00:14

drawing we don't know the units or any

play00:16

other value which is set in this drawing

play00:18

and we'll start with units we'll set the

play00:20

proper units in this template then we'll

play00:23

add walls and then we'll add doors and

play00:26

windows so we'll use blocks for adding

play00:30

doors and windows and then we'll add

play00:32

other additional blocks in the drawing

play00:34

and then we'll learn about adding text

play00:36

and other annotations then we'll add the

play00:38

hatches and finally We'll add Dimensions

play00:41

to our drawing so let's get started with

play00:46

this first part of this

play00:49

tutorial so here we have this completely

play00:51

blank template and we'll start with the

play00:54

units so to set the unit simply Type unu

play00:57

n on the command line and press enter

play01:00

now here this drawing units window will

play01:02

pop up here we need to select the unit

play01:04

type and I'll select architectural in

play01:07

this case also the Precision should be

play01:09

set to 1 is to 4 you can select any

play01:11

other Precision if you want and in this

play01:13

insertion scale I'll select inches now

play01:16

with these changes click on okay now

play01:19

I'll start with the rectangle and I'll

play01:22

click anywhere in the drawing area to

play01:24

start the rectangle and we need to make

play01:26

a rectangle with a length of 50 ft and a

play01:29

height of 31 ft and for that I'll type

play01:33

at 50

play01:36

ft comma 31 ft so you can clearly see

play01:39

that I'm adding this fit sign right

play01:42

after the number or right after the

play01:44

values so you should ensure that these

play01:47

signs are added now after adding these

play01:50

values simply press enter there we have

play01:53

it the rectangle with length of 50 ft

play01:55

and height of 31 ft you'll find this fit

play01:58

sign on your keyboard and here's the key

play02:02

which should be selected and for

play02:03

selecting the inches you need to select

play02:06

the same Key by pressing and holding the

play02:08

shift key now let's go to the line

play02:12

tool and this time I'll start with this

play02:15

point but I'll not click on this point

play02:17

instead I'll simply track it in upward

play02:19

Direction and when I track it in upward

play02:21

Direction you'll see this extension

play02:23

option on this tool tip and if you're

play02:26

not able to see this option go to this

play02:28

object snap click here and select this

play02:31

extension option now I'll click back

play02:34

here once again I'll go to this point

play02:37

and track it

play02:39

upwards and enter a distance of 15 ft

play02:44

and press

play02:45

enter now move it in this direction

play02:48

enter a distance of 12 ft press enter

play02:51

and move it downwards like

play02:54

this now press enter again to repeat the

play02:56

line tool click on this point and enter

play02:59

distance of of 6 ft press enter now move

play03:02

it in this direction enter a distance of

play03:06

10 ft press enter now join it with this

play03:10

point make sure that it is connecting

play03:13

this line at the intersection point and

play03:15

not this midpoint so here we need to

play03:18

ensure that it is connected at this

play03:20

intersection Point like

play03:22

this all right so here we have it now go

play03:25

to the line tool again and go to this

play03:28

end point and join it with this one this

play03:31

intersection Point press enter again

play03:34

select the next end point join it here

play03:37

now the boundaries of this floor plan is

play03:39

complete we need to add thickness to the

play03:41

wall for that I'll go to this offset

play03:44

tool and enter the offset distance of 10

play03:47

in and for inches you need to select

play03:50

this keyboard key and you need to select

play03:52

it by pressing in holding the shift key

play03:55

now press enter and click on this

play03:58

rectangle and click out out side now

play04:01

press enter again and press enter again

play04:03

to repeat the offset tool now this time

play04:06

I'll select an offset distance of 6 in

play04:09

and press enter now click on this line

play04:12

offset it in upward Direction upward

play04:15

Direction upward Direction and this one

play04:17

also here move it towards right and move

play04:21

it towards

play04:23

left move this line towards

play04:27

right all right now we need to add one

play04:30

more line over here and for that I'll

play04:32

once again select

play04:33

offset and add an offset distance of 10

play04:37

fit and press

play04:40

enter now click on this

play04:42

line this one which is on the bottom and

play04:46

click upwards and go to offset and

play04:50

select an offset distance of 6 in press

play04:54

enter and move it

play04:56

upwards all right now we need to clean

play04:58

this geometry a little bit and for that

play05:00

I'll select trim tool so select it and

play05:03

press enter now carefully remove these

play05:06

parts of the drawing so this area should

play05:09

be cleaned and here also here also here

play05:14

also so wherever these lines are

play05:16

intersecting Simply Clean

play05:25

them all right the drawing is now

play05:27

complete now we'll start by adding two

play05:30

different blocks and we'll start with

play05:33

door and window and before that we need

play05:35

to make the door and window so we'll

play05:38

make our own door and window here but

play05:41

before making those blocks I'll go to

play05:43

this layer properties now click on this

play05:46

layer properties and add some layers to

play05:48

the drawing so we need to add these

play05:50

layers because we will place different

play05:53

objects on different layer for easy

play05:55

classification and that's the general

play05:57

way of making these drawings and you

play06:00

should also try to put different kind of

play06:02

objects on different layers so I'll

play06:05

click on this new layer option and I'll

play06:08

add a new layer

play06:11

door click on this again and type

play06:14

window the same icon and type

play06:20

blocks

play06:25

hatches

play06:27

text dimension

play06:31

and that's it for now so I'll add

play06:33

different colors also so I'll go to this

play06:35

door and I'll add this magenta color to

play06:39

door I'll go to window let's add this

play06:43

blue

play06:45

color and let's go to blocks add this

play06:49

cyan for hatches I'll select

play06:53

green for text let's select

play06:56

yellow and for dimensions I'll select

play07:00

this pink color all right so we have

play07:03

added colors and these colors will be

play07:05

used to differentiate between different

play07:07

objects of the drawing so now we can

play07:11

start with the door block so go to this

play07:13

drop down change it to door and now

play07:17

click on this rectangle tool click

play07:18

anywhere in the drawing area and type at

play07:23

and the length of this rectangle should

play07:26

be 3 in and the height should be 3 F and

play07:32

press enter so all right here we have it

play07:36

now make another rectangle a small one

play07:39

and this time I'll type at a length of 3

play07:43

in and a height of 6 in and press enter

play07:49

all right so here we have it now simply

play07:51

move it on this end point here just like

play07:54

this now I'll go to this Arc tool and

play07:57

select this Center start end now click

play08:00

on this point that will be the center

play08:02

point the start point and the end point

play08:06

along this x

play08:09

AIS now make a copy of this small

play08:12

rectangle and simply move it on this

play08:16

endp point like this so our door block

play08:19

is ready now we only need to make a

play08:22

variation of this door block and for

play08:25

that I'll make a copy of this so select

play08:27

copy tool and and here we have

play08:30

it so that's the original one and I'll

play08:34

just make another copy here and for

play08:36

making the next copy I'll select this

play08:39

mirror tool select mirror select it all

play08:42

and press

play08:43

enter now click on this point and click

play08:47

on this point and press enter now we

play08:51

need to remove these two rectangles

play08:54

these rectangles are no longer needed

play08:57

and here we have it so we have these

play08:59

these two variations of the door

play09:04

block now let's make Windows and for

play09:07

Windows I'll once again select rectangle

play09:09

and before doing that let's change the

play09:11

layer so I'll change the layer to window

play09:14

all right now click anywhere in the

play09:16

drawing area let's type at and the

play09:20

length is 5 ft comma the height is 6 in

play09:26

and press enter so as you can see that

play09:29

due to the dark color of this window we

play09:32

are not able to see it quite properly so

play09:34

I'll change the color of this window so

play09:35

I'll click on this box and change it to

play09:38

this orange color and click on okay

play09:41

close it so there we have it now it's

play09:43

quite clearly visible all right now

play09:46

let's explore this

play09:49

drawing and click on

play09:51

offset enter an offset distance of 1

play09:55

in offset it downwards offset it here

play10:00

now make a copy of this

play10:03

one and copy it to the midpoint all

play10:06

right let's go to the trim

play10:08

tool and trim it like

play10:11

this so here we have it one of the

play10:13

window is now prepared let's select this

play10:15

rectangle tool again and make another

play10:19

window for that I'll type at 6 ft comma

play10:24

10 in and press enter I'll select this

play10:28

one Type X and press enter so that will

play10:31

again explode this complete geometry

play10:34

select the offset tool type 2

play10:37

Ines as the offset distance offset this

play10:40

one to 2 in here here also and make a

play10:44

copy of this

play10:46

line similar to the one we did in the

play10:49

previous case and here also I'll trim

play10:52

this

play10:55

portion all right so we have these two

play10:57

windows and these two doors

play10:59

now let's convert them into blocks and

play11:02

for that I'll go to this create

play11:05

block and let's name it as door one

play11:10

select the picko and click on this point

play11:13

here that's the picko now select objects

play11:16

and select all of these objects and

play11:18

press enter and now click on okay so we

play11:21

have our door block now the second door

play11:24

block so repeat the process name it as

play11:28

door 2

play11:30

picko and let's select this one as the

play11:33

picko select objects select them all

play11:36

press enter and

play11:38

okay similarly repeat the process for

play11:50

window all right so now we have added

play11:53

doors and windows and you can see them

play11:55

in this list we have door one door two

play11:57

and window one window two

play12:00

now they're ready to be added in our

play12:02

drawing and we'll learn about adding

play12:04

these blogs and also other blogs in our

play12:07

drawing in the next video to watch the

play12:10

next part of this video click on this

play12:12

video link

Rate This

5.0 / 5 (0 votes)

Related Tags
AutoCAD TutorialFloor PlanDesign BasicsArchitectureCAD SoftwareDrawing ToolsBlocks CreationDimensioningAnnotationsDesign Tutorial