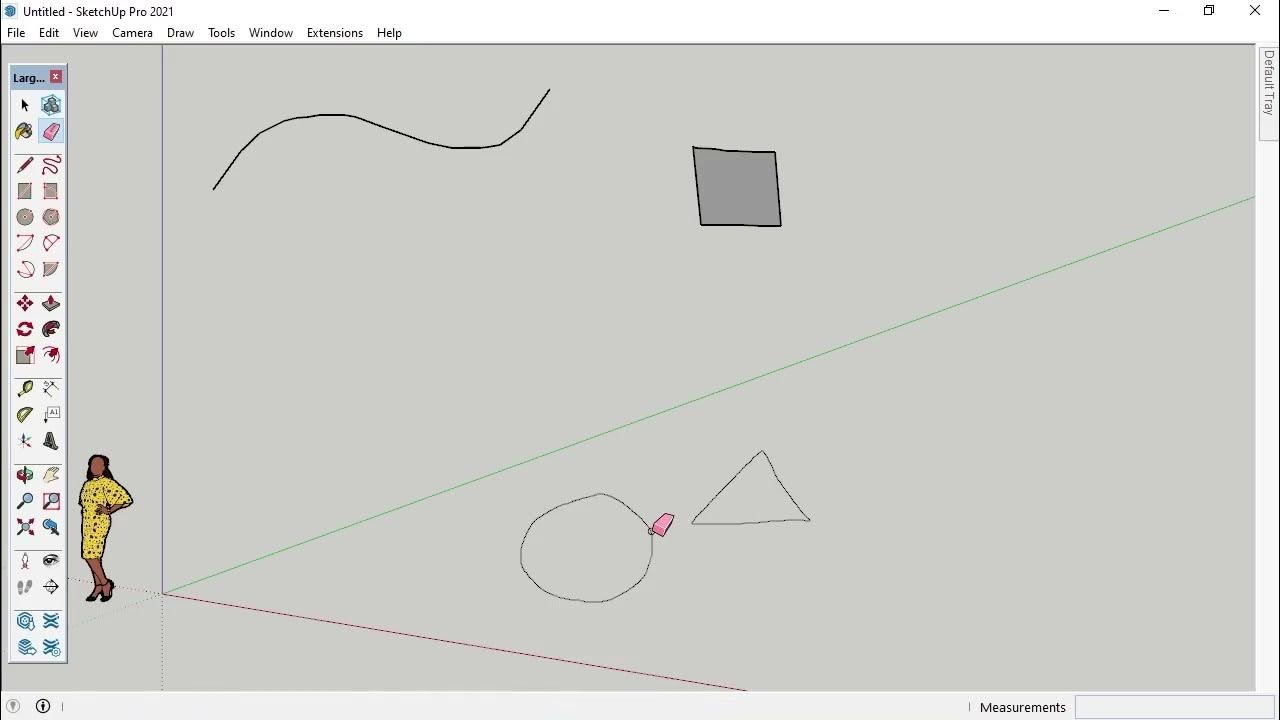
Getting Started with SketchUp - Part 1
Summary
TLDRThis tutorial introduces SketchUp, guiding users through the initial setup with templates and units. It covers basic tools like Rectangle, Push/Pull for 3D modeling, and navigating with Orbit, Pan, and Zoom. The script emphasizes precision and real-world scale, introduces inference points for accuracy, and concludes with a simple house model exercise to practice these foundational SketchUp skills.
Takeaways
- 🏁 Start SketchUp by selecting a template that sets the default units and starting view.
- 📏 Use the rectangle tool to draw shapes by clicking to start, releasing, and clicking again to finish.
- ↩️ Click-and-release is the standard action for most SketchUp tools, unless 'click-and-drag' is specified.
- 🔍 Pay attention to the lower-right corner for real-time dimension feedback while drawing.
- 📦 The Push/Pull tool allows you to create 3D forms by pushing or pulling flat surfaces.
- 🔄 SketchUp provides reference points like endpoints and midpoints to assist in accurate drawing.
- 🌐 Use the Orbit, Pan, and Zoom tools for navigation, enhancing the modeling experience.
- 🖱️ A scroll wheel mouse can be used for quick navigation by rolling to zoom and pressing to orbit or pan.
- 🏠 Practice creating a simple house model to understand the basic workflow in SketchUp.
- 📐 Use axis directions (red, green, blue) to draw accurately in 3D space, exemplified by creating a chimney.
Q & A
What is the first step when starting SketchUp?
-The first step when starting SketchUp is to choose a template from the welcome screen, which determines the default units of measurement and the starting view.
How do you select a template in SketchUp?
-You select a template by choosing either SketchUp Make or Pro, and then picking a template that suits your preference for units of measurement and starting view.
What is the Iso view in SketchUp?
-The Iso view in SketchUp is a standard view that allows you to see your model in an isometric perspective, which is useful for 3D visualization.
How do you draw a rectangle in SketchUp?
-To draw a rectangle in SketchUp, you pick the rectangle tool, click once to start, pull away to define the size, and click again to finish.
What is the significance of click-and-releasing the mouse button in SketchUp?
-Click-and-releasing the mouse button in SketchUp is a technique used to start and finish most actions, which helps in creating precise and accurate drawings.
How can you undo an action in SketchUp?
-You can undo an action in SketchUp by going to the Edit menu and choosing 'Undo'.
What does the Push/Pull tool do in SketchUp?
-The Push/Pull tool in SketchUp allows you to push or pull on any flat surface to create 3D forms, such as extruding a rectangle to create a box.
How do you navigate your view in SketchUp?
-You navigate your view in SketchUp using the Orbit, Pan, and Zoom tools, which allow you to orbit around, move across, and zoom in and out of your model.
What are inference points in SketchUp and how do they help?
-Inference points in SketchUp are visual cues that help you align your drawings accurately with existing geometry. They include endpoints, on-edge points, and mid-points, among others.
How do you create a roof using the Push/Pull tool?
-To create a roof using the Push/Pull tool, you first draw a line to define the edge of the roof, then select the edge and use the tool to pull it upwards to form the roof shape.
What is the purpose of the axis directions in SketchUp?
-The axis directions in SketchUp, represented by red, green, and blue, help you orient your drawings correctly in 3D space, ensuring that lines and shapes are drawn parallel or perpendicular to the model's axes.
How can you correct an uneven roof line in SketchUp?
-To correct an uneven roof line in SketchUp, you can use the move tool to align the edge with a blue dotted line, which indicates a straight upward movement, resulting in an even roof.
What is the 'healing' of a surface in SketchUp?
-In SketchUp, 'healing' a surface refers to the process of erasing extra edges created when lines are drawn across co-planar surfaces to form one larger, unified surface.
Outlines

This section is available to paid users only. Please upgrade to access this part.
Upgrade NowMindmap

This section is available to paid users only. Please upgrade to access this part.
Upgrade NowKeywords

This section is available to paid users only. Please upgrade to access this part.
Upgrade NowHighlights

This section is available to paid users only. Please upgrade to access this part.
Upgrade NowTranscripts

This section is available to paid users only. Please upgrade to access this part.
Upgrade NowBrowse More Related Video

Aula 02 - Primeiros passos com o Plugin DinaBox

SketchUp Tutorial for Beginners - Part 1 - Basic Functions

Getting Started with SketchUp Pro 2025! (BEGINNERS START HERE!)

Membuat sketsa produk dengan tool Draw Pada Frankcam - Renan

6- Freehand Tool for SketchUp

How to Use the Teal Job Tracker | Teal (free) vs. Teal+ (premium)
5.0 / 5 (0 votes)