Sketching - Constraint Selection and Creation
Summary
TLDRThis video offers a concise guide to constraint selection and creation in Fusion 360, focusing on tools and techniques essential for the Autodesk Certified User exam. It covers various constraints like horizontal/vertical, coincident, tangent, equal, parallel, and more, with practical demonstrations using lines, circles, and shapes. The video also explains how to apply, modify, and delete constraints, showing how automatic constraints are applied during sketching. Viewers are encouraged to practice these tools and concepts to better understand how constraints affect sketch geometry in Fusion 360.
Takeaways
- π The video covers a topic on the Autodesk Certified User exam for Fusion 360, focusing on constraints.
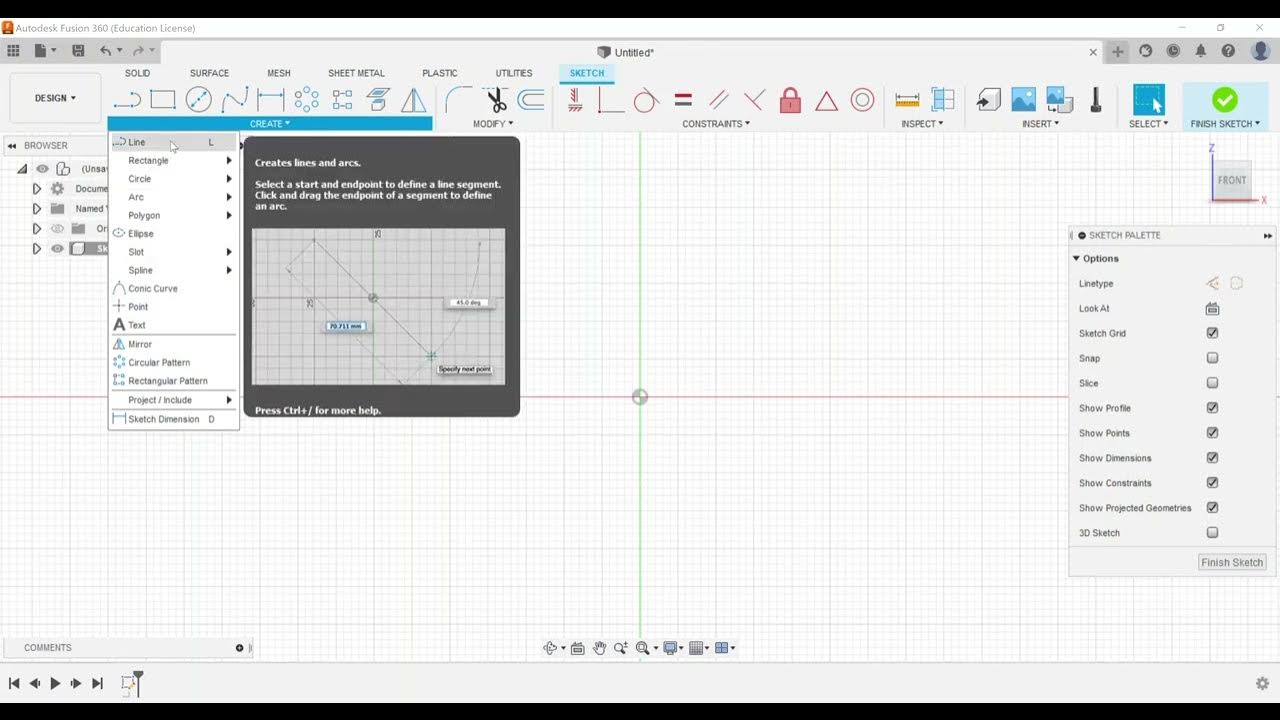
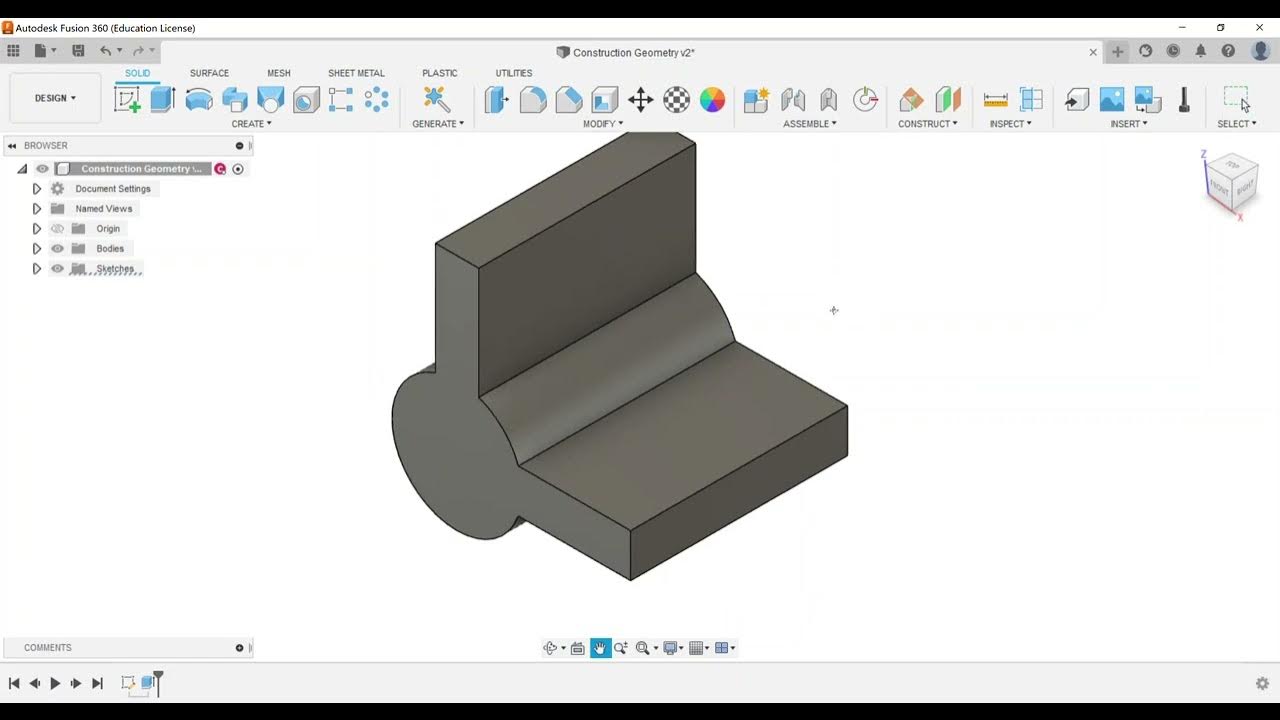
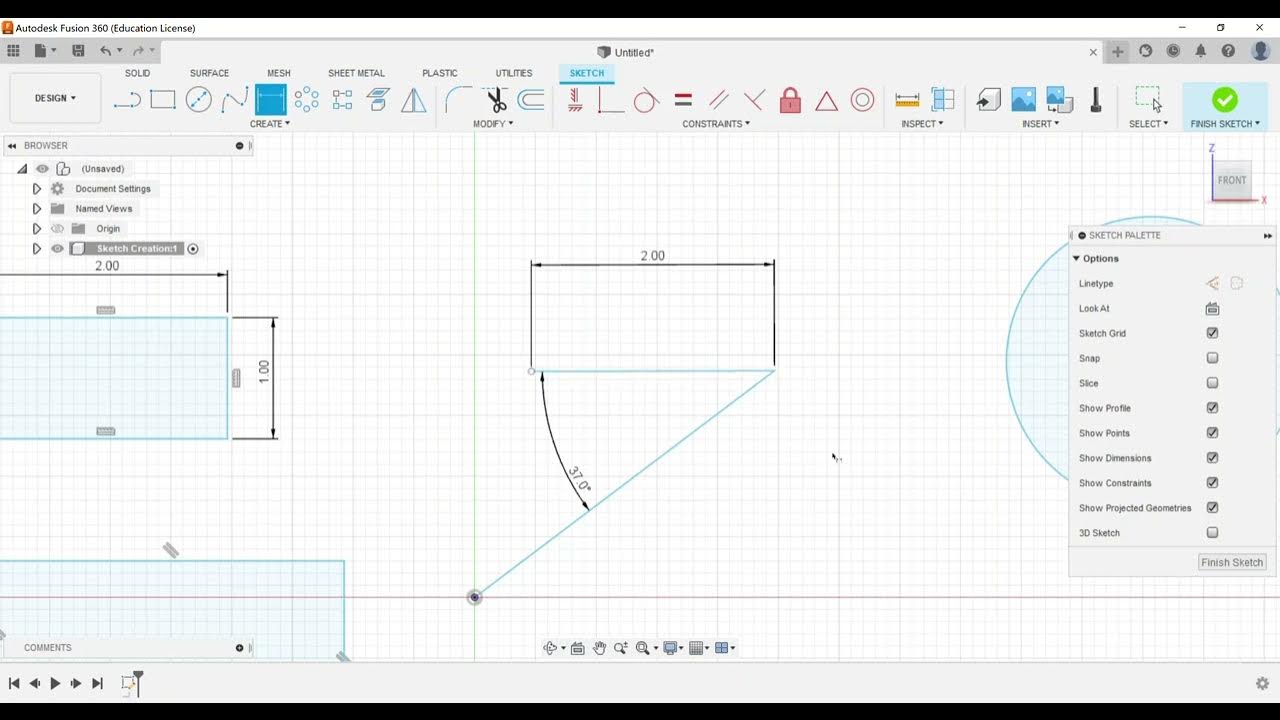
- π» The speaker starts by creating a new component and sketching in Fusion 360, choosing the front work plane.
- βοΈ The menu in Fusion 360 provides different constraint options, such as horizontal/vertical, coincident, tangent, and more.
- π Constraints like coincident help connect points on a sketch, while tangent ensures lines or circles are tangent to each other.
- π― Equal constraints can make two lines equal in size, and parallel constraints ensure lines stay parallel to each other.
- π Fusion 360 often applies automatic constraints while sketching, but these can be deleted or edited if not needed.
- π Midpoint constraints allow users to align points at the center of lines or shapes, which can help with symmetry.
- π― Collinear constraints keep lines aligned on the same level, forcing them to move together when adjusted.
- π Symmetry constraints ensure objects mirror each other along a selected symmetry line, such as a vertical line.
- π The video encourages practicing sketching and using constraints to become more comfortable with Fusion 360, especially for the exam.
Q & A
What is the purpose of this video?
-The video provides a review of constraint selection and creation in Fusion 360, particularly for those preparing for the Autodesk Certified User Exam.
What is the first step the speaker takes when working with constraints in Fusion 360?
-The first step is to create a new component, name it 'constraints', and then create a new sketch on the front work plane.
What does the 'horizontal/vertical' constraint do?
-The 'horizontal/vertical' constraint ensures that lines are constrained either horizontally or vertically, depending on the user's selection.
How does the 'coincident' constraint function?
-The 'coincident' constraint joins the endpoints of two lines, connecting them and ensuring they remain constrained to one another.
How is the 'tangent' constraint applied?
-The 'tangent' constraint is used to make a line and a circle tangent to each other. The user selects both the circle and the line, and the constraint ensures they remain tangent.
What happens if automatic constraints are applied while sketching?
-Automatic constraints can be applied while sketching, such as vertical or horizontal alignment, which are previewed. If not helpful, the user can select and delete the constraint.
How can a user delete an unwanted constraint?
-To delete an unwanted constraint, the user must select the constraint, right-click on it, and choose 'delete', or they can simply hit the 'delete' key on the keyboard.
What is the 'parallel' constraint used for?
-The 'parallel' constraint is used to make two lines parallel to each other. Once applied, the lines must remain parallel.
What is the 'concentric' constraint?
-The 'concentric' constraint makes two circles share the same center point, ensuring they have concentricity.
How does the 'symmetry' constraint work?
-The 'symmetry' constraint ensures that two objects remain symmetrical about a selected line. The user must select the two objects and then a symmetry line to create this effect.
Outlines
π§ Introduction to Fusion 360 Constraints
This paragraph introduces the topic of Autodesk Certified User Exam for Fusion 360. The focus is on constraint selection and creation, where the speaker creates a new component named 'constraints' and begins a sketch on the front work plane. The speaker demonstrates how to apply various constraints such as horizontal, vertical, and coincident. Through practical examples like connecting lines and creating tangents, the speaker explains how these constraints work, and how students can practice them in Fusion 360.
π Exploring More Constraints in Fusion 360
In this section, the speaker dives deeper into more advanced constraints, such as midpoint, concentric, and collinear. The midpoint constraint helps align objects symmetrically, and concentricity ensures circles share the same center point. Collinear constraints keep two lines on the same level. The explanation is enriched with examples, like connecting lines in a 'T' shape and maintaining symmetry through the use of construction geometry.
Mindmap
Keywords
π‘Constraints
π‘Coincident
π‘Tangent
π‘Parallel
π‘Automatic Constraints
π‘Midpoint Constraint
π‘Collinear
π‘Symmetry
π‘Fix/Lock
π‘Sketch Dimension
Highlights
Introduction to Autodesk Certified User exam for Fusion 360.
Overview of constraint selection and creation in Fusion 360.
Creating a new component and naming it 'constraints' for demonstration purposes.
Explanation of automatic sketch constraints in Fusion 360.
Demonstrating the horizontal and vertical constraint tools.
Using the coincident constraint to connect endpoints of lines.
Applying tangent constraints between circles and lines for alignment.
Demonstrating the equal constraint to match the length of two lines.
Using the parallel constraint to align two lines parallel to each other.
Illustration of how to delete constraints that were automatically applied by Fusion 360.
Utilizing the midpoint constraint to align a line with the midpoint of another object.
Exploring concentric constraints to align circles sharing the same center point.
Using the collinear constraint to align lines at the same level.
Demonstrating the symmetry constraint to mirror objects across a line of symmetry.
Discussion of curvature constraint, though not as frequently used.
Summary of the importance of practicing with different constraints and editing them in sketches.
Encouraging students to test out constraints to understand their behaviors and relationships.
Transcripts
hey everyone this is another video on
the autodesk certified
user exam for fusion 360. and in this
video we're going to take a short look
at
constraint selection
and creation so as we go into fusion
we're going to take a look at one i'm
going to go ahead and create a new
component again getting in this habit
and we'll just call this
constraints
and we're not really going to create
anything per se in this but we're just
going to at least create a new sketch
and from here if i'm in my principal
work planes
i'll go ahead and choose my front work
plane
so with this i'm going to go ahead and
just look at one what are our
constraints here so when i click on the
word constraints the menu pops down and
gives us an option of the different
constraints that we have available so
for example what i usually do is
sometimes i'll have a little exercise
for my students but like here if i draw
a line or a couple lines here
to just kind of signify
what we're kind of working with
here i can usually grab like the
horizontal vertical tool
and or constraint and by clicking on it
and you'll be able to see an icon that
pops up that identifies that a
constraint was being applied so here
there's the vertical so there's that
particular one
if i want to use coincident so
coincident goes through and the best
part is if you leave your cursor on any
of these constraints as your students
are going to have fusion 360 available
it does tell them what it does so again
just practice coincident if i'm able to
grab the endpoints of both of these
lines it's going to join them and
connect them together so make those two
points constrained to one another
if i draw a circle
and for example if i want to go and have
it be tangent as i kind of work across
the constraints
i can choose the circle choose a line
and it'll make it where it's tangent
same thing with this bottom one and now
i have some tangent lines
or that are the lines that are tangent
to the circle i should say
so for example as i move across equal if
i want the two lines to be equal in size
to each other i'll click one and i'll
choose the other you'll notice these are
the constraints that are getting applied
so those are some of the things that we
can end up doing if i have two lines
and let's say that i want to
go ahead and have these i'm going to
draw this one off just by a small amount
and the next one is going to be parallel
so if i choose parallel and choose the
two lines it'll automatically go through
and make those two lines parallel this
one was already horizontal so it applied
an automatic constraint that's the other
thing is as you sketch you'll find that
sometimes as you're sketching
automatic constraints you'll see there's
a preview of the vertical
will be applied if there's ever a case
sometimes fusion
thinks it's being helpful in those and
if it's not you can always select you do
have to make sure you're not uh have any
of the tools highlighted but you can
always select that constraint
right click and choose delete or just
select the constraint where it's
highlighted and hit delete on your
keyboard
now this line will not be
constrained to be vertical but you can
see
if you do place it back in the vertical
position fusion will apply an automatic
sketch constraint
thinking that it's going to help you out
so that's kind of the process that i go
through with my students
is making sure
that these lines
and
different shapes are constrained to each
other so like for example as i move down
through the next one perpendicular
choosing this line and choosing this
line will make a nice 90 degree angle
there between those two lines
and the other thing is as well for
example like if i go through and have
two circles here
and let's say if i lock
or fix
one of the circles so that'll turn like
a shade of green
and then if i use the tangent constraint
this other circle has to move or size to
the other one so you notice this one did
not move or change so another way to do
that again is we can to show this being
worked on
here we'll apply a sketch dimension of
i'm going to do this 1000 so i'm doing
really small measurements here it looks
like so it looks like it was really
zoomed in but i can tangent
and that has to move to the position
because this is fixed
so that's kind of what's happening there
all right some other things as we go
through and we kind of sketch as well
if i draw for example a rectangle and if
i take a line and as i kind of trace
over the line you'll see an excel form
and then you'll notice that an automatic
constraint comes up when i'm right in
the middle it shows a triangle so here
like for example if i draw this line
i'm going to purposely kind of draw it
off at an angle here
is i'm going to go ahead and choose
the midpoint constraint which has the
same triangle symbol so i'll click the
line and i'll click the other line
and again and so this may go through and
show you an error
as far as where that's going
so again we you may need to go through
and take a look at you know what are
some options that we need to do so let
me try midpoint again let me try the
point
there we go so try the point at the end
of the line so it doesn't really like
the line but it does like the point and
it found the midpoint
of our rectangle so just playing around
with these constraints i'm going to go
ahead and move this point here until
it's vertical and actually you're going
to see here's what's going to happen it
picked up the midpoint and it has the
two triangles so they kind of signify
that we do have a connection
being made to that midpoint
so the other ones we have we have four
more options here which are just when
we're drawing with constraints selection
and deleting
for concentric
i kind of use this as an example of
having a bullseye so what we do is when
we click like two circles
they are going to share the same center
point and then they're going to have
concentric or concentricity to them as
they go through and work there
collinear are is a really kind of neat
option a lot of times well what i use
collinear for
is like for example if you're drawing
kind of like this t shape
or have something like this
where
let me go and just touch the end and
then it'll help track there there we are
so for example if you want the two
two sides this line that i've selected
and this one to be like on the same
level i like to use
collinear and when i choose that line
and i choose the other one these have to
stay collinear which means now if i
click and drag those lines have to stay
in the same
position or if i was to take a line
between them
it would be connected by a horizontal
line just like so so we would be able to
see that effect you know they have to
stay
in a co-linear fashion
the last two with symmetry and curvature
so i really don't
use these quite as often
but like for symmetry
um you know like so this rectangle is
pretty well uh kind of set there same
kind of scenario let's use this this use
this option i'm gonna get rid of this
line that i just drew and let's say i go
ahead and draw a
vertical line down here
i'm going to go ahead and select it
and toggle to a construction line so
we'll use this as some construction
geometry same kind of thing if we have
um again because so here's the bottom so
you'll notice i can move this in but
this side does not move with it so i'm
going to go ahead and choose symmetry so
this goes through and has us choosing so
first it says select the objects
so here i want to choose this line
and i want to use this line
and then the last thing it says select
the symmetry line so this is the only
one that really has a three click option
so if i click the one in the center now
we're going to have symmetry and if i
move this one it moves the outside as
well so it has to maintain symmetry
with the
mirror line that's right down the center
or the line of symmetry we should say so
it kind of gets treated like a mirror
line if you kind of think of it as well
so that's kind of what we do with with
those again you can go through and here
you can use curvature so again this one
i don't i've not used quite as much so i
usually use some things like tangent and
some other constraints that work really
well but just become familiar with a lot
of the constraints
and be used to get used to how to
edit them maybe go through and apply new
ones and maybe even they'll have to go
go through and delete so like for
example if i wanted to not have these
two be tangent i can delete that and now
i can pull them apart
and so that way that you don't have
those existing relationships
so hopefully this was a good review of
constraints and how to apply them how to
delete them and how to change and
utilize in different scenarios again
practice with sketches practice with
geometry to test these out and see how
these behaviors are applied and the
relationships that you see when you use
the different constraints
hopefully you learned a lot from this in
the next video we'll check out another
exam objective and be sure if you have
questions send me an email be happy to
go through and talk through anything on
the autodesk certified user exam for
fusion 360.
5.0 / 5 (0 votes)