Part Modeling - Create Extrude Features
Summary
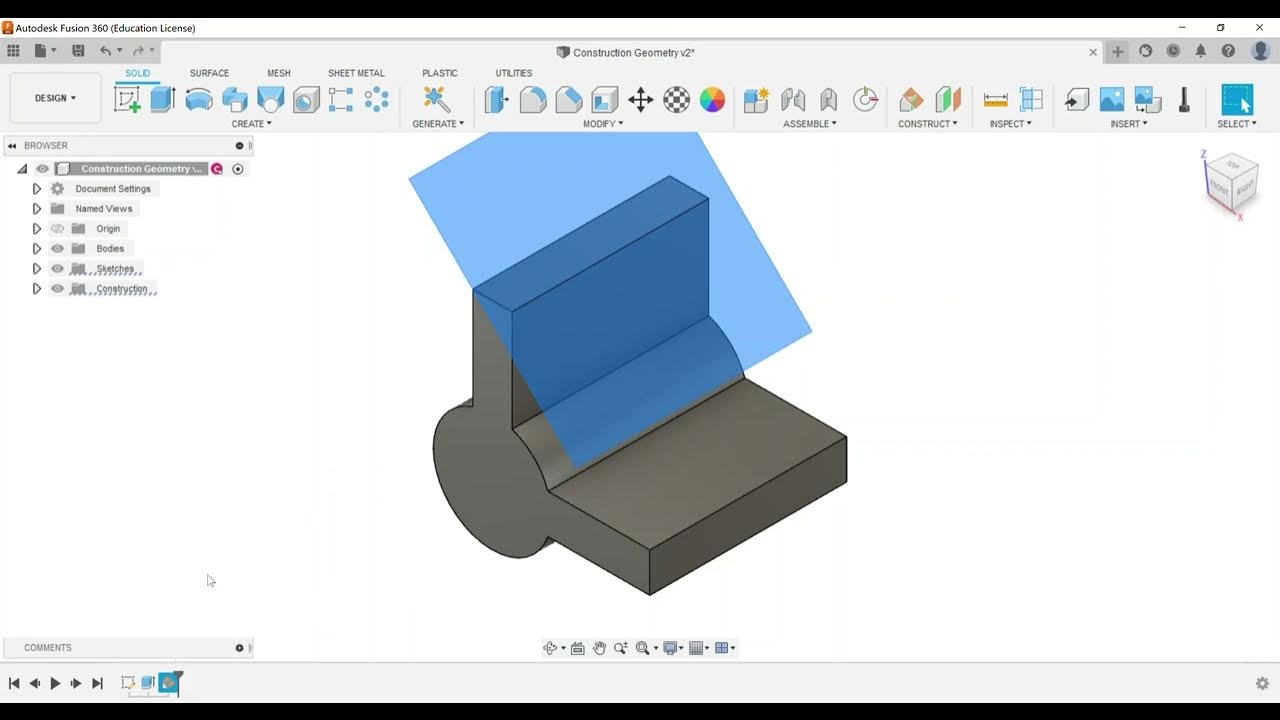
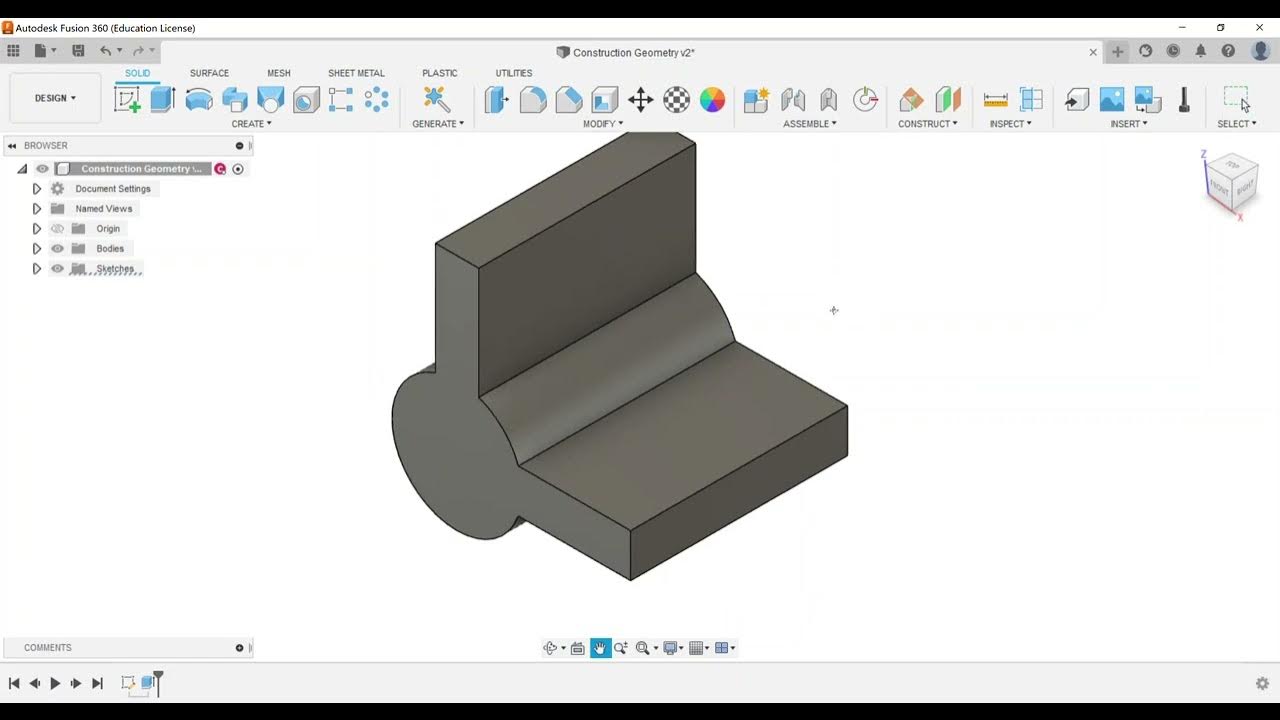
TLDRThis video tutorial focuses on the part modeling section of the Autodesk Certified User Fusion 360 exam, specifically covering the creation of extrude features. It demonstrates how to use the extrude tool in Fusion 360, detailing options such as one-sided and symmetric extrusions, as well as how to apply taper angles. The video also explains the difference between cut and intersect operations and how to create new components from extruded bodies, providing essential skills for the exam.
Takeaways
- 🎯 The video focuses on exam objectives for the Autodesk Certified User Fusion 360 exam, specifically the part modeling section.
- 📐 It demonstrates how to create extrude features in Fusion 360, starting with sketching a center rectangle on the origin.
- 🔢 The extrude feature allows for specifying dimensions, either by clicking and dragging, typing a specific distance, or using the dialog box.
- 🔩 The video explains the difference between extrude options like 'Profile Plane', 'Offset', and 'To an Object', with 'Profile Plane' being the most common.
- ➡️ Direction options for extrusion include 'One Side', 'Two-Sided', and 'Symmetric', with 'Symmetric' extruding material equally on both sides of the sketch.
- 📏 The 'Extent Type' can be set to 'Distance' for specific measurements or 'All' for whole extrusions.
- 🔄 The video shows how to continue extrusions by rotating and using the face of the model, without a line of separation.
- ↪️ The 'Taper' option allows for angled extrusions, which can be adjusted using a grip or by entering an angle in the dialog box.
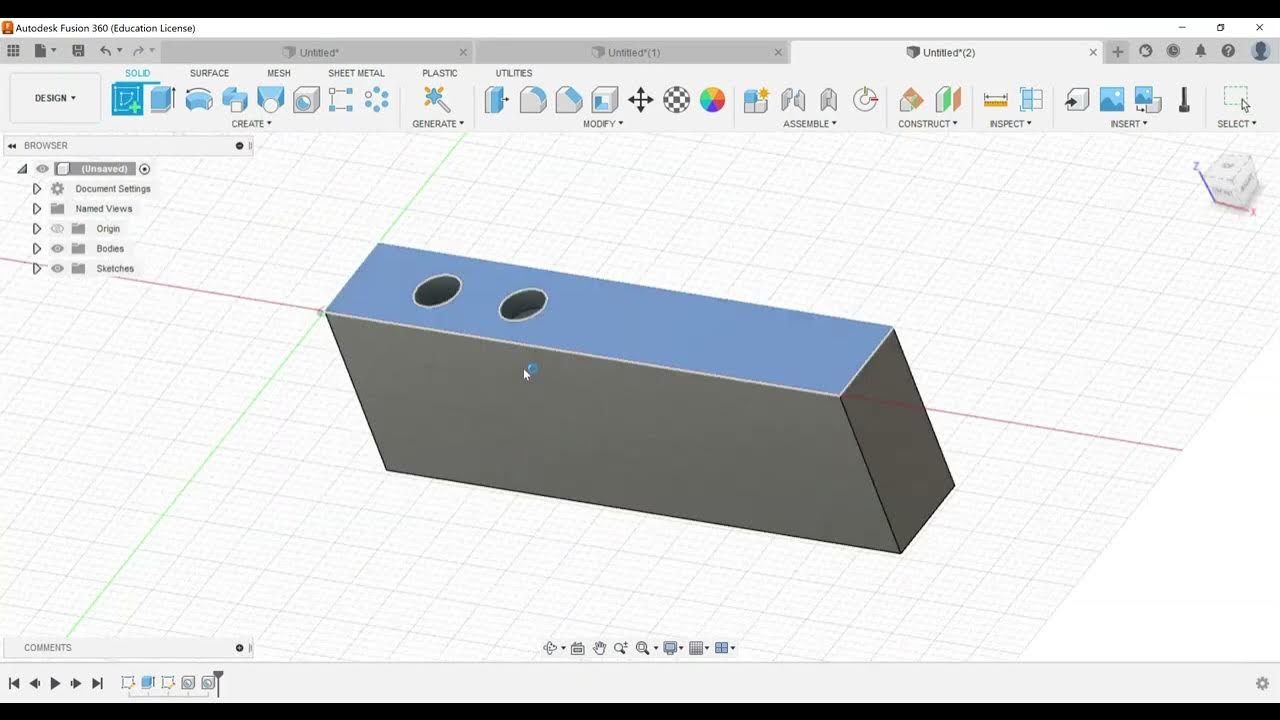
- 🔩 When creating holes, the 'Cut' operation is used, which can be set to 'All' to cut through the entire height of the part.
- 🔄 The video illustrates creating two-sided extrusions and how to switch between 'Join' and 'Cut' operations as needed.
- 📁 Sketches can be toggled on and off for visibility, and extrusions can be made based on the sketch outline.
Q & A
What is the main focus of the video?
-The main focus of the video is to spotlight exam objectives for the Autodesk Certified User Fusion 360 exam, specifically focusing on creating extrude features in the part modeling section.
What is the first step the instructor takes in Fusion 360?
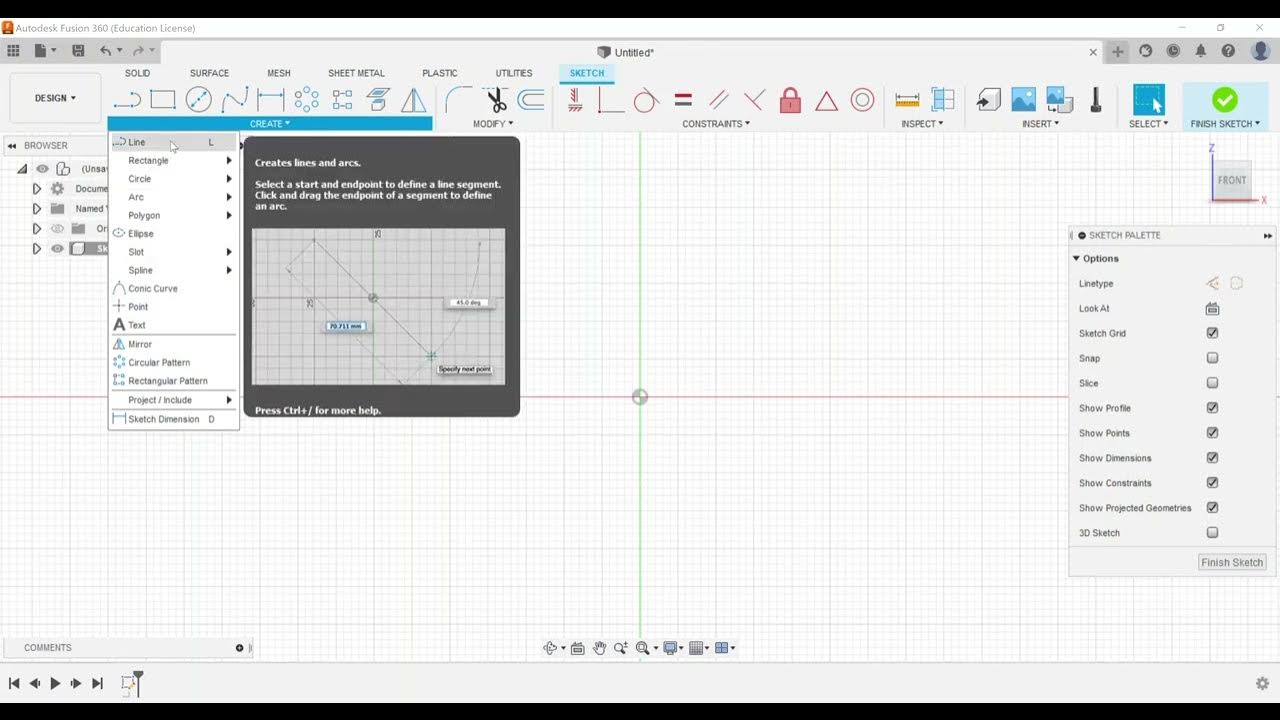
-The first step the instructor takes is to create a sketch on the top plane without creating a component, and then to create a center rectangle on the origin.
What dimensions does the instructor give to the center rectangle?
-The instructor gives the center rectangle dimensions of six by three.
What are the different options for creating an extrude feature mentioned in the video?
-The options include clicking and dragging the arrow, typing in a specific distance, or entering it in the dialog box on the right side.
What is the difference between 'extrude' and 'thin extrude'?
-The video mentions that 'thin extrude' is not covered, implying that 'extrude' is for general extrusions while 'thin extrude' is likely for very thin walls or sheets.
What does the instructor choose as the direction for the extrusion?
-The instructor chooses the 'profile plane' as the direction for the extrusion, which is the most common option.
What are the two types of extrusions demonstrated in the video?
-The two types of extrusions demonstrated are one-sided extrusion and symmetric extrusion.
How does the instructor show the symmetric extrusion in the video?
-The instructor shows a symmetric extrusion by setting the measurement to half length, which results in one inch going up and one inch going down, totaling two inches.
What is the purpose of the 'taper' option in extruding?
-The 'taper' option allows the user to specify a certain taper angle for the extrusion, creating a slanted edge rather than a straight one.
How does the instructor demonstrate creating a cut operation in the video?
-The instructor demonstrates a cut operation by choosing 'all' instead of a specific distance, which automatically picks up the total height for cutting a hole all the way through the part.
What is the significance of the 'new bodies' or 'new components' mentioned in the video?
-The 'new bodies' or 'new components' refer to the ability to create separate, individual parts or components within Fusion 360, which can be useful for complex assemblies.
How does the instructor suggest turning a body into a component?
-The instructor suggests that a body created earlier can be turned into a component by creating it from the body, which is a way to organize and manage different parts within the software.
Outlines

This section is available to paid users only. Please upgrade to access this part.
Upgrade NowMindmap

This section is available to paid users only. Please upgrade to access this part.
Upgrade NowKeywords

This section is available to paid users only. Please upgrade to access this part.
Upgrade NowHighlights

This section is available to paid users only. Please upgrade to access this part.
Upgrade NowTranscripts

This section is available to paid users only. Please upgrade to access this part.
Upgrade Now5.0 / 5 (0 votes)


