Styling in React Native: Understanding the App.js Structure + Direct and Dynamic Styles
Summary
TLDRThis video tutorial guides viewers through enhancing a ReactJS application. It begins with the removal of the status bar and delves into the app's main code, focusing on the use of 'View' and 'Text' components. The instructor demonstrates how to apply styles, such as centering text and adding margins, borders, and padding. The tutorial also introduces the concept of global styles for consistent application of design elements across the app. The lesson concludes with the addition of a button and a teaser for future lessons on event listeners, leaving viewers eager for more.
Takeaways
- 😀 The video is a tutorial on creating an application using ReactJS and displaying it on a physical device with Vur.
- 🛠️ The presenter starts by removing the status bar from the app to continue the lesson.
- 📝 React Native is strict about syntax, and the script emphasizes the correct import and usage of components like Text and View.
- 🎨 The tutorial explains how to apply styles in React Native, similar to using CSS in web development, with the help of a Styles object.
- 📱 The main code exports a default function named 'App' that returns a View component representing the screen.
- 🔄 The script demonstrates how to center text on the screen using flexbox properties within the Styles object.
- 🔲 The presenter adds a button to the application and explains that it currently doesn't have an event listener, which will be covered later.
- 🖌️ The tutorial shows how to apply inline styles to the Text component, including margin, border width, border color, and padding.
- 🔄 The difference between margin and padding is clarified, with margin being external and padding being internal to the element.
- 🔄 The script guides on creating a global text style to avoid duplicating style code for multiple text elements.
- 🔄 The presenter instructs viewers to apply the global text style to other text elements in the application for consistency.
Q & A
What is the main topic of the video script?
-The main topic of the video script is creating and exploring an application using ReactJS, specifically focusing on the app.js file and styling elements within it.
Why is the status bar being removed in the script?
-The status bar is being removed as part of the lesson to continue exploring the app.js file without unnecessary UI elements, allowing for a cleaner focus on the application's content.
What is the significance of React Native's strict syntax in the script?
-React Native's strict syntax is important because it ensures that the code is properly recognized and executed by the framework, which is highlighted in the script when importing components.
What does the script mean by 'self-closing' in the context of the button element?
-In the script, 'self-closing' refers to a type of HTML element that does not require a separate closing tag, like the button element in React Native, which automatically closes after the title is set.
What is the purpose of the 'Styles' constant in the script?
-The 'Styles' constant is used to define and apply a set of styles to the elements within the React Native application, allowing for a consistent and organized approach to styling.
How does the script differentiate between 'margin' and 'padding' in styling?
-The script explains that 'margin' is the space outside of an element, while 'padding' is the space inside an element, affecting the layout and appearance differently.
What is the purpose of creating a 'textStyle' in the script?
-Creating a 'textStyle' allows for the reuse of the same styling across multiple text elements within the application, promoting consistency and reducing code redundancy.
Why might someone want to apply the same style to multiple text elements?
-Applying the same style to multiple text elements helps maintain a uniform look and feel across the application, making it more visually cohesive and easier to manage.
What does the script suggest for adding new elements to the application?
-The script suggests adding new elements, such as a button, by inserting the element within the 'View' component and styling it as needed, with the option to add event listeners later.
What is the next step mentioned in the script after understanding the 'View' and styling?
-The next step mentioned in the script is to tackle the creation of an event listener for the button, which will add interactivity to the application.
Outlines

This section is available to paid users only. Please upgrade to access this part.
Upgrade NowMindmap

This section is available to paid users only. Please upgrade to access this part.
Upgrade NowKeywords

This section is available to paid users only. Please upgrade to access this part.
Upgrade NowHighlights

This section is available to paid users only. Please upgrade to access this part.
Upgrade NowTranscripts

This section is available to paid users only. Please upgrade to access this part.
Upgrade NowBrowse More Related Video

React tutorial for beginners ⚛️

Use Gemini AI API without Backend Code - Gemini for Web in HTML, Javascript and React JS
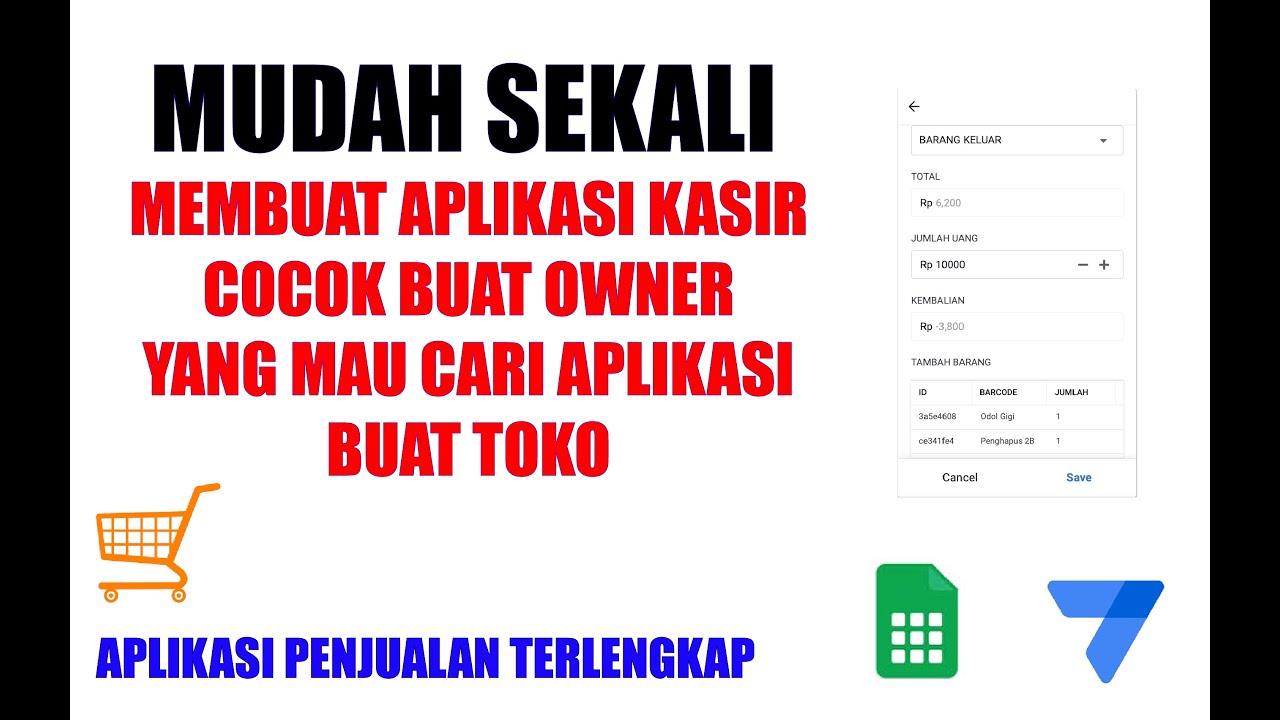
MUDAH SEKALI BUAT APLIKASI KASIR - APPSHEET APLIKASI KASIR TERLENGKAP
#FlutterFlow Crashcourse 2024 - SE01 - Episode 11 - Execute Callbacks

FreeCAD Practice Part |JOKO ENGINEERING|

Adding JWT Authentication & Authorization in ASP.NET Core
5.0 / 5 (0 votes)