Cara Membuat Topologi Jaringan Sederhana Menggunakan IP Static di Cisco Packet Tracer
Summary
TLDRThis tutorial video walks through the process of setting up a network topology using static IP addressing in Cisco Packet Tracer. It covers the necessary steps, from selecting devices like routers, switches, and PCs to configuring static IPs on each. The video also demonstrates how to connect the devices using straight-through cables, assign IP addresses, and set up DNS and gateways. It concludes with a successful test of the network's functionality, showing communication between the devices. A helpful guide for beginners looking to understand static IP configurations in network setup.
Takeaways
- 😀 Greeting and introduction to the tutorial on creating a network topology using static IPs in Packet Tracer.
- 😀 The tutorial demonstrates how to set up a router, switch, and PCs to create a network.
- 😀 The router used in the tutorial is a Router 1841, and the switch is a Switch 2950.
- 😀 PCs are added to the network, and the 'Ctrl' key is used to quickly add multiple devices.
- 😀 Devices are connected using straight-through cables between the router, switch, and PCs.
- 😀 The router's FastEthernet interfaces are configured with static IPs (e.g., 192.168.1.1).
- 😀 PCs are assigned static IP addresses, subnet masks, default gateway (router IP), and DNS server (8.8.8.8).
- 😀 The network configuration is verified by using the 'ping' command between the PCs to test connectivity.
- 😀 Successful pings confirm that the network configuration is correct and that the devices are properly communicating.
- 😀 The topology can be visually organized and color-coded using the 'Draw' tool to enhance clarity.
- 😀 The tutorial concludes with a successful configuration and a reminder to save the project.
Q & A
What is the primary focus of the tutorial in this video?
-The tutorial demonstrates how to create a network topology using static IP addresses on Cisco Packet Tracer.
Which router model is used in this tutorial?
-The router model used in the tutorial is the Cisco 1841.
What switch model is selected in the tutorial?
-The switch model selected is the Cisco 2950.
How many physical devices are used in the network topology?
-The tutorial uses four physical devices in the network topology.
How does the user add multiple physical devices to the workspace?
-The user can add multiple physical devices by holding down the 'Control' key and pasting the required number of devices.
What kind of cable is used to connect the devices in the topology?
-A straight-through cable is used to connect the devices.
What is the IP address configuration for the router?
-The router is configured with the IP address 192.168.1.1 for its interfaces.
How does the user configure the IP address for a PC in the topology?
-The user selects the PC, navigates to the IP Configuration section, and manually enters the static IP address, subnet mask, default gateway, and DNS server.
What IP addresses are assigned to the four PCs in the network?
-The four PCs are assigned IP addresses in the 192.168.1.x range: 192.168.1.2, 192.168.1.3, 192.168.1.4, and 192.168.1.5, respectively.
What tool is used to verify if the network configuration is successful?
-The user sends a ping from one PC to another to verify if the configuration is successful. A successful ping confirms the network setup is correct.
Outlines

Этот раздел доступен только подписчикам платных тарифов. Пожалуйста, перейдите на платный тариф для доступа.
Перейти на платный тарифMindmap

Этот раздел доступен только подписчикам платных тарифов. Пожалуйста, перейдите на платный тариф для доступа.
Перейти на платный тарифKeywords

Этот раздел доступен только подписчикам платных тарифов. Пожалуйста, перейдите на платный тариф для доступа.
Перейти на платный тарифHighlights

Этот раздел доступен только подписчикам платных тарифов. Пожалуйста, перейдите на платный тариф для доступа.
Перейти на платный тарифTranscripts

Этот раздел доступен только подписчикам платных тарифов. Пожалуйста, перейдите на платный тариф для доступа.
Перейти на платный тарифПосмотреть больше похожих видео
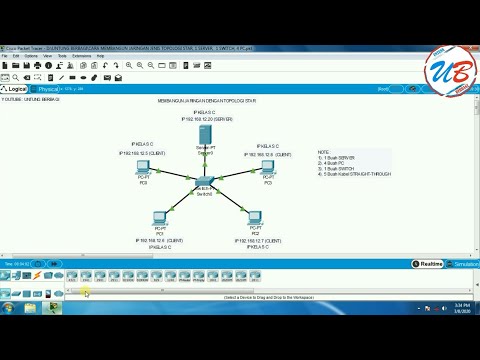
cara membangun jaringan jenis topologi star, 1 server, 1 switch, 4 pc pada cisco packet tracer

Jaringan Komputer Sederhana | Tutorial Belajar Online Lengkap CISCO CCNA 200-301 Part 5

Merancang-Bangun Jaringan dengan Aplikasi Cisco Paket Tracert Version Mobile

Tutorial Topologi Jaringan Sederhana menggunaan Cisco Packet Tracer (Topologi Tree)
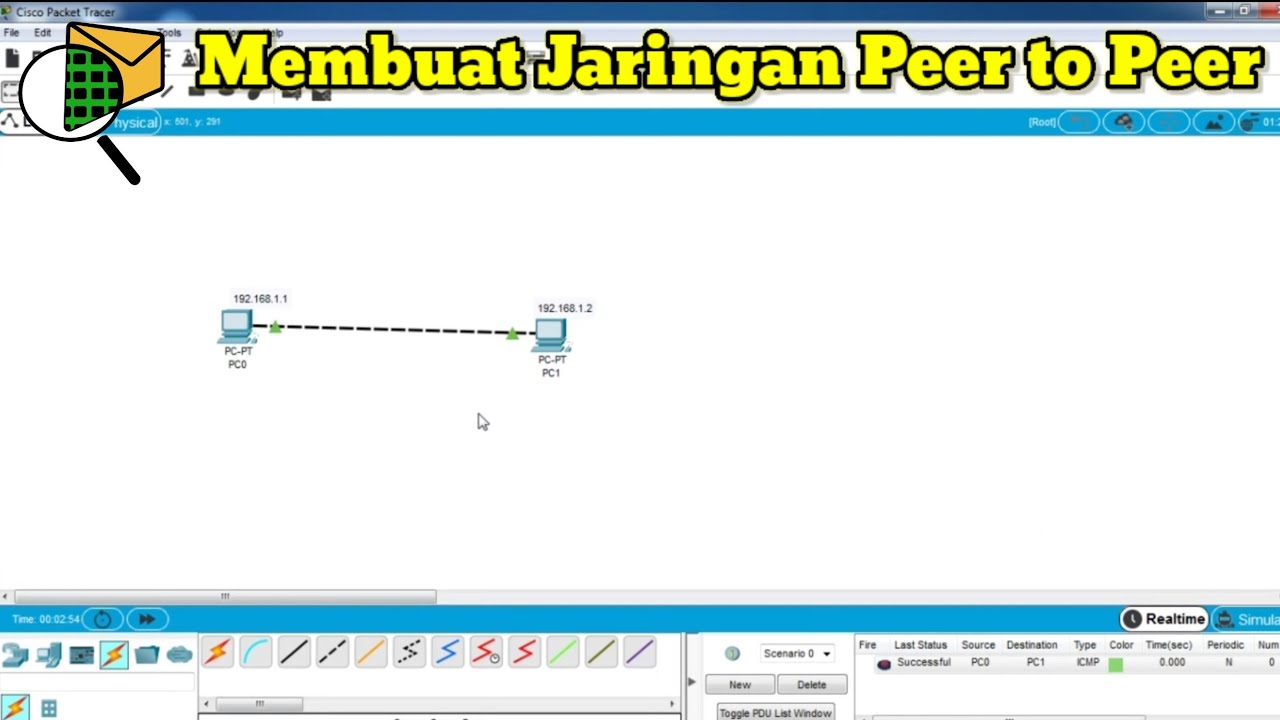
Cara Membuat Jaringan Peer To Peer di Cisco Packet Tracer
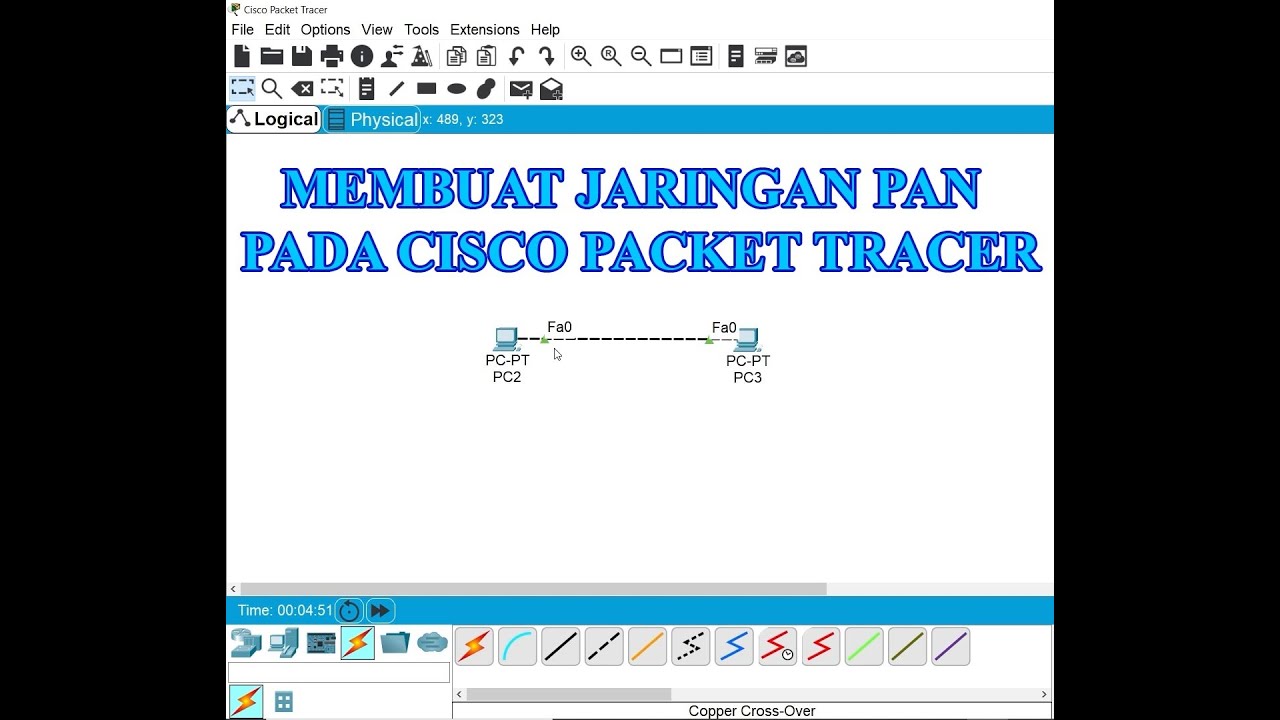
Membuat Jaringan PAN pada Cisco Packet Tracer
5.0 / 5 (0 votes)
