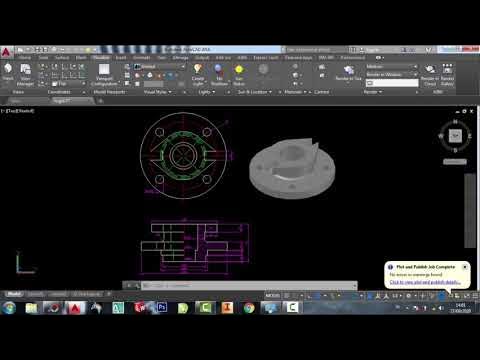
Tutorial AutoCad Pemula | Gambar Teknik 2D 1
Summary
TLDRIn this tutorial, the presenter demonstrates how to create a specific tool using Autodesk AutoCAD 2012. The process begins with drawing axes and defining dimensions, followed by constructing various geometric shapes like triangles and circles with precise measurements. The presenter explains the steps clearly, including how to set up dashed lines and incorporate radius dimensions. Throughout the video, viewers are guided through each action, making it accessible for beginners. The video concludes with a reminder to ask questions in the comments, fostering engagement and support within the viewer community.
Takeaways
- 😀 The tutorial focuses on creating a specific tool using Autodesk AutoCAD 2012.
- 📝 The process starts by drawing the X and Y axes for the design.
- 🔍 The 'rem' command is used to establish the initial point and dimensions.
- 📏 The center point is activated using the 'snap' feature for precise alignment.
- ⬆️ A triangular shape is drawn, extending upwards by 200 units.
- ⬇️ The shape is then mirrored downwards for symmetry, maintaining the same dimensions.
- ⚖️ The design features a diameter of 150, requiring calculations for half the size (75 units).
- ✏️ Dashed lines are created by changing the layer properties in the file menu.
- 🔵 Circles are drawn with diameters of 200, 150, and 75 units using specific commands.
- 🌀 Additional arcs are included, specifying their radii for a complete design.
Q & A
What is the primary software used in the tutorial?
-The tutorial uses Autodesk AutoCAD 2012 to create a tool.
What are the first steps mentioned in the tutorial?
-The first steps involve creating the x-axis and y-axis lines.
How does the instructor set the pressure assumption in the design?
-The instructor assumes the pressure to be a specific value, though the exact number isn't stated.
What command is used to activate the midpoint snap feature?
-The instructor uses the 'Snap' command to activate the midpoint feature for precise alignment.
What is the diameter size mentioned for the circles in the design?
-The circles have a diameter size of 200, with another circle of diameter 150 and a smaller one of 75.
How are the lines adjusted to become dashed?
-The lines are changed to dashed by selecting the layer properties and choosing a dashed line style.
What dimensions are given for the radius in the tutorial?
-A radius of 400 is used for one part of the design, and a radius of 125 is used for another.
What action does the instructor take to clean up the design?
-The instructor uses the 'Erase' command to remove unnecessary lines after finishing the design.
What is the closing remark made by the instructor?
-The instructor invites viewers to ask questions in the comments and thanks them before concluding the video.
What type of tool is being designed in this tutorial?
-The tutorial focuses on creating a specific tool, although the exact type of tool is not explicitly stated.
Outlines

Этот раздел доступен только подписчикам платных тарифов. Пожалуйста, перейдите на платный тариф для доступа.
Перейти на платный тарифMindmap

Этот раздел доступен только подписчикам платных тарифов. Пожалуйста, перейдите на платный тариф для доступа.
Перейти на платный тарифKeywords

Этот раздел доступен только подписчикам платных тарифов. Пожалуйста, перейдите на платный тариф для доступа.
Перейти на платный тарифHighlights

Этот раздел доступен только подписчикам платных тарифов. Пожалуйста, перейдите на платный тариф для доступа.
Перейти на платный тарифTranscripts

Этот раздел доступен только подписчикам платных тарифов. Пожалуйста, перейдите на платный тариф для доступа.
Перейти на платный тарифПосмотреть больше похожих видео

Tutorial Drawing #1 Mengubah Ukuran Kertas dan Garis Tepi Di Autodesk Inventor Indonesia

Cara Membuat Garis Tepi dan Etiket Gambar Teknik Kertas A4 di Autodesk AutoCad

Autocad 2dimensional to 3dimensional beginner # 42 mechanical engineering

Autocad tutorial 2D gambar mesin #13

TIPS & TRIK AUTOCAD YANG JARANG ORANG TAHU !

Advanced Modeling - Split and Combine Bodies
5.0 / 5 (0 votes)
