Direct Modeling - Feature Deletion

Craig Hughes
30 Apr 202203:54

Summary

TLDRThis video tutorial focuses on key objectives for the Autodesk Certified User certification, specifically within Fusion 360. The video explores direct modeling with a focus on feature deletion and understanding the model history tree. Viewers are guided through opening a part, reviewing the history tree, identifying different components, and performing feature deletions. A step-by-step demonstration shows how to remove features such as a hole and replace it with a new shape without redoing previous work. The video concludes with advice for exam preparation and encourages further review of other exam objectives.

Takeaways

  • 🛠️ The video covers an exam objective for Autodesk Certified User certification related to Fusion 360.
  • 📁 The focus is on the 'Direct Modeling' category, particularly feature deletion and navigating the model history tree.
  • 🔍 The model history tree allows users to track the part creation process and identify each feature added.
  • 📐 The cube icon in the history tree indicates a new component, and hovering over it shows details of the model.
  • 🔄 Users can edit sketches by right-clicking and choosing to modify or view them.
  • 📊 The user demonstrates creating and extruding circles from a sketch to build a part.
  • 👁️ Sketch visibility can be toggled on and off to see different parts of the model's development.
  • 🗑️ Features like holes can be deleted from the model by right-clicking or pressing delete on the keyboard.
  • 🔲 After deleting a feature, new shapes (like squares) can be added and extruded to modify the component.
  • 📖 The video concludes by emphasizing that understanding feature deletion is important for the Autodesk Certified User exam in Fusion 360.

Q & A

  • What is the main focus of the video related to the Autodesk Certified User (ACU) exam?

    -The video focuses on the direct modeling category of the Autodesk Certified User exam, specifically feature deletion and understanding the model history tree in Fusion 360.

  • What is the model history tree in Fusion 360 used for?

    -The model history tree allows users to track the steps and features they have created in their design. It shows the order of actions such as sketches, extrusions, and component creation.

  • How can you edit a sketch from the model history tree in Fusion 360?

    -You can edit a sketch by right-clicking on the sketch in the model history tree and selecting 'Edit Sketch,' allowing you to modify the original design.

  • What does the single cube icon represent in the model history tree?

    -The single cube icon in the model history tree indicates the creation of a new component. In the video example, it shows the creation of the 'Tube Hanger' component.

  • How can you visualize which part of the model was created from a specific sketch?

    -By hovering the mouse over a sketch in the model history tree, you can see what part of the model was created from that sketch, helping you track the design process.

  • What are the steps to delete a feature in Fusion 360?

    -To delete a feature, you can right-click on the feature in the model history tree and select 'Delete,' or you can select the feature and press 'Delete' on your keyboard.

  • How can you animate the sequence of steps in the model history tree?

    -You can animate the sequence of steps by using the play button at the bottom of the model history tree. This shows how the design evolved over time, step by step.

  • What should you do if you want to view sketches that are not visible in the model history tree?

    -If sketches are not visible, you can go to the component in the browser, expand the sketches folder, and turn on the visibility for the sketches you want to see.

  • Can you replace a deleted feature with a new shape in Fusion 360?

    -Yes, after deleting a feature, you can add a new shape, such as creating a square opening instead of a circular hole, and then extrude it to fit the design.

  • What advice does the video provide for preparing for the Autodesk Certified User exam?

    -The video suggests reviewing how to perform tasks like feature deletion and understanding the model history tree, as these are key topics for the ACU exam. It encourages further study and practice using Fusion 360.

Outlines

00:00

🛠️ Introduction to Fusion 360 Direct Modeling for Autodesk Certified User Exam

In this video, the focus is on covering one of the exam objectives for the Autodesk Certified User certification related to Fusion 360. The main topic discussed is the direct modeling category, particularly focusing on two objectives: feature deletion and reviewing the model history tree in the browser. The goal of the video is to guide the viewer through these processes step-by-step.

📂 Overview of the Fusion 360 Model History Tree

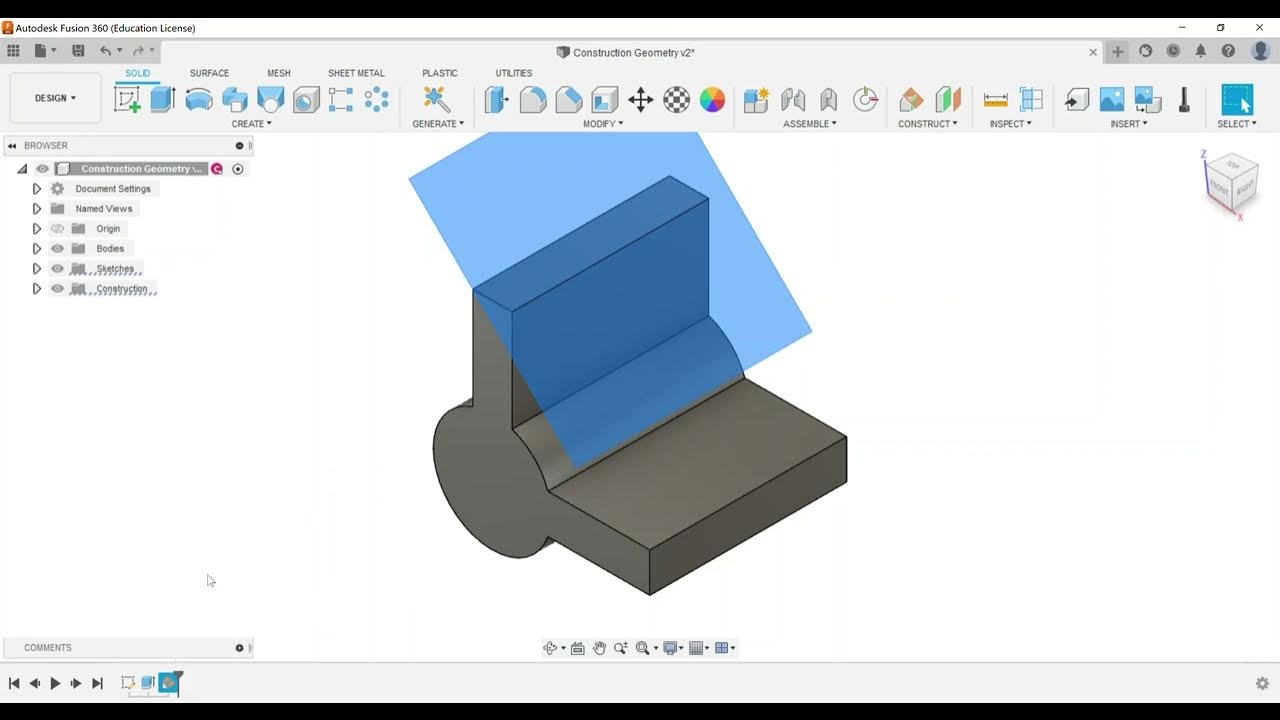
The video transitions to the Fusion 360 workspace, where a pre-existing part (tube hanger) is used as an example. The model history tree is highlighted as a key tool for tracking features. The single cube icon in the history tree indicates a new component (tube hanger) creation. Sketch 1 is shown to be where two circles were created, followed by extrusion. Sketch 2 showcases the creation of the main body and its connection to the circles. The history tree is emphasized as a way to track how the part was built.

🔄 Using the Model History Tree to Track Features and Revert Changes

This section covers how the model history tree can be used to explore earlier steps in the modeling process. The speaker explains that by hovering over different sketches, you can see which part of the model was affected. The ability to edit sketches, use arrows to navigate between previous steps, and view animations that show the evolution of the part is demonstrated. Turning sketches on and off allows for better visualization of the model's progression.

🛑 Deleting Features from the Model History Tree

Here, the speaker explains the process of feature deletion. For example, if the hole in the model is no longer needed, it can be deleted by right-clicking on it and selecting 'delete,' or by pressing the delete key on the keyboard. The speaker also suggests how to add a new shape, such as a square hole, without redoing the entire model, by modifying specific features.

✅ Conclusion and Exam Preparation Tips for Autodesk Certified User Exam

The video concludes by summarizing how to delete features from the model history tree and replace them with new ones without significant rework. The speaker encourages viewers to review this information as it will be useful for the Autodesk Certified User exam. They offer to answer questions and wish the audience good luck with their exam preparation while recommending other videos on exam objectives related to Fusion 360.

Mindmap

Keywords

💡Autodesk Certified User Certification

This refers to a certification program offered by Autodesk for validating proficiency in their software, particularly Fusion 360. In the video, the speaker is covering exam objectives, meaning the content is aligned with what users need to know to pass the certification.

💡Fusion 360

Fusion 360 is Autodesk's cloud-based 3D modeling, CAD, CAM, CAE, and PCB software. The entire video revolves around using Fusion 360, particularly focusing on its direct modeling features and how to manipulate models using the history tree.

💡Direct Modeling

Direct modeling in Fusion 360 allows users to edit models without needing to rely on a complex history of features. The video focuses on deleting and adding features directly, which is part of the direct modeling workflow and contrasts with parametric modeling.

💡Feature Deletion

Feature deletion refers to the process of removing specific components or features of a 3D model. The speaker explains how to remove parts like a hole from the model history tree and replace it with a new feature, such as a square hole, without starting over from scratch.

💡Model History Tree

The model history tree in Fusion 360 tracks every action performed on a model, such as sketches, extrusions, and feature creations. In the video, the speaker uses this tool to review steps in the modeling process and explains how to delete or edit features by interacting with the history tree.

💡Component

A component is a distinct part of a larger model. In the video, the 'tube hanger' is used as an example of a component, and the speaker discusses how different components and features, like sketches or extrusions, are created and modified.

💡Sketch

A sketch is the foundation of 3D modeling in Fusion 360, typically consisting of 2D shapes that can later be extruded or manipulated. In the video, the speaker describes creating circles in the initial sketch, which are then extruded to form part of the tube hanger.

💡Extrusion

Extrusion is a common modeling operation where a 2D sketch is extended into the third dimension to create a solid object. The speaker highlights this operation when explaining how circles from Sketch 1 were extruded to form the basic structure of the tube hanger.

💡Play Button

The play button refers to a feature in Fusion 360 that allows users to replay the modeling steps from the model history tree. The speaker demonstrates how to use this function to review the creation process of the component from start to finish.

💡Edit Sketch

Editing a sketch allows users to modify the original 2D drawing that forms the base of a 3D feature. In the video, the speaker mentions that users can right-click on a sketch in the history tree to edit or make changes, such as adding or altering features.

Highlights

Introduction to the Autodesk Certified User (ACU) exam objectives, specifically for Fusion 360.

Focus on the direct modeling category, with a primary emphasis on feature deletion.

Explanation of the model history tree and its importance in tracking design steps in Fusion 360.

Demonstration of opening an existing part, a tube hanger, to explore its features and history.

Description of various components in the model history tree, including sketch creation and extrusion.

Explanation of how to identify components in the history tree using icons like the cube for new components.

Overview of Sketch 1 where two circles were created and extruded to form part of the tube hanger.

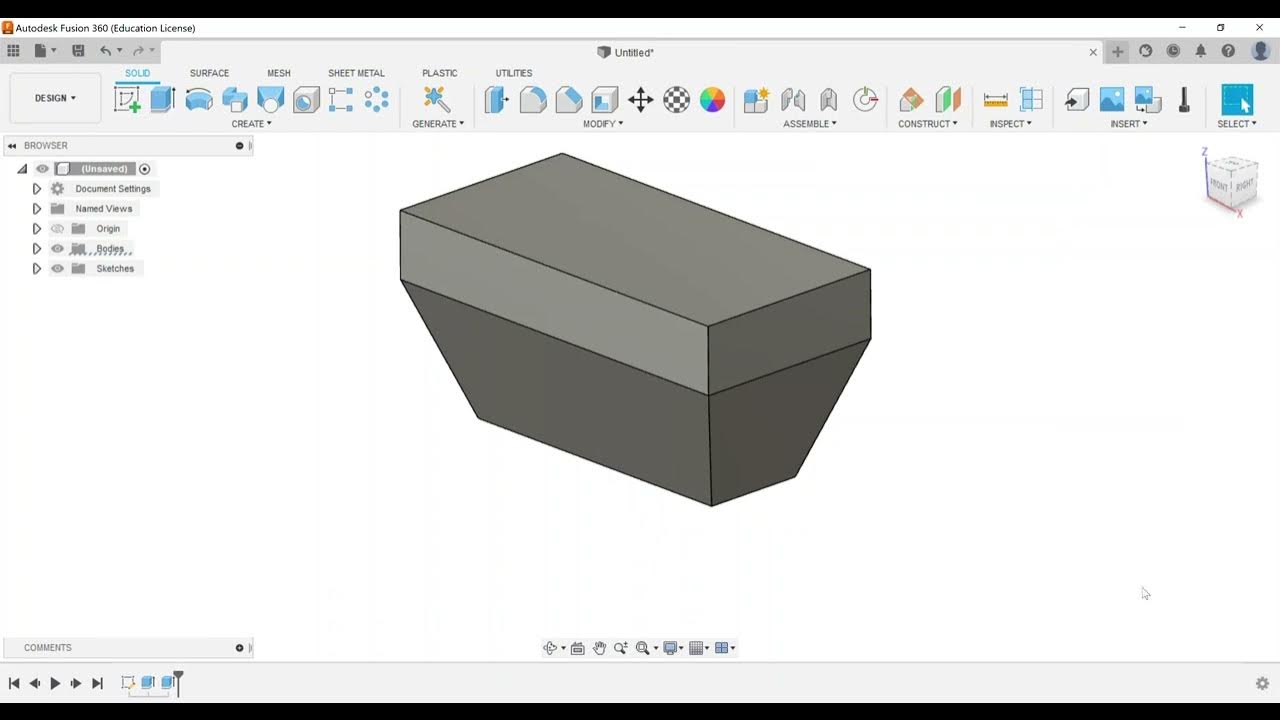
Details of Sketch 2, where the main body of the tube hanger was designed with angled faces.

Step-by-step process for tracking the construction of the part using sketches and extrusions in the history tree.

Instruction on how to delete a feature, such as a hole, from the model history tree.

Demonstration of adding a new feature after deleting an existing one, like replacing a circular hole with a square opening.

Explanation of how to undo or move back in the history tree using the arrows to go to previous steps.

Overview of how to animate the construction of the model from start to finish by using the play button.

Clarification on how to make sketches visible again if they disappear from the history tree.

Final remarks encouraging viewers to use these techniques for their Autodesk certification exam preparation.

Transcripts

play00:01

in this video we're going to cover

play00:03

another

play00:04

exam objective for the autodesk

play00:07

certified user certification

play00:09

dealing with fusion 360. so in this

play00:12

video we're going to move to the direct

play00:13

modeling category

play00:15

and there's only two objectives here

play00:17

we're going to focus on feature deletion

play00:19

and just going through and reading that

play00:21

model history tree that you see

play00:23

in your browser so here

play00:27

i'll move to fusion

play00:29

and i'll go ahead and open up a part

play00:30

that i've already

play00:31

have kind of showing up here so here's

play00:34

our tube hanger main thing is feature

play00:36

deletion so all refers down to down here

play00:38

at the bottom which is our model history

play00:40

tree so you can see here you can kind of

play00:43

keep track of what i have and looking at

play00:45

the different icons so the little single

play00:47

cube icon means that i created a new

play00:50

component so this one was named tube

play00:52

hanger i have sketch one

play00:55

and again you can always go through and

play00:57

right click and go back in to edit a

play00:58

sketch or anything like that but sketch

play01:01

one is where i created and when i hover

play01:02

my mouse over i'm able to see

play01:04

on the model what was actually created

play01:06

so i created two circles within this

play01:08

sketch and then i extruded them so you

play01:10

can see the extrude one

play01:12

category that shows up there so that's

play01:14

what was extruded the first time out you

play01:16

can actually track to see how i built

play01:17

this part

play01:18

when i look at sketch number two this is

play01:21

where i went through and you can see i

play01:23

created the main body which has the kind

play01:25

of angled face and kind of connects up

play01:27

over to the circles that i created

play01:29

before

play01:30

i then extruded that main body

play01:33

and then i created the one the body here

play01:36

on the end

play01:37

extruded it and then i ended up putting

play01:40

a hulk a hole in there for the end so

play01:44

in a lot of cases if we do not want

play01:46

a particular feature

play01:48

and the other thing is as well is if i

play01:51

want to go back like maybe from the

play01:53

start i can always use these arrows down

play01:55

here either i can go all the way move to

play01:56

the beginning or move to a previous step

play01:59

here's the next steps and again the

play02:01

sketches may not go through and show up

play02:03

because the sketches are not visible so

play02:06

as i go into the tube hanger component

play02:08

and look at the sketches i may want to

play02:10

turn these on and then now if i start

play02:12

from the beginning and even if i hit the

play02:14

play button

play02:15

i should be able to see the sketches

play02:18

the extrusions and then what things were

play02:20

brought into them so now let me hit to

play02:22

the end if i hit play

play02:24

there you'll be able to see that

play02:26

animation run and show how that it was

play02:28

played i'm going to turn off the

play02:29

sketches here though

play02:31

collapse the menus now if we want to get

play02:33

rid of a feature for example like the

play02:36

hole here and maybe i want to

play02:39

direct model a circle in there or put a

play02:41

different shape in there that's not a

play02:42

hole so i can go ahead and i can right

play02:44

click on this

play02:45

and i can hit delete

play02:48

or i could always select a feature so if

play02:50

i

play02:51

bring that command back select it and

play02:53

press delete on my keyboard and it will

play02:55

also do the same thing

play02:57

now what i could do is maybe put in a

play02:59

new shape in there maybe i want a square

play03:01

hole

play03:02

or a square opening i should say not

play03:04

really a square hole i won't worry about

play03:06

dimensioning it but then maybe i want to

play03:08

go ahead and then extrude that through

play03:14

and then have that be in there as well

play03:16

so that is one way to delete a feature

play03:18

without having to redo a bunch of work

play03:21

and then be able to go through and put

play03:22

in a desired feature or part that you

play03:25

want to have created to the component

play03:28

that you're making so

play03:30

this concludes how to do feature

play03:31

deletion out of the model history tree

play03:34

and hopefully this is good information

play03:35

good review for you and to know what

play03:38

exactly they're looking for on the

play03:39

autodesk certified user exam if you have

play03:41

questions feel free to contact me

play03:43

otherwise good luck in all your

play03:45

preparation for the acu exam and check

play03:48

out more videos first exam objectives

play03:50

dealing with fusion 360.

Rate This

5.0 / 5 (0 votes)

Связанные теги
Fusion 360Feature DeletionModel HistoryAutodesk ExamDirect ModelingComponent EditingSketchingCAD Tutorial3D ModelingExam Prep
Вам нужно краткое изложение на английском?