How to Make a Bottle Rocket
Summary
TLDRThis instructional video outlines the simplest method to create an efficient bottle rocket. It emphasizes selecting bottles with straight sides, like those from Pepsi products, for the base and nose. The base bottle must remain intact to maintain pressure, while the nose can be fashioned from another bottle's top, weighted with a tennis ball for stability. The tutorial demonstrates attaching the nose to the base with tape, ensuring a snug fit without creasing. Optional fins made from cardboard, taped to prevent water damage, enhance stability. The video assures viewers that following these steps will result in a high-flying bottle rocket.
Takeaways
- 🧭 Choose the right bottles: Opt for straight-sided bottles like those from Pepsi products for better stability and ease of use.
- 🛠️ Designate a base: Select one bottle to be the base, which will remain intact to provide pressure for the rocket's launch.
- ✂️ Create a cone: Use another bottle to create a cone by cutting off the top and sliding it over a tennis ball for a better seal and stability.
- 🎾 Use a tennis ball: Place a tennis ball at the top of the rocket to add weight and improve stability during flight.
- 🔗 Secure with tape: Use duct tape or packing tape to secure the cone to the base bottle, ensuring a tight fit that doesn't crease the base.
- 🚫 Avoid cutting the base: Keep the base bottle uncut to maintain the necessary pressure for the rocket to launch.
- 📏 Measure carefully: When cutting the top off for the cone, ensure enough length is left to slide over the tennis ball and base bottle.
- 📈 Stability is key: Adding fins made from cardboard can improve the rocket's stability in flight, but ensure they are well-sealed with tape to prevent water damage.
- 🔗 Reinforce with multiple tapes: Apply multiple layers of tape around the rocket to reinforce the structure and withstand the pressure during launch and landing.
- ⚖️ Keep it light: Avoid adding too much weight to the rocket, as this can reduce its flight performance.
Q & A
What type of bottles are best suited for making a bottle rocket?
-Straight-sided bottles, such as those from Pepsi products, are ideal because they have an even surface that makes them easy to work with.
Why are bottles with unusual shapes, like some Coke bottles, not recommended?
-Bottles with unusual shapes may not provide an even surface, making them harder to use for creating an efficient rocket and ensuring a good fit for the launcher.
What is the purpose of the base bottle in the bottle rocket design?
-The base bottle is where water is placed and where pressure builds up. It must remain intact to hold pressure and ensure a successful launch.
Why should you avoid cutting a hole in the base bottle?
-Cutting a hole in the base bottle would compromise its ability to hold pressure, preventing the rocket from launching properly.
How do you create the nose cone of the bottle rocket?
-The nose cone is made by cutting off the top of a second bottle and placing it over a tennis ball to add weight and stability to the rocket during flight.
Why is it important to add weight, such as a tennis ball, to the nose of the rocket?
-Adding weight to the nose helps stabilize the rocket in the air and improves its momentum, allowing it to fly straighter and higher.
What happens if the cone is pushed too hard onto the base bottle?
-If the cone is pushed too hard, it may crease or deform the base bottle, which could affect the rocket’s ability to launch and perform well.
How should you tape the nose cone to the base bottle?
-Use duct or packing tape to secure the nose cone, wrapping it around the top of the rocket and adding vertical strips for extra support. This ensures the nose stays in place during launch and landing.
What is the purpose of adding fins to the bottle rocket, and how should they be constructed?
-Fins help the rocket stay stable in the air. They can be made from cardboard, but should be fully taped to prevent water damage, as wet cardboard can degrade.
Why should you avoid using too much tape or adding too much weight to the bottle rocket?
-Excessive tape or weight can make the rocket heavier, reducing its ability to reach higher altitudes during flight.
Outlines

このセクションは有料ユーザー限定です。 アクセスするには、アップグレードをお願いします。
今すぐアップグレードMindmap

このセクションは有料ユーザー限定です。 アクセスするには、アップグレードをお願いします。
今すぐアップグレードKeywords

このセクションは有料ユーザー限定です。 アクセスするには、アップグレードをお願いします。
今すぐアップグレードHighlights

このセクションは有料ユーザー限定です。 アクセスするには、アップグレードをお願いします。
今すぐアップグレードTranscripts

このセクションは有料ユーザー限定です。 アクセスするには、アップグレードをお願いします。
今すぐアップグレード関連動画をさらに表示

Make your own water bottle rocket launcher! - Part 2 of 3

FOGUETE caseiro de vinagre e bicarbonato de sódio
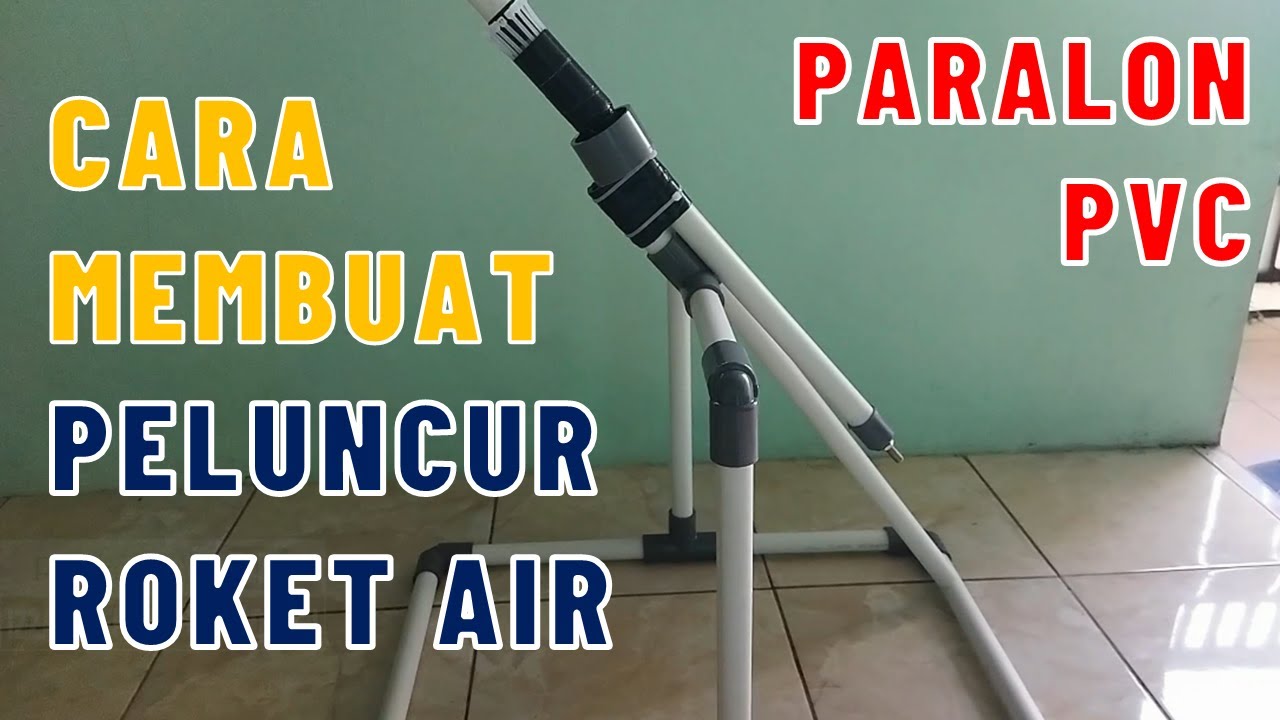
CARA MEMBUAT PELUNCUR ROKET AIR MENGGUNAKAN PIPA PARALON 1/2" INCH

How to Tread Water for Beginners in 10 Minutes - Easy and Effective Technique
(2025) How to Transfer Photos/Videos from iPhone to Any Mac!!

SAM - Successive Approximation Model
5.0 / 5 (0 votes)
