Cara pasang outlet/soket LAN data internet Panasonic cat5e WEJ2488 di dinding menggunakan tang Krone
Summary
TLDRThis instructional video offers a step-by-step guide on how to install a Cat5e data cable in a TV using a Panasonic RJ2488 outlet, commonly known as a Pocket Lamin. The host demonstrates peeling the cable, organizing the wires according to the B model (Strike), inserting them into the green pocket, and crimping them with a tool. The video also covers how to correct any installation errors and how to mount the outlet on the wall, concluding with a successful connection test. The host encourages viewers to like, subscribe, and leave comments for further questions or suggestions.
Takeaways
- 📺 The video is a tutorial on how to install a data internet cable using a TV CAT5e outlet.
- 🏠 The outlet is used for distributing embedded internet cables in walls, specifically the Panasonic wej2488 model.
- 🛠️ The video recommends using a crimping tool to strip about 3 cm of the outer sheath of the LAN cable.
- 🔌 It explains that there are 8 slots in the green pocketland for placing the LAN cable according to color codes A and B.
- 🔠 The installation follows the B model, which is the most common, with a specific color sequence for the wires.
- 🔄 The video demonstrates how to separate the cable into two parts and insert them into the slots in the correct order.
- 🔧 It mentions using a punch-down tool or a small flathead screwdriver to press the wires into place.
- ✂️ If a punch-down tool is not available, a pair of scissors can be used to cut the excess cable.
- 🔄 The video shows how to correct any installation errors by opening the connector with pliers and reinserting the cable.
- 🛑 The tutorial includes a test to ensure the cable is properly connected using a cable tester.
- 🔨 The final steps involve mounting the outlet on a wall bracket and closing the casing to complete the installation.
Q & A
What is the main purpose of the video tutorial?
-The main purpose of the video tutorial is to demonstrate how to install an internet data cable (CAT5e) into a Panasonic outlet or socket.
What tool is suggested for stripping the outer casing of the LAN cable?
-The video suggests using a crimping tool to strip the outer casing of the LAN cable, though a cutter can also be used.
How many slots are available for the LAN cable in the Panasonic outlet?
-There are 8 slots available for the LAN cable in the Panasonic outlet.
What color code is followed for the 'Strike' model in the video?
-For the 'Strike' model, the color code followed is: white-orange, orange, white-green, green, white-blue, blue, white-brown, and brown.
What should you do if you do not have a crimping tool for pressing the cables?
-If you do not have a crimping tool, you can use a small flat-head screwdriver to press the cables into place.
How can excess cable be trimmed after installation?
-Excess cable can be trimmed using the cutting function of the crimping tool or with scissors.
What is the function of the 'tank crown' mentioned in the video?
-The 'tank crown' is used to press the cables into the slots, ensuring a secure and proper connection.
What is the process if a cable is installed incorrectly?
-If a cable is installed incorrectly, it can be removed by pressing the retaining clip and pulling the cable out.
How is the functionality of the installation verified?
-The functionality of the installation is verified using a LAN cable tester.
What is the final step after verifying the installation?
-The final step after verifying the installation is to close the outer casing of the outlet.
Outlines
💻 How to Install Internet Data Cable in TV
Welcome to the Nafri channel, where we share knowledge and experiences. In this video, we'll guide you on how to install an internet data cable using a CAT5e cable into a Panasonic WEJ2488 outlet. This outlet is commonly used for internet cable distribution embedded in walls. Before we start, please like the video and subscribe to our channel. Let's begin the installation by preparing the LAN cable, stripping about 3 cm of the outer sheath. There are various ways to strip the LAN cable; we use a crimping tool, but a cutter can also be used. After stripping, open the green cover of the Pocket Lamin and follow the color codes for inserting the wires: white-orange, orange, white-green, green, white-blue, blue, white-brown, and brown. Use a crimping tool or a small flathead screwdriver to press the wires into place and trim any excess. If any mistakes are made, the wires can be easily removed and repositioned. Finally, we'll test the connection using a LAN tester to ensure everything is correctly installed.
🔧 Mounting the Outlet on the Wall
This section covers the final steps of mounting the outlet on the wall. Assume the outlet is already installed in the wall; attach it to a bracket, which can be single or double. We demonstrate using a single bracket. Secure the bracket using screws or clips, depending on the installation conditions. Finally, cover the outlet with its casing. Thank you for watching! If you liked the video, please click like, and don't forget to subscribe and activate the notification bell. If you have any questions or suggestions, feel free to leave them in the comments below.
Mindmap
Keywords
💡Mazda2 website
💡Ethernet cable
💡Cat5e
💡Outlet
💡Panasonic wej2488
💡Installation
💡Crimping
💡Crown punch down tool
💡Crosstalk
💡Ethernet tester
💡Bracket
Highlights
Introduction to a tutorial on how to install an internet data cable on a TV using a Cat5e cable, an outlet, or a P-channel, also known as a Pocket Lamin Panasonic wej2488.
The Panasonic outlet is commonly used and widely available in the market, with a good reputation.
Instructions to like and subscribe to the video before starting the tutorial.
Preparation of the LAN cable by removing about 3 cm of the outer sheath.
Different methods to strip the LAN cable, such as using a cutter or crimping tool.
Explanation of the cable positioning in the socket, which is preset and does not require manual adjustment.
Opening the green pocket by pressing both sides while pulling the cable.
Description of the 8 slots for the LAN cable and the color-coded instructions for models A (crossover) and B (Strike).
Demonstration of installing the LAN cable following the B model Strike color sequence: white, orange, green, blue, and brown.
Separating the cable into two parts and arranging them by color before inserting into the slots.
Using a punch tool to secure the cables in the slots.
Alternative methods to secure and trim the cables if a punch tool is not available.
Instructions on how to open the socket using pliers if there is an installation error.
Demonstration of using a cable tester to check if the installation was successful.
How to mount the outlet on the wall using brackets, either single or double, depending on the product.
Final step of closing the outer casing to complete the installation.
Encouragement to like the video, subscribe, and activate notifications for more content.
Invitation for questions, suggestions, or feedback in the comment section below the video.
Transcripts
[Musik]
Mazda2 website-website Selamat datang di
nafri channel-channel yang selalu
berbagi ilmu dan pengalaman video kali
ini saya mau berbagi ilmu cara memasang
kabel data internet di TV cat5e di
outlet atau p-channel atau bisa juga
disebut Pocket Lamin Panasonic wej2488
untuk keenam prinsipnya hampir sama ya
outlet ini digunakan untuk distribusi
kabel internet yang tertanam di dinding
produk outlet laundry Panasonic ini
paling sering digunakan karena paling
banyak beredar di pasaran Selain itu
kolektor produk ini sudah Tidak
diragukan lagi ya oke sebelum memulai
tutorial ini boleh dong kalian klik like
video ini dan subscribe Kenapa dikenal
Oke kita mulai instalasinya
Hai pertama-tama kita siapkan dulu kabel
LAN dengan mengupas kulit luarnya kupas
sekitar 3 cm banyak cara kupas kabel LAN
Kebetulan saya datang crimping Jadi
pakai alat ini saja Kalian juga bisa
pakai cutter dengan cara menyayat kulit
kabel secara melingkar kita tarik kulit
kabelnya tidak perlu diatur posisi
kabelnya menjadi model Strike karena
pengaturan tersebut sudah ada di
soketnya buka-tutup pocketland yang
berwarna hijau dengan cara menekan kedua
Sisi ini sambil ditarik Jika dilihat
dari atas
ada 8 slot untuk tempat kabel LAN yang
akan dipasang di sisi samping ada
petunjuk kode a&b a untuk model
crossover dan B untuk model Strike ini
yang banyak dilakukan secara kita akan
memasang model Strike jadi kita
mengikuti gambar b di bawah urutannya
putih Orange foreign putih hijau hijau
putih biru biru putih coklat coklat kita
pisahkan kabel menjadi dua bagian bagian
kiri warna putih Orange Orange putih
hijau hijau lalu bagian kanan warna
putih biru biru putih coklat coklat
masukkan kabel utama lam lalu kabel
kecilnya kita tancapkan di slot sesuai
warnanya pertama kita masukkan dulu
Kabel putih Orange agar ditekan seperti
ini lalu yang kedua kabel orange
Hai yang ketiga kabel putih hijau yang
keempat kabel hijau selanjutnya Sisi
satunya kelima kabel putih biru keenam
kabel biru setuju kabel putih coklat
yang terakhir kabel coklat siksa lagi
semuanya apakah sudah benar kemudian
tekan masing-masing kabel dengan tank
Crown
[Musik]
Hai hasilnya seperti ini jika kalian
tidak punya tank ini bisa juga pakai
obeng minus yang kecil untuk menekan
kabel dan tank atau gunting untuk
memotong kelebihan kabelnya jika
menggunakan tang crown lebih cepat
karena kepalanya sudah dirancang untuk
ukuran soket ini dan sudah ada pemotong
otomatis nya jadi bisa lebih cepat dan
rapi ya jika ada kesalahan pemasangan
kabel disket maka bisa dibuka
menggunakan kanguru lagi buka bagian
pengait dengan cara ditekan lalu
luruskan pengait sampai mentok cara
membuka kabelnya cukup mudah masukkan
alat pengait ke belakang kabel setelah
terkait bisa langsung ditarik sampai
kabel terlepas kemudian kita pasang
penutupnya seperti ini sekarang kita
coba dengan lantai Berapakah instalasi
ini berhasil pasang kabel kelam tester
[Musik]
Ayo kita hidupkan Oke ternyata terhubung
dengan baik ya cara pasang Di dindingnya
seperti ini ya anggap outlet ini sudah
terpasang di dinding kita tancapkan di
bracket untuk produk Panasonic ada yang
single dan ada yang double saya demokan
yang single kemudian Kencangkan bracket
bisa pakai skrub atau penjepit kanan
kiri tergantung dengan kondisi di
lapangan
[Musik]
Hai yang terakhir kita tutup casing
luarnya selesai Oke Thanks for watching
suka dengan video ini silahkan klik like
dan jangan lupa subscribe dan aktifkan
lonceng pertanyaan atau saran silahkan
isi kolom komentar di bawah ini ya
Voir Plus de Vidéos Connexes
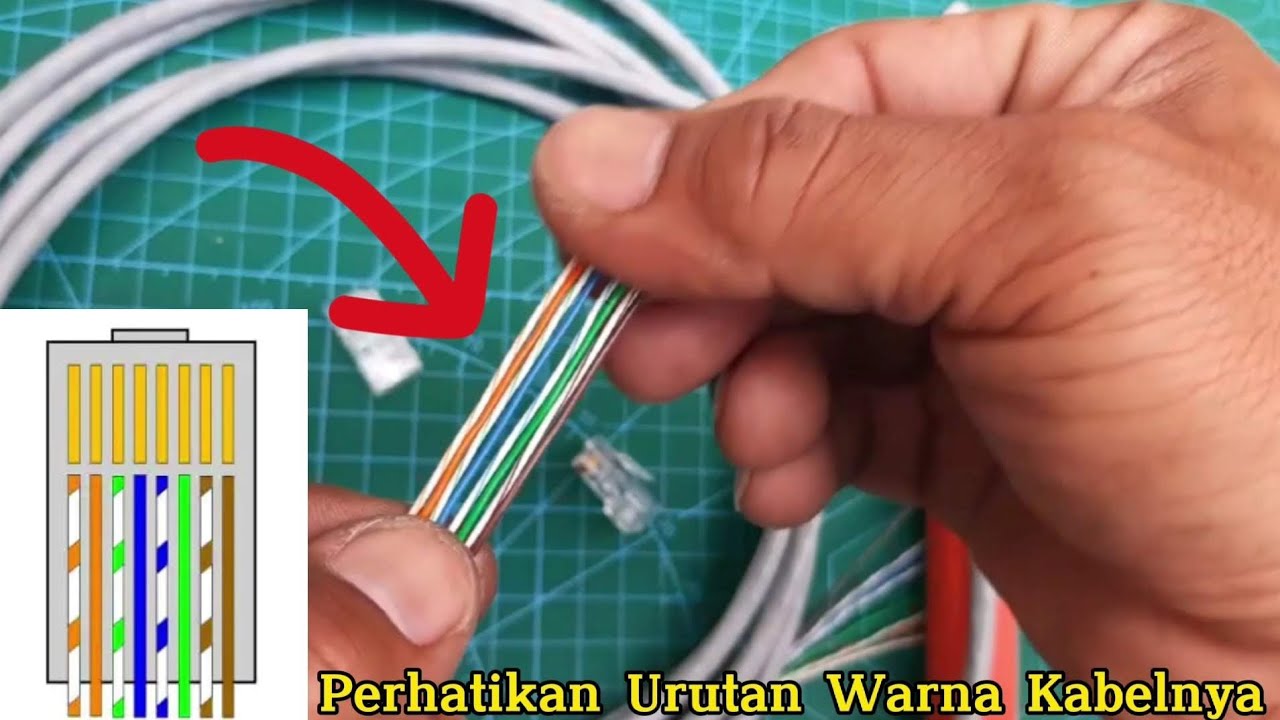
Cara Membuat Kabel Straight (UTP/LAN) #tutorial #straight
How to Wire Up Ethernet Plugs the EASY WAY! (Cat5e / Cat6 RJ45 Pass Through Connectors)
How To Hide TV Power Cord And Cables | Easy Way To Move An Outlet
Clutch Pressure Control Solenoid Valve Testing and Replacement P0746 P0747 P0776 P0777 P0962 P0963
Como instalar Custom Firmware no Bittboy, PowKiddy V90, Q90 e Pocket GO
CARA MENAMBAHKAN TRANSISI PADA SLIDE POWERPOINT
5.0 / 5 (0 votes)