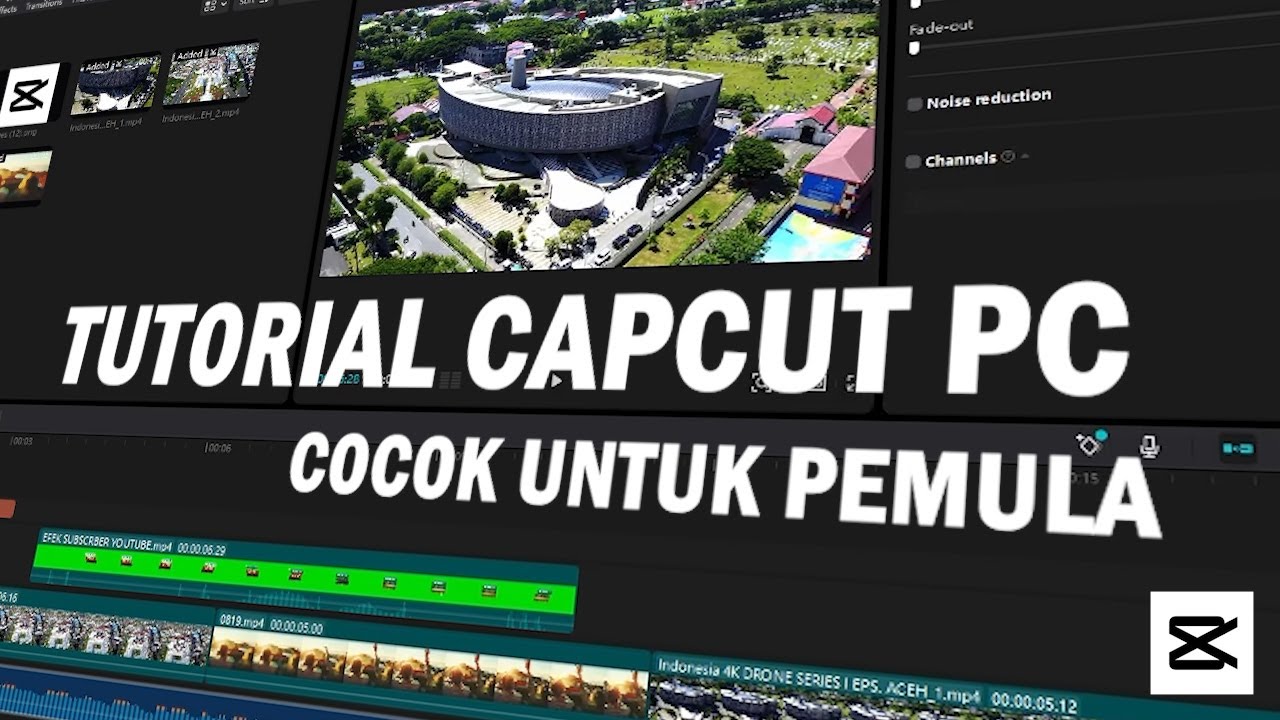
Modul 3 Menyisipkan Teks

BPSDM JABAR
3 Jun 202405:10

Summary

TLDRIn this tutorial, the host guides viewers on how to incorporate text into videos using the CapCut app on PC. The session builds upon previous lessons on inserting images and changing video backgrounds. The host demonstrates adding and editing text, adjusting font size, color, and position, as well as synchronizing text duration with video clips. The aim is to enhance video narration with clear descriptions, using examples like a computer mouse and CPU, which are part of computer input devices and processing units. The video concludes with an invitation to practice and a farewell message, emphasizing the importance of education.

Takeaways

  • 😀 The video is a tutorial on how to insert text using the CapCut app on a PC.
  • 📝 The speaker, Budi Rahayu, mentions that in the previous meeting, they practiced adding images and changing video backgrounds in the CapCut app.
  • 👍 Appreciation is expressed to the participants for their involvement in the previous meeting.
  • 📌 The tutorial covers adding text to videos to serve as additional explanations or narrations.
  • 🖊️ The process of adding text involves clicking on 'Text', then 'Add Text', and dragging the default text based on the image to be described.
  • ⏱️ Duration of the text display can be adjusted using the keyboard.
  • 🎨 Text properties such as font size, color, and position can be customized to fit the needs.
  • 🔄 The tutorial includes editing the text and adjusting the duration between the text and the images.
  • 🖥️ Examples given include inserting text for computer input devices like a mouse and CPU, and output devices like a monitor and printer.
  • 💻 The video explains that a CPU is the central processing unit and part of the computer's output devices.
  • 📚 The tutorial concludes with a reminder that these are common hardware devices used in daily activities and invites participants to try adding text in CapCut themselves.

Q & A

  • What is the main topic of the video script?

    -The main topic of the video script is about how to insert text using the CapCut application on a PC.

  • What did the participants practice in the previous meeting?

    -In the previous meeting, the participants practiced inserting images and changing video backgrounds in the CapCut application.

  • What is the purpose of adding text in the video as discussed in the script?

    -The purpose of adding text in the video is to provide additional explanations for images or narrations from the presenter.

  • How can one start adding text to a video in CapCut?

    -To start adding text to a video in CapCut, one should click on 'Text', then 'Tex', and drag the default text based on the image they want to describe.

  • What can be adjusted in the default text settings in CapCut?

    -In CapCut, one can adjust the duration of the text, the font size, color, and position of the text.

  • How can the text size be adjusted in the video?

    -The text size can be adjusted by using the keyboard to edit the default text and then resizing it as needed.

  • What is the significance of adjusting the duration between text and images?

    -Adjusting the duration between text and images ensures that the viewer has enough time to read the text while also appreciating the images.

  • What is the term used for the central processing unit in the context of the script?

    -The term used for the central processing unit in the script is 'CPU'.

  • What are some examples of computer input devices mentioned in the script?

    -An example of a computer input device mentioned in the script is the 'mouse'.

  • What are some computer peripherals included in the script?

    -Some computer peripherals included in the script are the 'monitor' and 'printer'.

  • What is the final message or call to action given to the audience in the script?

    -The final message is an invitation for the audience to try adding text in CapCut and to look forward to the next material, with a closing greeting in Arabic.

Outlines

00:00

📚 Tutorial on Inserting Text in CapCut for PC

This paragraph provides a tutorial on how to insert text into videos using the CapCut application on a PC. The speaker, Budi, introduces the topic and mentions that they have previously practiced adding images and changing video backgrounds. The tutorial covers how to add text to videos to serve as additional descriptions or narrations. It explains the process of selecting the 'Text' option, dragging the default text, and customizing the duration, font size, color, and position of the text to fit the video content. The speaker also provides examples of adding text to images of computer hardware, such as a mouse and CPU, and adjusting the text to match the duration of the images shown.

05:00

🌟 Greeting and Introduction to District Implementation

The second paragraph opens with a greeting in Arabic, 'Asalamualaikum,' which is a common Islamic phrase for peace and blessings. The speaker then mentions 'warahmatullahi wabarakatuh,' which translates to 'and all the best to you.'

Mindmap

Keywords

💡Capcut

Capcut is a video editing application that allows users to add various elements to their videos, such as images, text, and effects. In the video's context, it is the primary tool being discussed for inserting text into videos, which is a key part of the tutorial's theme on enhancing video content.

💡Text Insertion

Text insertion refers to the process of adding written words or sentences onto a video. In the video, text insertion is used to provide additional information or narration, enhancing the viewer's understanding of the visual content. For example, the script mentions adding text to describe images or as part of the presenter's narrative.

💡Description

A description is a detailed account or explanation of something. In the video, descriptions are given to images through text to clarify what is being shown. The script specifically mentions editing the default text to match the description of the image or the narration needed.

💡Font Size

Font size is the measure of the characters used in written text. Within the video's tutorial, adjusting the font size is part of customizing the text's appearance, making it neither too large nor too small for optimal readability, as demonstrated when the presenter decides to 'kecilkan' or reduce the size.

💡Duration

Duration refers to the length of time that something lasts. In video editing, adjusting the duration of text or scenes is crucial for pacing. The script discusses setting the duration of text on screen to synchronize with the images or the flow of narration, ensuring that the information is presented for an appropriate amount of time.

💡Positioning

Positioning in the context of video editing is the placement of elements within the frame. The script describes adjusting the position of text to ensure it is well-placed, such as in the center, right, or left, to make it visually appealing and easy to read.

💡Mouse

A mouse is a common computer input device used for pointing, clicking, and scrolling. In the script, 'mouse' is used both as an example of a computer input device and as a term that requires text description within the video to explain its function.

💡CPU

CPU stands for Central Processing Unit, which is the primary component of a computer that performs the basic arithmetic, logic, and input/output operations. The script uses 'CPU' as an example when discussing computer hardware and the importance of editing text to accurately describe the image of a CPU.

💡Monitor

A monitor is an output device that displays information from a computer. It is mentioned in the script as part of the computer hardware discussion, where text is added to the video to describe the monitor, indicating its role in the computer system.

💡Printer

A printer is an output device that produces hard copies of documents and images. In the script, 'printer' is used as another example of computer hardware, where the default text is adjusted to 'printer' to provide a description of the device shown in the video.

💡Computer Hardware

Computer hardware refers to the physical components of a computer system. The script discusses various hardware components like the CPU, monitor, and printer, using text insertion to describe their functions within the computer system.

Highlights

Introduction to the session with greetings in Indonesian.

Previous session recap on inserting images and changing video backgrounds in CapCut.

Introduction to the new topic: inserting text in videos for additional descriptions or narrations.

Starting the text insertion process by clicking on 'Text' in CapCut.

Explanation of dragging and using the default text box based on the image.

Adjusting the duration of the text display using the keyboard.

Editing the default text to match the image description.

Customizing text size, font, color, and position.

Adding and editing the sentence 'Mouse' to describe the computer input device.

Guidance on adjusting the white line for easier editing.

Editing the duration between text and images to synchronize them.

Inserting and customizing default text for additional images like a printer.

Explanation of the CPU as a central processing unit and part of computer output devices.

Editing the CPU image to enhance clarity and adjust its position.

Discussion on computer peripherals such as monitors and printers.

Final editing tips for the video to ensure all elements are well-placed and synchronized.

Conclusion of the session with an invitation to try the techniques and a sign-off in Indonesian.

Transcripts

play00:01

[Musik]

play00:08

Assalamualaikum warahmatullahi

play00:09

wabarakatuh salam sejahtera dan bahagia

play00:12

untuk kita semua selamat berjumpa

play00:14

kembali di Sista Praja bersama saya Budi

play00:17

Rahayu dari SMAN 1 Indramayu kali ini

play00:20

kita akan membahas tentang bagaimana

play00:22

cara menyisipkan teks menggunakan

play00:25

aplikasi capcut di PC pada pertemuan

play00:29

sebelumnya kita sudah mempraktikkan apa

play00:31

saja Bapak

play00:32

Ibu betul sekali pertemuan sebelumnya

play00:35

kita sudah mencoba menyisipkan gambar

play00:37

dan merubah background video pada

play00:40

aplikasi capcat terima kasih eh saya

play00:43

haturkan untuk bapak ibu yang sudah

play00:45

berpartisipasi nah pada pertemuan ini

play00:48

kita akan mencoba menyisipkan teks ke

play00:51

dalam video yang nantinya dapat

play00:53

dijadikan tambahan keterangan gambar

play00:55

ataupun narasi dari penyaji atau

play00:58

narasumber untuk lebih jelas ya Ee

play01:01

silakan simak video ini sampai

play01:04

tuntas Bapak Ibu Hebat kita akan memulai

play01:07

menyisipkan teks atau kalimat pada video

play01:10

pembelajaran dengan mengklik teks

play01:13

kemudian ada Tex kemudian ada default

play01:17

texs kita tarik atau drag default

play01:19

tex-nya berdasarkan gambar yang akan

play01:22

kita berikan keterangan kita atur

play01:24

durasinya antara default teksnya dengan

play01:27

keyboard-nya kemudian kita

play01:31

edit default teksnya sesuai dengan

play01:34

tulisan gambar tersebut atau keterangan

play01:38

nah kemudian kita akan

play01:41

mengatur posisinya Nah ini kan terlalu

play01:45

besar ya kita

play01:48

kecilkan Nah Bapak Ibu bisa

play01:53

mengatur font siz-nya atau warnanya atau

play01:56

mau diblok posisinya di tengah kanan

play02:00

kiri silakan sesuaikan dengan kebutuhan

play02:04

selanjutnya ada gambar di sebelahnya

play02:06

yaitu mous kita akan tambahkan juga

play02:09

tulisan kita edit dulu kalimatnya

play02:13

menjadi

play02:14

Mouse kemudian ini jangan lupa ya garis

play02:18

putih ini kita geser agar memudahkan

play02:20

dalam

play02:23

pengeditanah ini kita

play02:26

kecilkan

play02:28

kemudian kita atur durasi antara tulisan

play02:32

dengan

play02:34

gambar kemudian kita Tambahkan lagi

play02:37

untuk cpu-nya kita

play02:42

edit

play02:43

nah kemudian juga kita edit untuk ininya

play02:48

terlalu besar kita perkecil nah kemudian

play02:52

tulisannya durasinya sesuaikan dengan

play02:55

gambarnya masih ada dua gambar lagi kita

play02:59

berikan default teksnya kemudian

play03:07

ganti kemudian juga kita tarik garis

play03:10

putih

play03:13

ini nah Kita sesuaikan ya ada satu lagi

play03:19

default teks-nya pada

play03:22

bagian

play03:24

printer tulis printer

play03:27

ya Nah ini Kita sesuaikan antara

play03:33

tulisannya dengan gambar nah ininya pun

play03:36

juga durasinya juga sama Kita

play03:42

sesuaikan nanti kita coba tuknya

play03:45

melebihi atau

play03:50

tidak keyboard nah ada

play03:54

gambarul mouse itu merupakan salah satu

play03:57

atau beberapa contoh perangkat input

play03:59

komputer nah yang termasuk ke dalam

play04:02

perangkat atau alat pemroses komputer

play04:04

komputer yaitu kita lihat gambarnya

play04:07

yaitu CPU kita bisa edit lagi karena

play04:09

kelebihan maka sesuaikan

play04:12

tinggal diedit aja ya Bapak Ibu ya Nah

play04:15

CP merupakan Sentral prosesor unit unit

play04:19

pemroses utama dan yang termasuk dalam

play04:22

perangkat cras output di antaranya kita

play04:24

lihat ada

play04:26

monitor dan ada printer Nah itu adalah

play04:30

beberapa per Nah kita juga bisa edit

play04:32

lagi ini kurang ke sini nah kita coba

play04:36

lagi nah itu adalah beberapa perangkat

play04:38

keras yang paling sering kita gunakan di

play04:41

dalam aktivitas kita sehari-hari baik

play04:43

Kita

play04:46

sebagai sudah selesai Bapak Ibu

play04:49

untuk add tsnya Bagaimana Bapak Ibu

play04:54

mudah bukan menyisipkan teks di aplikasi

play04:56

capcut saya tunggu karyanya ya selamat

play04:59

mencoba

play05:00

sampai jumpa pada materi selanjutnya

play05:02

salam implementasi distrik Jabar

play05:05

terdidik terbaik asalamualaikum

play05:07

warahmatullahi wabarakatuh

Rate This

5.0 / 5 (0 votes)

Étiquettes Connexes
Video EditingCapCut AppText InsertionTutorialPC SoftwareContent CreationEducationalVideo EnhancementMedia ProductionTech Tips
Besoin d'un résumé en anglais ?