How to Make Floor Plans for Free in SketchUp
Summary
TLDRIn this tutorial, you'll learn how to create a basic floor plan using the free version of SketchUp. The process involves setting up a white background, drawing the outer parameter with the Rectangle tool, and using the Offset tool to define wall thickness. You will then frame interior walls, add door openings with the Arc tool, and optionally include windows and basic fixtures like toilets. The video offers step-by-step guidance for beginners looking to understand how to use SketchUp for simple floor plans, setting the stage for more advanced techniques in the Pro version.
Takeaways
- 😀 To start working on a floor plan in SketchUp, first create a white background and set a top-down view for accurate floor plan design.
- 😀 Use the 'Styles' tool to change the background to a white canvas and remove unnecessary elements like axes for a cleaner workspace.
- 😀 Drawing a rectangle for the outer boundary of your floor plan is essential. Use the 'Rectangle' tool and input exact dimensions for precision.
- 😀 The 'Offset' tool (shortcut: F) helps create walls by drawing another rectangle inside the initial one, ensuring wall thickness is consistent.
- 😀 Wall thickness is essential for accurate plans. For exterior walls, assume a thickness of 6.5 inches (two 2x6s plus finishes).
- 😀 For interior walls, use the 'Line' tool to draw partitions, and adjust the wall thickness to 4.5 inches (two 2x4s plus finishes).
- 😀 Use the 'Tape Measure' tool (shortcut: T) to accurately measure and verify wall thickness, ensuring proper proportions in your design.
- 😀 To distinguish between different wall types (e.g., 2x6 vs. 2x4), use the 'Paint' tool to apply different patterns to each wall type.
- 😀 To create a door, use the 'Line' tool to mark its width and the 'Arc' tool to add a swinging door effect for visualization.
- 😀 SketchUp’s '3D Warehouse' can be used to add realistic 3D objects, like toilets, for bathrooms, though simple shapes can be used for basic representation.
- 😀 In the next video, the pro version of SketchUp will be introduced to demonstrate how to convert floor plans into printable construction drawings.
Q & A
What is the purpose of creating a white background in SketchUp for floor plans?
-Creating a white background in SketchUp ensures that the user is working in a clean, top-down view for floor plans, as opposed to a 3D perspective that could confuse the drawing process.
How do you set the background to white in SketchUp?
-To set the background to white, go to the 'Styles' tab in the toolbar, click on the browse icon, select 'Styles default Styles', and choose the white background option.
What is the purpose of the offset tool in SketchUp?
-The offset tool in SketchUp allows you to create a shape inside another shape, which is useful for defining wall thicknesses in floor plans.
How do you create a top-down view for floor plans in SketchUp?
-To create a top-down view, go to the 'Scenes' tab in the toolbar, select 'Scenes', and click on the top-down view option in the middle.
What is the default wall thickness assumed in this tutorial for the exterior walls?
-The exterior walls are assumed to be 6.5 inches thick, which accounts for 2x6 framing (5.5 inches) plus a half-inch finish on both sides.
Why is the tape measure tool important in this tutorial?
-The tape measure tool is used to measure distances and ensure that wall thicknesses and other dimensions are accurate in the floor plan.
How can you distinguish between interior and exterior walls in this SketchUp tutorial?
-You can distinguish between interior and exterior walls by using different wall thicknesses. The exterior walls are 6.5 inches, and the interior walls are assumed to be 4.5 inches thick.
What tool is used to erase guidelines and unwanted lines in SketchUp?
-The 'Eraser' tool (shortcut 'E') is used to delete guidelines and unnecessary lines, helping clean up the floor plan.
How do you create a door in SketchUp, and what dimensions are used in this tutorial?
-To create a door, you use the 'Line' tool to draw the edges of the door, then the 'Arc' tool to create the door's arc. The door width in this tutorial is 32 inches, and its location is 18 inches from the wall.
How do you create a window in SketchUp according to this tutorial?
-A window is created by using the 'Line' tool to define its boundaries, then the 'Tape Measure' tool to measure its dimensions, typically around 48 inches wide.
Outlines

Cette section est réservée aux utilisateurs payants. Améliorez votre compte pour accéder à cette section.
Améliorer maintenantMindmap

Cette section est réservée aux utilisateurs payants. Améliorez votre compte pour accéder à cette section.
Améliorer maintenantKeywords

Cette section est réservée aux utilisateurs payants. Améliorez votre compte pour accéder à cette section.
Améliorer maintenantHighlights

Cette section est réservée aux utilisateurs payants. Améliorez votre compte pour accéder à cette section.
Améliorer maintenantTranscripts

Cette section est réservée aux utilisateurs payants. Améliorez votre compte pour accéder à cette section.
Améliorer maintenantVoir Plus de Vidéos Connexes
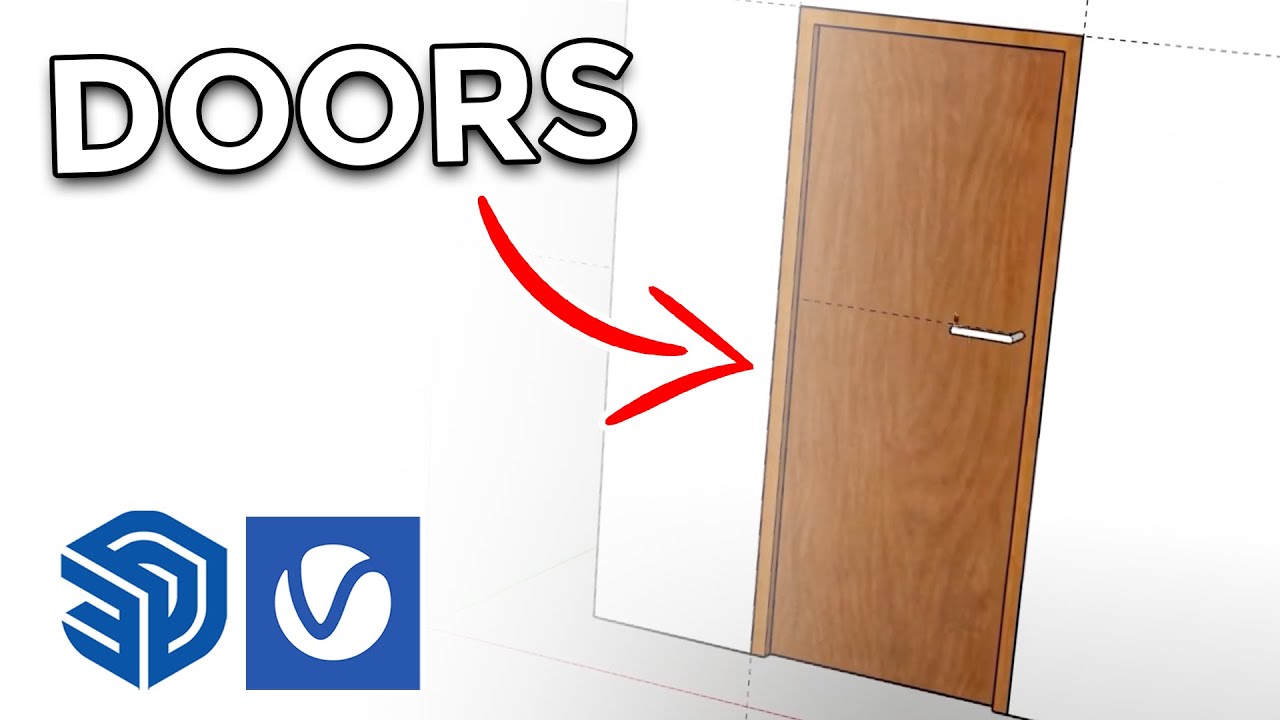
How to create Doors FAST in Sketchup

Membuat Floor Slab (Pelat Lantai)
Tips Membuat Atap Limas dan Bubungan di SketchUp || Belajar SketchUp

Adobe illustrator 2021 : How to Make simple Logo Design

Create a LOCAL Python AI Chatbot In Minutes Using Ollama
[CURSO GRATUITO DE SKETCHUP] AULA 01 - Interface e ferramentas de navegação
5.0 / 5 (0 votes)
