Cara Membuat Peta di QGis (Georeferencing, Digitasi, Layout)
Summary
TLDRThis video tutorial guides viewers through the process of creating a map using Quantum GIS software. Starting from registration to layout design, the presenter demonstrates how to digitize a map, georeference it using four control points, and adjust its scale. The tutorial also covers adding elements like a north arrow, legend, and a signature, as well as customizing the map's appearance and exporting it in various formats. The presenter encourages viewers to subscribe for more informative content.
Takeaways
- 🌍 The tutorial is about creating a map using QGIS software, starting from registration to layout design.
- 📢 The presenter encourages viewers to subscribe and click the bell for updates before starting the tutorial.
- 🗂️ The tutorial includes instructions on preparing a map with a 'bebek' watermark using the QGIS software.
- 🔍 It covers the process of georeferencing a raster image in QGIS, including using the Georeferencer tool.
- 📍 Key steps involve selecting four points for map registration and inputting their coordinates.
- 📏 The tutorial explains how to input coordinates, including using negative signs for southern latitudes.
- 🎯 It demonstrates how to start the georeferencing process, set the target raster using a world file, and aim for minimal residuals.
- 🖼️ After georeferencing, the presenter shows how to save the registered map and access it in the browser.
- 📑 The tutorial also covers adding elements like a north arrow, legend, and scale bar to enhance the map's readability.
- 🖋️ There are instructions on customizing the map's appearance, including changing colors and fonts for titles and labels.
- 💾 The final steps include exporting the completed map as a PDF or image file using QGIS's export functionality.
Q & A
What is the main topic of the video?
-The video is a tutorial on how to use Quantum GIS software for tasks such as registration, digitization, and creating a map layout.
What should viewers do before watching the tutorial?
-Viewers should subscribe to the channel and click the bell icon to not miss any updates.
Which version of Quantum GIS is used in the tutorial?
-The tutorial uses Quantum GIS version 3.12.
What is the first step in the registration process demonstrated in the video?
-The first step is to open the raster in the software and enable the georeferencer tool.
How many points are used for the registration process in the tutorial?
-Four points are used for the registration process.
What is the significance of the coordinates entered during the registration process?
-The coordinates are used to align the map with real-world locations, with negative signs indicating southern latitudes.
What is the purpose of minimizing residuals in the georeferencing process?
-Minimizing residuals ensures that the map is accurately aligned with the real-world coordinates, improving the map's accuracy.
How does the tutorial suggest saving the registered map?
-The tutorial suggests saving the registered map by providing a name and storing it in a chosen folder.
What is the final step shown in the tutorial for completing the map layout?
-The final step is exporting the map layout, which can be done in various formats such as PDF or image files.
What additional elements are added to the map layout in the tutorial?
-The tutorial adds elements such as a north arrow, a legend, and a scale bar to enhance the map's usability.
What is the importance of the 'Project toolbar' mentioned in the script?
-The 'Project toolbar' is important for managing map layers and other project-related tasks, and it should be enabled for ease of use.
Outlines

Cette section est réservée aux utilisateurs payants. Améliorez votre compte pour accéder à cette section.
Améliorer maintenantMindmap

Cette section est réservée aux utilisateurs payants. Améliorez votre compte pour accéder à cette section.
Améliorer maintenantKeywords

Cette section est réservée aux utilisateurs payants. Améliorez votre compte pour accéder à cette section.
Améliorer maintenantHighlights

Cette section est réservée aux utilisateurs payants. Améliorez votre compte pour accéder à cette section.
Améliorer maintenantTranscripts

Cette section est réservée aux utilisateurs payants. Améliorez votre compte pour accéder à cette section.
Améliorer maintenantVoir Plus de Vidéos Connexes
NRM 3300, F24, Lab 4 Create TX Contours
How to Prepare Slope Map from DEM #shorts #youtubeshorts #gis

Digitasi Peta Melalui Arcview 3.3

Praktikum Sistem Informasi Geografi - Pembuatan Peta Kemiringan Lereng Demnas

Tutorial Membuat WebGIS Menggunakan Leaflet.js dan GeoJSON
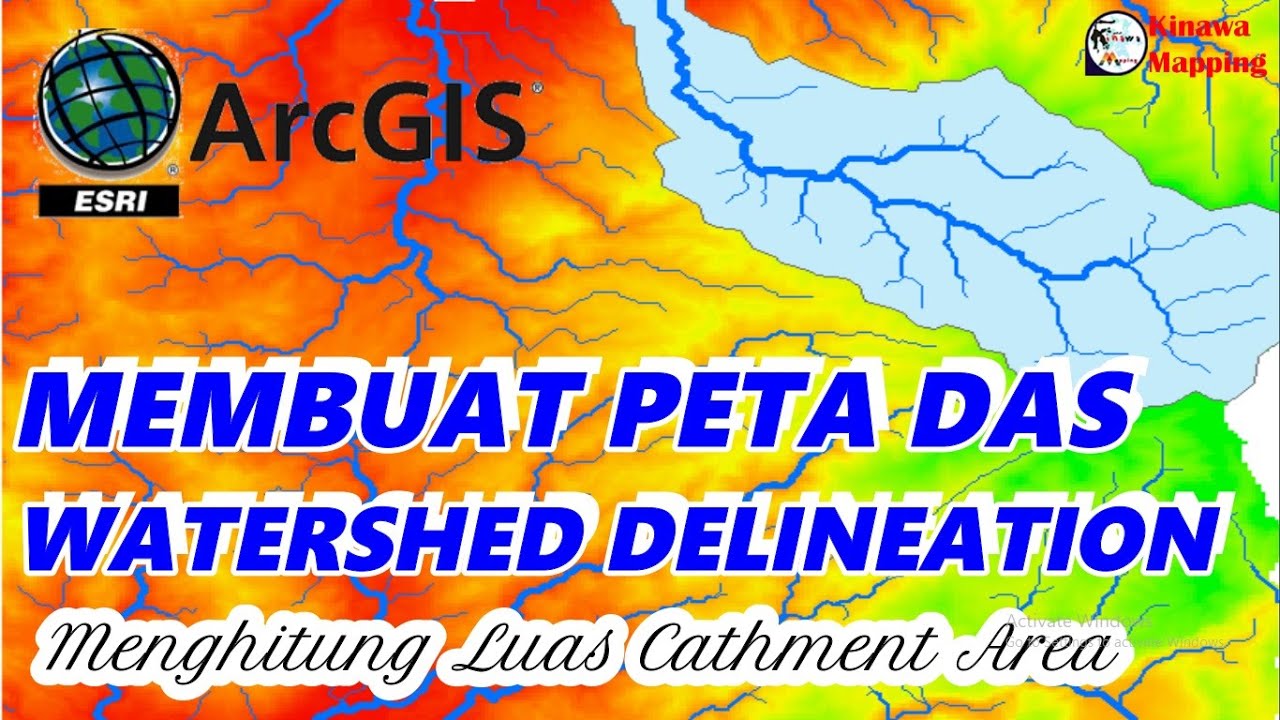
Cara Membuat Peta DAS dan Menghitung Luas Catchment Area di ArcGis | Watershed Delineation on ArcGIS
5.0 / 5 (0 votes)
