Advanced Modeling - Split and Combine Bodies
Summary
TLDRThis video tutorial focuses on advanced modeling techniques in Fusion 360, specifically showcasing how to split and combine bodies. The presenter demonstrates by creating a rectangular prism, then using the split body tool to divide it into two separate bodies, which can be individually modified with different materials. The video also covers combining bodies back together and splitting faces for distinct appearances, emphasizing the utility of these tools for 3D modeling and Autodesk certification.
Takeaways
- 🎥 This video is focused on advanced modeling techniques in Fusion 360, specifically splitting and combining bodies.
- 📐 The presenter begins by creating a simple rectangular prism to demonstrate the concepts.
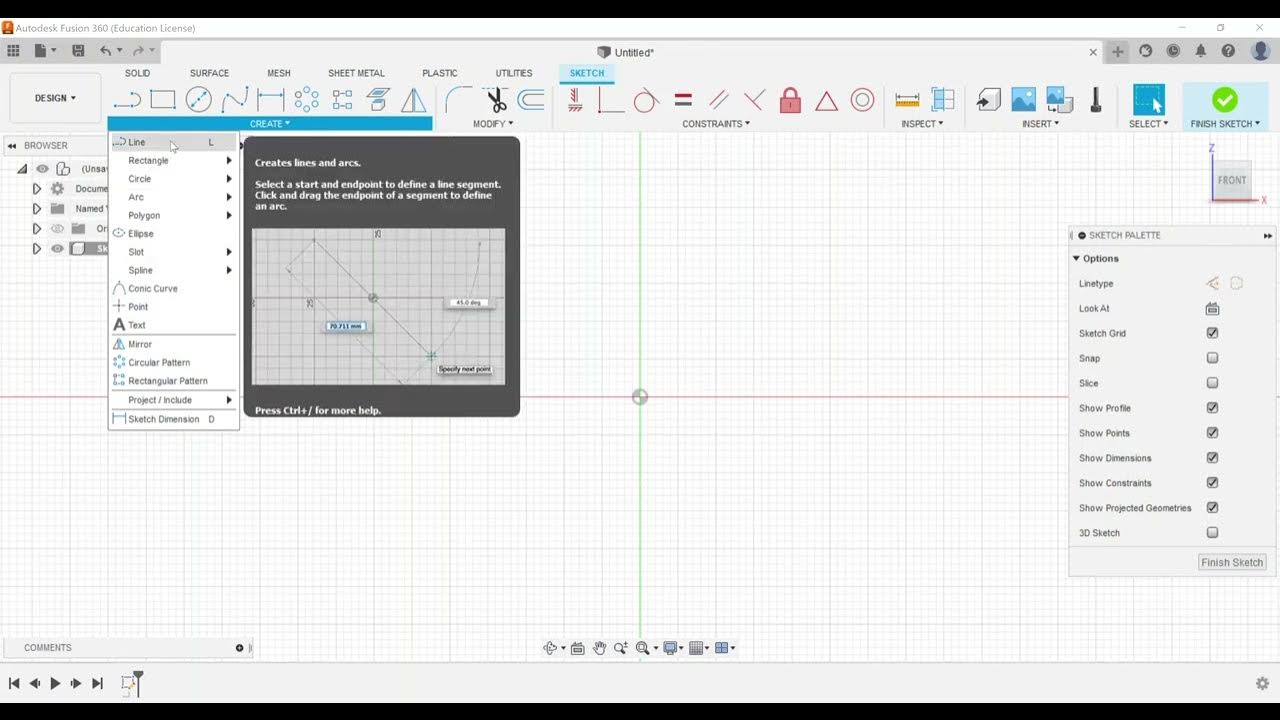
- 🛠️ The 'Modify' menu in Fusion 360 offers tools for splitting faces and bodies, which are essential for advanced 3D modeling.
- 🔄 The 'Split Body' tool allows users to divide a single body into two separate bodies, which can then be edited individually.
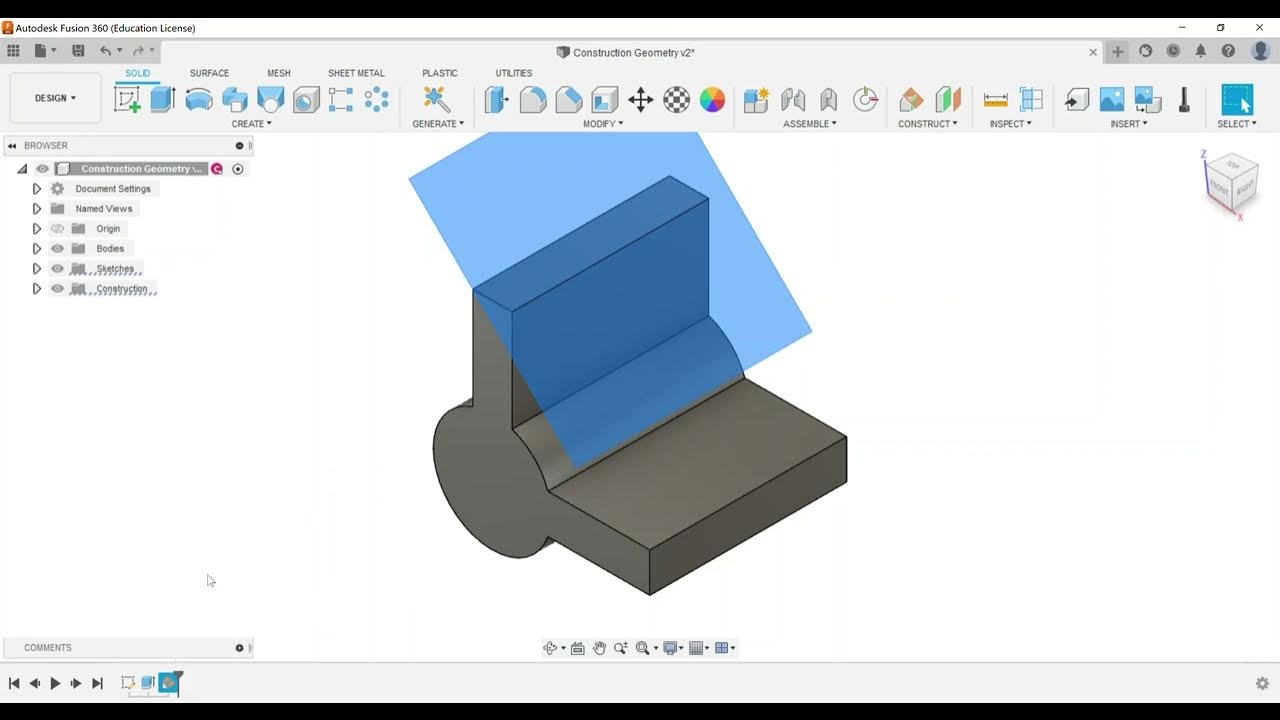
- 🚫 The video illustrates how to use an offset work plane as a guide for splitting bodies accurately.
- 🎨 After splitting, bodies can be assigned different physical materials, such as ceramic or water, to simulate different properties.
- 🔩 The 'Combine' tool is used to merge bodies back together after they have been split, with options to join, cut, or intersect.
- 🔄 The presenter explains the difference between 'target body' and 'tool bodies' in the combine process.
- 🖌️ The video addresses a common issue where faces within a body cannot be individually selected for operations like applying appearance.
- 📏 The 'Split Face' tool is introduced as a solution to separate faces within a body, allowing for individual manipulation.
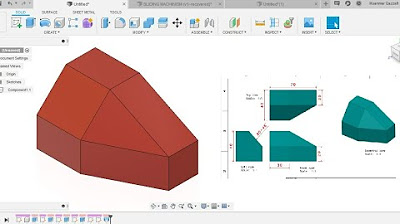
- 🔍 The presenter highlights the importance of using sketches and construction methods like planes to create complex models.
Q & A
What is the main focus of the video?
-The video focuses on advanced modeling techniques in Fusion 360, specifically splitting and combining bodies.
What is the first step the video takes in Fusion 360?
-The first step is to create a new component, a rectangular prism, and then create a sketch on the work plane.
What dimensions does the video use for the rectangle in the sketch?
-The rectangle in the sketch is given dimensions of 4 by 5 units.
How far does the video extrude the rectangle?
-The rectangle is extruded 10 inches.
What modification tools are discussed in the video?
-The video discusses the use of splitting a face and splitting a body, as well as combining bodies.
How does the video demonstrate splitting a body?
-The video demonstrates splitting a body by creating an offset work plane and using the 'Split Body' tool in Fusion 360.
What is the purpose of splitting bodies in Fusion 360?
-Splitting bodies allows for separate editing and application of different physical materials to different parts of a model.
How does the video show combining bodies back together?
-The video shows combining bodies by using the 'Combine' tool in the 'Modify' menu, choosing a target body and a tool body.
What are the different options for combining bodies in Fusion 360?
-The options for combining bodies include 'Join', 'Cut', and 'Intersect'.
Why might someone split a face in Fusion 360?
-Splitting a face can be necessary to apply different appearances or materials to separate areas of a model that are visually distinct but part of the same body.
How does the video handle the issue of applying different appearances to separate faces?
-The video handles the issue by splitting the face into two separate faces, allowing for individual appearances to be applied to each.
What additional tools does the video mention as useful for creating models?
-The video mentions the use of sketches and construction methods like utilizing planes as additional tools for creating models.
What is the final advice given in the video regarding further study?
-The video advises viewers to continue studying through Autodesk Certified User exam materials and to check out other videos on the channel for help.
Outlines

Cette section est réservée aux utilisateurs payants. Améliorez votre compte pour accéder à cette section.
Améliorer maintenantMindmap

Cette section est réservée aux utilisateurs payants. Améliorez votre compte pour accéder à cette section.
Améliorer maintenantKeywords

Cette section est réservée aux utilisateurs payants. Améliorez votre compte pour accéder à cette section.
Améliorer maintenantHighlights

Cette section est réservée aux utilisateurs payants. Améliorez votre compte pour accéder à cette section.
Améliorer maintenantTranscripts

Cette section est réservée aux utilisateurs payants. Améliorez votre compte pour accéder à cette section.
Améliorer maintenant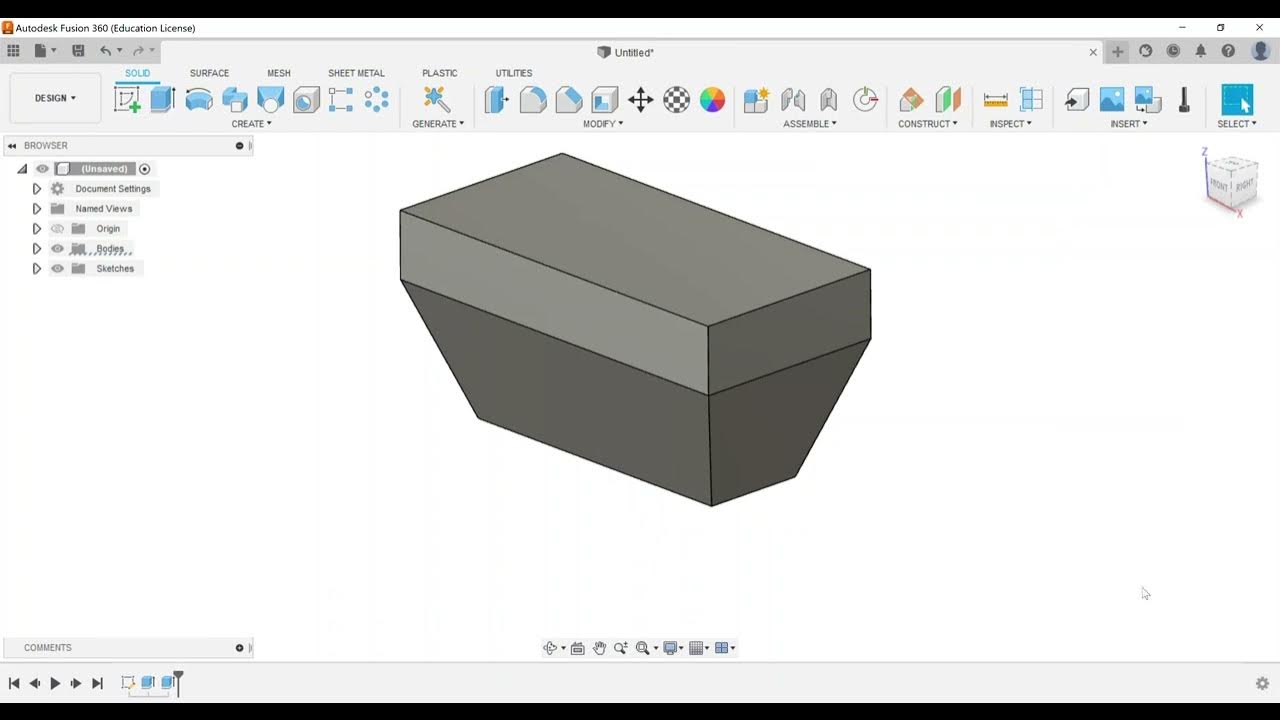

5.0 / 5 (0 votes)
