Totalschaden selber reparieren und Geld sparen 🙃
Summary
TLDRIn this engaging video, the host embarks on a detailed journey of transforming a car, specifically focusing on a Golf model. The video begins with an introduction showcasing the host's work on the car, followed by the installation of a new windshield washer system. The main highlight is the car's transformation, involving the assembly of new front parts and side panels, meticulously welded and sealed for durability. The host demonstrates the challenges and techniques used in creating a smooth surface for painting, emphasizing the importance of pre-painting preparation to reduce costs. Additionally, the video features the unboxing of new parts from Poland, including aluminum body components designed to upgrade the car to a GT500 look. The video concludes with the host's anticipation of further improvements and the upcoming painting process, promising more updates in future episodes.
Takeaways
- 👋 Greetings and introduction to a new video, highlighting a day of work based on the presenter's appearance.
- 🔍 Introduction of a windshield washer system and a prompt to visit pH for more details.
- 🎥 Discussion about Phil's Golf, focusing on its color and the significant transformation it has undergone.
- 🚗 Overview of work done on a vehicle, including the front assembly that's still under construction and anticipation for new parts to be installed.
- 💻 Mention of challenges faced with the side panel, detailing the process of securing and sealing it for durability.
- 🔧 Techniques used to harden body filler with heat in a cold workshop, emphasizing the importance of proper curing conditions.
- 🛠 Describes the meticulous process of preparing the car for painting, aiming for a smooth surface and cost-effective results.
- 👨🔧 Reflects on personal satisfaction with the work done, despite acknowledging areas needing further attention.
- 💻 Unboxing and assessment of new car parts from Poland, speculating on their fit and quality for a vehicle transformation.
- 💎 Expresses enthusiasm for the car's makeover into a GT500 look, highlighting the use of premium materials for body parts.
Q & A
What is the main focus of the video?
-The main focus of the video is the restoration and modification of a car, specifically upgrading its appearance to a GT500 look, including installing new body parts like wider fenders, a different bumper, and a special hood.
What material are the new body parts made of?
-The new body parts, including the hood and fenders, are made of aluminum, while the bumper is made from a type of plastic that is not specified as GFK (glass-fiber reinforced plastic).
Why does the car need a windscreen washer system?
-The transcript does not specifically mention the need for a windscreen washer system; it mentions a 'wischwasseranlage' in passing, suggesting improvements or additions being made to the car.
What was challenging about the side panel restoration?
-The side panel restoration was challenging due to the need to secure it with body sealant after welding, as well as achieving a smooth surface which required careful preparation and finishing.
How is the front of the car described in the video?
-The front of the car is described as being significantly disassembled at the beginning of the video, with new parts having arrived and plans to unpack and possibly install these parts during the video.
What technique is used to help the body filler harden?
-A heat lamp (referred to as 'Heizstrahler') is used to help the body filler (zinnersatz) harden, especially necessary due to the low temperature in the workshop.
What is the purpose of the GT500 body kit?
-The GT500 body kit is intended to transform the car's appearance to resemble that of a GT500 model, making it wider and more visually aggressive with elements like hood pins and a distinct hood design.
How does the video presenter feel about the transformation of the car?
-The presenter expresses satisfaction and excitement about the car's transformation, noting the significant changes and improvements made throughout the process.
What challenges are anticipated with the installation of the new parts?
-Challenges anticipated include ensuring proper fitment and alignment of the new parts, such as the wider fenders and the hood, which may require adjustments and fine-tuning.
What are the presenter's plans for the car's front end?
-The presenter plans to complete the assembly of the car's front end with the new parts, aiming for a look that matches the GT500 style and preparing the vehicle for painting.
Outlines

Cette section est réservée aux utilisateurs payants. Améliorez votre compte pour accéder à cette section.
Améliorer maintenantMindmap

Cette section est réservée aux utilisateurs payants. Améliorez votre compte pour accéder à cette section.
Améliorer maintenantKeywords

Cette section est réservée aux utilisateurs payants. Améliorez votre compte pour accéder à cette section.
Améliorer maintenantHighlights

Cette section est réservée aux utilisateurs payants. Améliorez votre compte pour accéder à cette section.
Améliorer maintenantTranscripts

Cette section est réservée aux utilisateurs payants. Améliorez votre compte pour accéder à cette section.
Améliorer maintenantVoir Plus de Vidéos Connexes
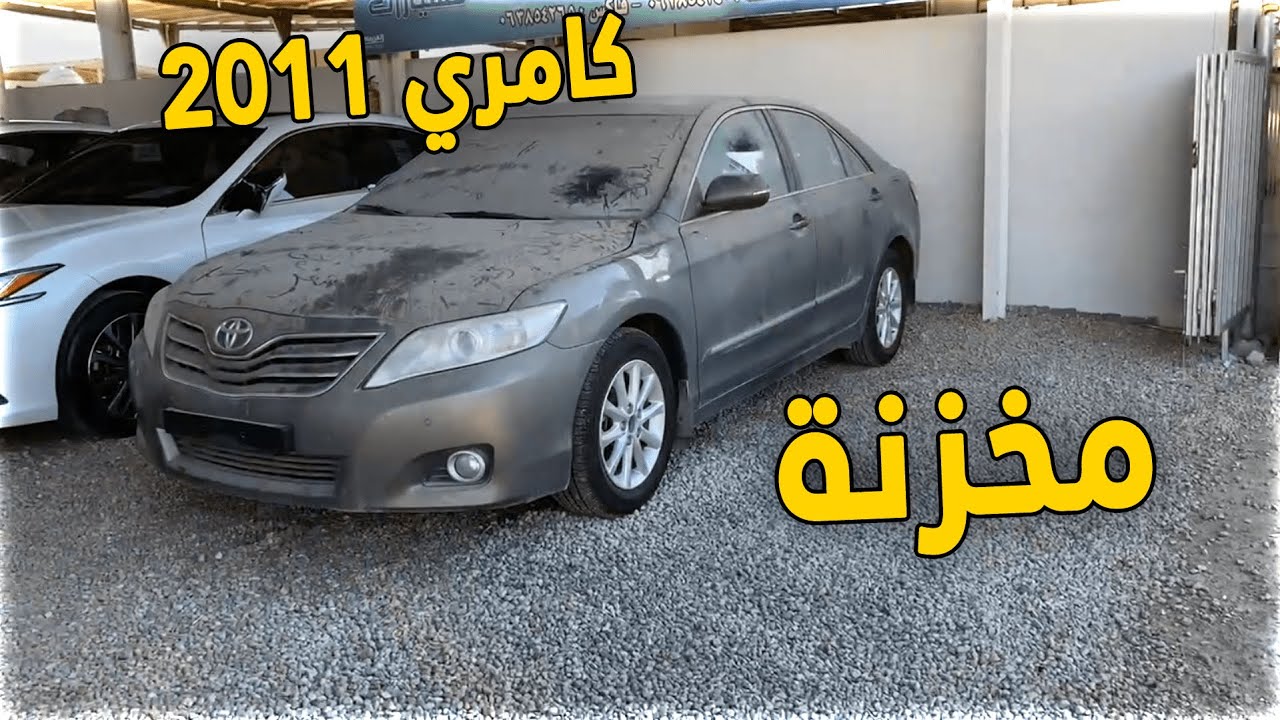
فلوق | رحت للمعارض .. وحصلت كامري 2011 مخزنة 😍

Ganhamos 36cv sem remap! Qual a fórmula? GR Corolla do TK com upgrades.

ONDE FICA ESSA TELA DE FUNDO DO MEU COMPUTADOR!

جربت كل مطاعم البرجر الي في السعودية 🍔

Precios de los CARROS en CUBA| LADA 2107 en RUSIA|Ocdiel Avila Vlogs.

😱165+ FORTUNER वालों के भी तोते उड़ा दिये || New WagonR LXi CNG Top Speed Test
5.0 / 5 (0 votes)
