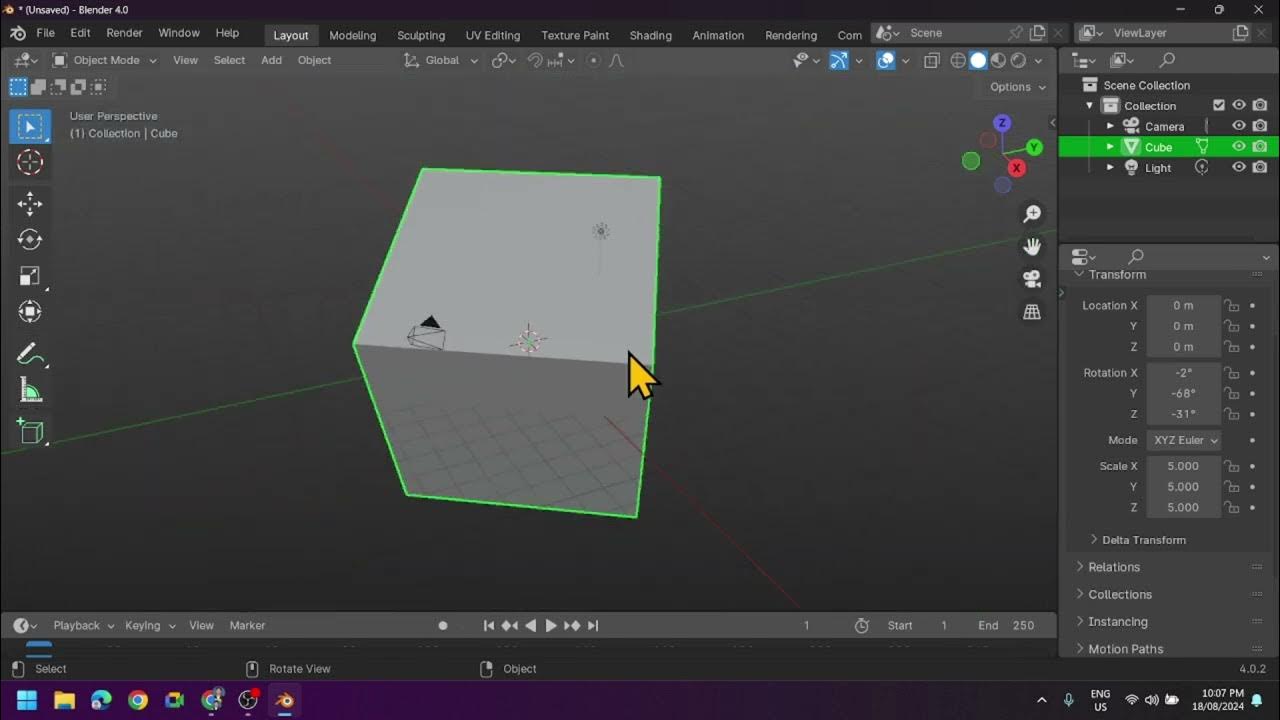
Understanding Edit Mode: Working with Vertices, Edges, and Faces
Summary
TLDRThis tutorial offers an in-depth guide on manipulating objects in a 3D viewport using Blender. It covers essential techniques like zooming, object selection, and deletion. The video also introduces adding objects through the 'Add' menu or shortcut 'Shift+A'. A significant portion is dedicated to navigating the 'Edit Mode,' where users can modify vertices, edges, and faces. The tutorial further explores tools like extrude, inset, bevel, and loop cut, providing practical examples of how to use them to customize 3D models effectively.
Takeaways
- 🔍 To zoom in and out in the 3D viewport, use the scroll wheel or drag the zoom button.
- 🗜️ Use the select box to choose a specific object and the delete button to remove it from the scene.
- 🗑️ An alternative way to delete an object is by pressing 'X' after selecting it, which prompts a confirmation.
- 🛠️ To add a new object, navigate to the 'Add' button in the upper left corner or use the shortcut 'Shift + A'.
- 🔧 In Object Mode, you can manually adjust the object's location and lock specific properties.
- ✂️ Switch to Edit Mode to modify the object's geometry, which introduces vertex, edge, and face selection tools.
- 🔲 Press 'A' to deselect all or select all vertices, edges, or faces in the 3D model.
- 🔄 Use the extrude tool in Edit Mode to add new geometry to the selected vertices, edges, or faces.
- 📐 The inset tool allows you to create a new face within the selected face, useful for creating indentations.
- 🔗 The loop cut tool is used to make cuts through the object, either vertically or horizontally, to add detail.
- 🛡️ Beveling adds rounded edges to the selected faces, enhancing the visual appeal of the 3D model.
Q & A
How can you zoom in and out in the 3D viewport?
-You can zoom in and out in the 3D viewport by scrolling or dragging the zoom button.
What is the method to select a specific object in the 3D viewport?
-To select a specific object, you can use the select box and then choose the desired object.
How do you delete an object in Blender?
-To delete an object, you can either click the delete button or press the 'X' key after selecting the object, followed by confirming the deletion in the popup notification.
What is the shortcut to add an object in Blender?
-The shortcut to add an object in Blender is 'Shift + A', which opens a popup menu for adding objects.
What mode are you in when you can change the location of an object?
-You can change the location of an object when you are in Object Mode.
How do you enter Edit Mode in Blender?
-You can enter Edit Mode by selecting the mode from the dropdown box in the upper left corner of the screen or by pressing the 'Tab' key.
What are the three selection modes available in Edit Mode for a 3D model?
-The three selection modes in Edit Mode are Vertex, Edge, and Face, which allow you to select specific vertices, edges, or faces of the model.
How can you select all vertices in Edit Mode?
-You can select all vertices by pressing 'A' when in Vertex selection mode.
What is the purpose of the Extrude tool in Edit Mode?
-The Extrude tool in Edit Mode allows you to create new geometry by extending the selected vertices, edges, or faces along an axis or freely.
How can you move the view in the 3D viewport?
-You can move the view in the 3D viewport by holding the middle mouse button and dragging.
What does the Inset tool do in Edit Mode?
-The Inset tool creates a new face inside the selected face, effectively creating a recessed area within the object.
How do you perform a loop cut on an object?
-To perform a loop cut, select the Loop Cut tool, then click and drag to define the direction and number of cuts on the object.
What is the Bevel tool used for in Blender?
-The Bevel tool is used to create beveled edges on selected vertices, edges, or faces, giving them a rounded or chamfered appearance.
Outlines

Cette section est réservée aux utilisateurs payants. Améliorez votre compte pour accéder à cette section.
Améliorer maintenantMindmap

Cette section est réservée aux utilisateurs payants. Améliorez votre compte pour accéder à cette section.
Améliorer maintenantKeywords

Cette section est réservée aux utilisateurs payants. Améliorez votre compte pour accéder à cette section.
Améliorer maintenantHighlights

Cette section est réservée aux utilisateurs payants. Améliorez votre compte pour accéder à cette section.
Améliorer maintenantTranscripts

Cette section est réservée aux utilisateurs payants. Améliorez votre compte pour accéder à cette section.
Améliorer maintenantVoir Plus de Vidéos Connexes

Introduction to Blender 3D: Getting Started with the Interface & Essential Tools in Blender

Blender Tutorial for Complete Beginners - Part 1

Mengenal Software 3D Blender - Bagian 1

Mengenal Software 3D Blender - Bagian 2

All Basic Shortcuts YOU NEED for Modelling

Dasar dasar Mengatur Objek 3 Dimensi di Aplikasi Blender
5.0 / 5 (0 votes)
