Making a GOOD third person camera in Godot 4
Summary
TLDRThis tutorial demonstrates how to create a smooth third-person camera system with collision detection for games. It covers setting up a SpringArm3D node with a Camera3D, implementing mouse-controlled camera rotation, and handling camera zoom and mouse locking. The tutorial also explains how to prevent camera clipping through walls, smooth camera movement with interpolation, and fix character movement to follow the camera's rotation. Additional tips for collision layers and camera setup for rotating objects are also provided, making it easy for users to create a functional and user-friendly camera system for their games.
Takeaways
- 😀 Cameras play a critical role in every game, and having a good camera system can significantly improve the player experience.
- 😀 To create a simple third-person camera, add a SpringArm3D node and a Camera3D as its child to follow the player and detect collisions.
- 😀 The SpringArm3D node uses a raycast to detect collisions along its blue Z axis, preventing the camera from clipping through objects.
- 😀 For rotating the camera, use mouse motion input to change the camera's rotation angles, with sensitivity adjustments for smooth movement.
- 😀 Clamp the camera’s vertical and horizontal rotation values to avoid excessive angles (e.g., limiting vertical rotation between -90° and 45°).
- 😀 Export variables in the script allow easy adjustment of camera rotation limits directly from the Godot editor.
- 😀 Zoom functionality can be added by adjusting the SpringArm3D's length based on mouse scroll actions, and the mouse can be toggled to allow menu interactions.
- 😀 To prevent the camera from rotating while the mouse is unlocked, check if the mouse is captured before processing rotation inputs.
- 😀 To smooth the camera movement when rotating around objects, use interpolation (lerp) to gradually transition the camera’s position.
- 😀 For better collision handling, add a small sphere collision at the SpringArm3D to prevent the camera from clipping through walls or objects.
- 😀 Adjust character movement so it aligns with the camera's rotation, ensuring that the player moves in the correct direction relative to the camera.
Q & A
What is the primary purpose of the SpringArm3D node in this camera setup?
-The SpringArm3D node is used to detect collisions between the camera and the environment. It shoots a raycast along its Z-axis to adjust the camera’s position to avoid clipping through walls or objects.
Why do we use the 'MouseModeCaptured' for the camera system?
-'MouseModeCaptured' makes the mouse invisible and locks it to the screen, allowing for smooth, continuous camera rotation based on mouse movement. It is essential for first-person or third-person cameras that need to track mouse motion without the cursor leaving the screen.
How does the camera rotation work in this setup?
-Camera rotation is based on mouse motion. The relative movement of the mouse in each frame is used to adjust the camera’s rotation angles. The rotation is applied to the Y and X axes, with the sensitivity of the movement adjustable using a variable.
What problem is solved by clamping the camera’s X and Y rotation angles?
-Clamping the rotation angles ensures that the camera doesn't rotate too far up or down, which would lead to unnatural or broken viewing angles. The vertical rotation is restricted between -90° and 45°, and the horizontal rotation is wrapped between 0 and 360° to avoid errors.
How does the zoom function work in this setup?
-Zooming is controlled by the mouse wheel actions ('wheel_up' and 'wheel_down'). When these actions are detected, the spring arm's length is increased or decreased, which moves the camera closer or further from the player.
What is the purpose of adding the 'toggle_mouse_capture' action?
-The 'toggle_mouse_capture' action is used to unlock or lock the mouse when necessary. This allows players to interact with menus or other UI elements without affecting the camera movement, as the mouse can be toggled between visible and captured states.
Why do we re-parent the SpringArm3D and Camera3D nodes during the camera setup?
-Re-parenting these nodes allows for better control and smooth movement. By placing the SpringArm3D and Camera3D nodes under different parent nodes, the camera’s position and rotation can be interpolated smoothly, avoiding jerky or snapping movements.
What does the 'lerp' function do in this setup?
-The 'lerp' function is used to smoothly interpolate the camera's position to the desired target position. This makes the camera movement fluid and prevents it from snapping to the new position abruptly, providing a smoother visual experience.
How is ground clipping addressed in the camera setup?
-Ground clipping is mitigated by adding a small sphere collision shape to the SpringArm3D node, with its radius set to 0.3. This helps prevent the camera from clipping into the ground when the player is near the floor.
How do you fix the character movement direction based on the camera’s rotation?
-To ensure the character moves in the correct direction relative to the camera, the movement direction vector is rotated based on the camera’s global rotation around the Y-axis. This makes the character always move in the direction the camera is facing.
Outlines

Esta sección está disponible solo para usuarios con suscripción. Por favor, mejora tu plan para acceder a esta parte.
Mejorar ahoraMindmap

Esta sección está disponible solo para usuarios con suscripción. Por favor, mejora tu plan para acceder a esta parte.
Mejorar ahoraKeywords

Esta sección está disponible solo para usuarios con suscripción. Por favor, mejora tu plan para acceder a esta parte.
Mejorar ahoraHighlights

Esta sección está disponible solo para usuarios con suscripción. Por favor, mejora tu plan para acceder a esta parte.
Mejorar ahoraTranscripts

Esta sección está disponible solo para usuarios con suscripción. Por favor, mejora tu plan para acceder a esta parte.
Mejorar ahoraVer Más Videos Relacionados
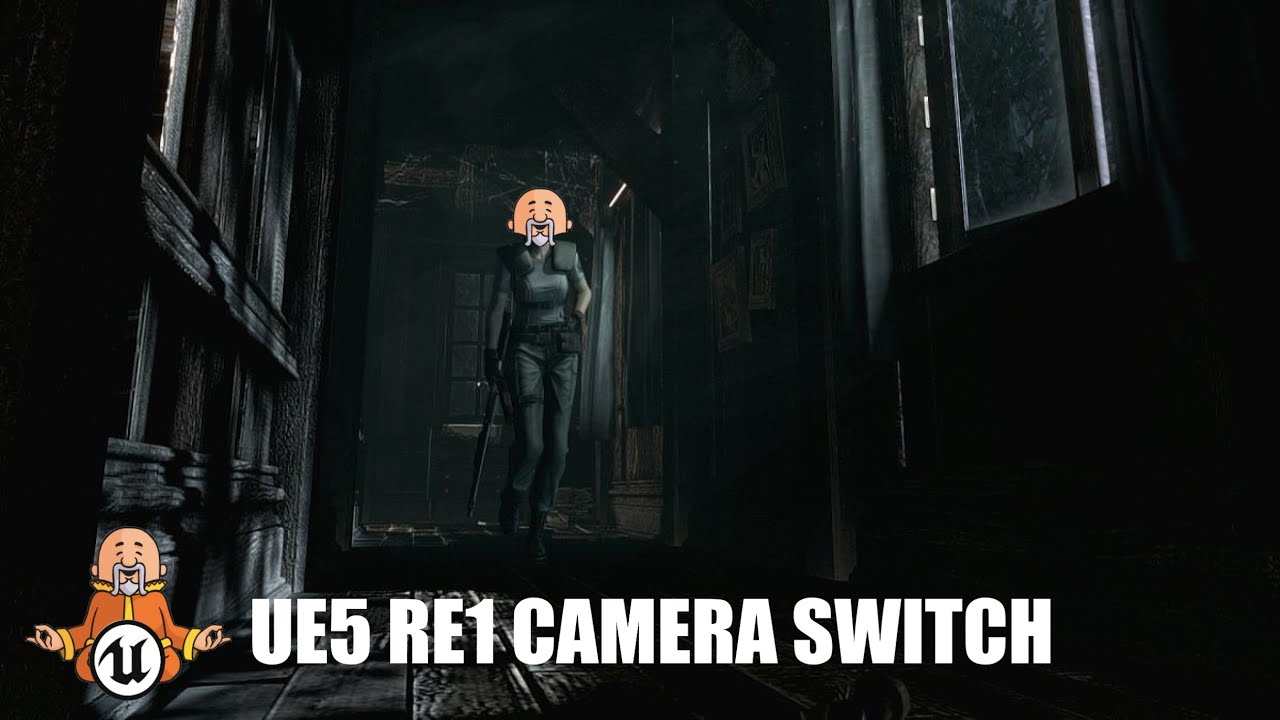
Camera Switch - Classic Resident Evil Unreal Engine 5 Tutorial
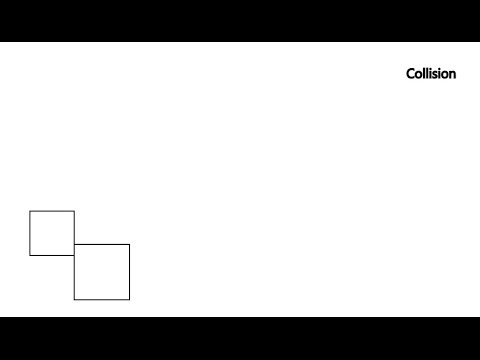
Game Dev: Collision Detection - Bounding Box
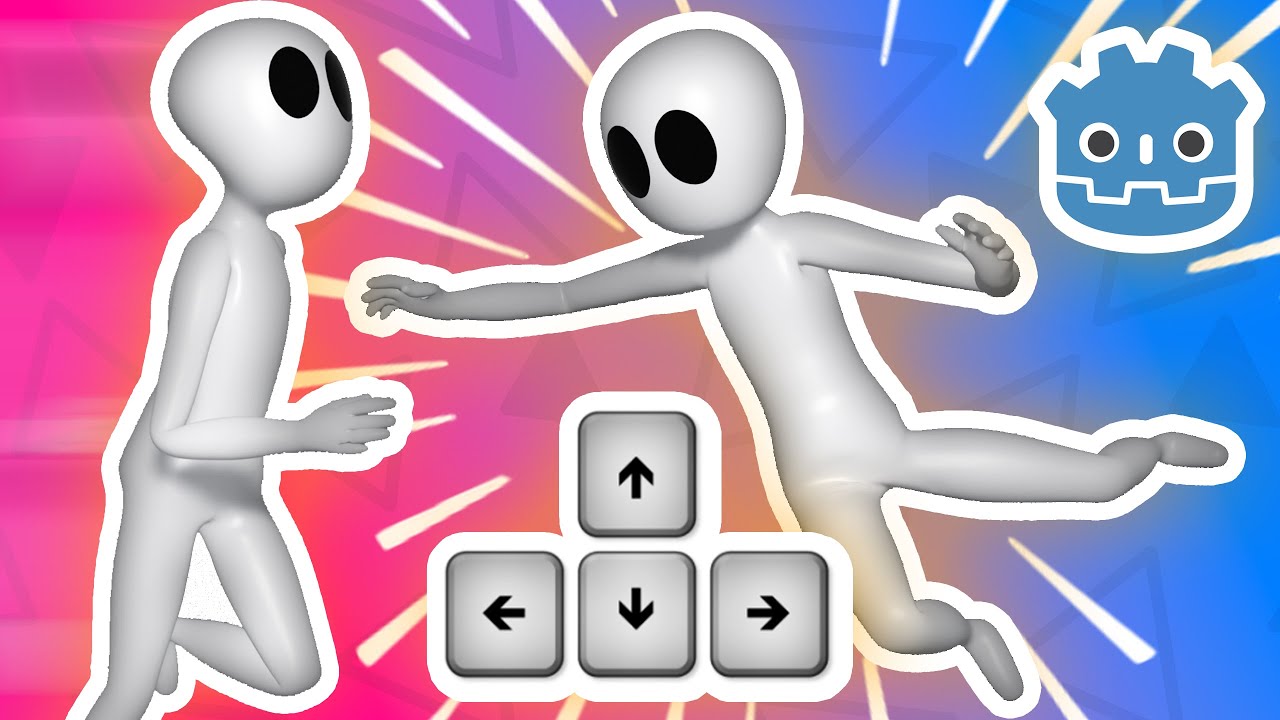
SIMPLE 3rd Person Character Controller Godot 4 Tutorial

ESP32 Surveillance Camera | Send Images to Telegram - Work !!

DX100 - Collision Detect (Code 4315)
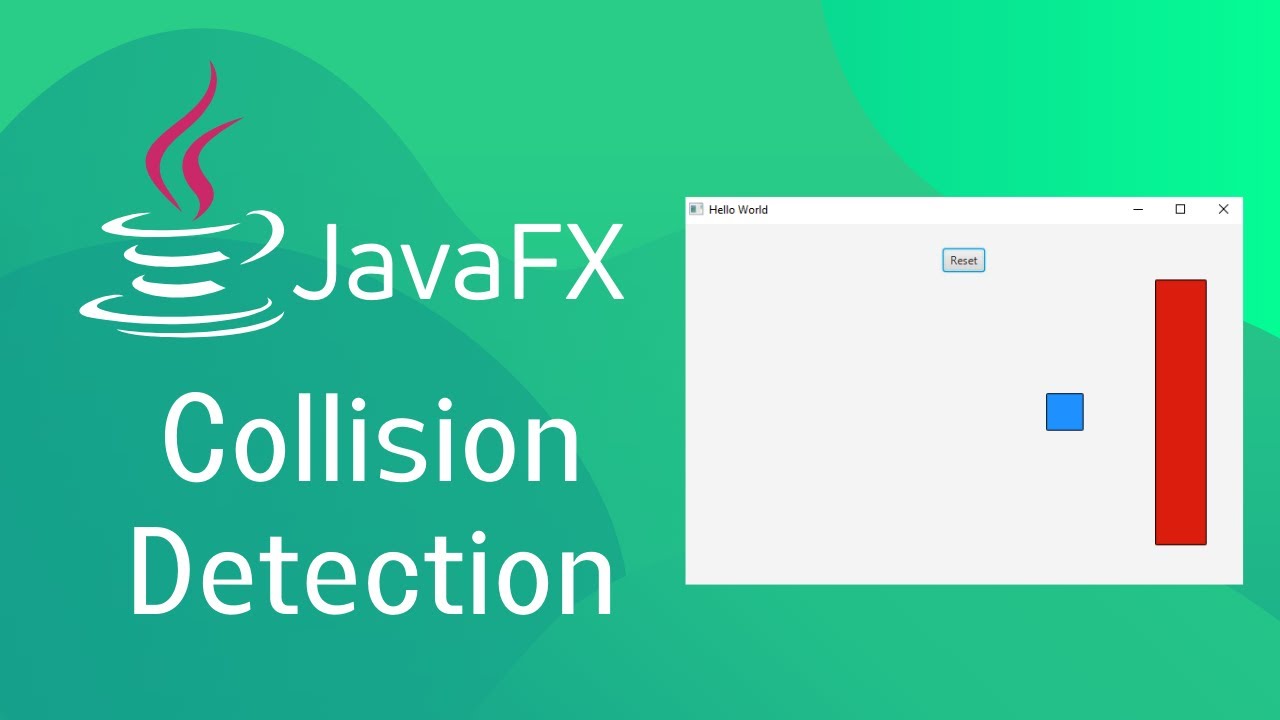
JavaFX and Scene Builder - Simple Collision Detection setup
5.0 / 5 (0 votes)
