Tutorial LCD 20 Ribuan | Arduino Untuk Pemula
Summary
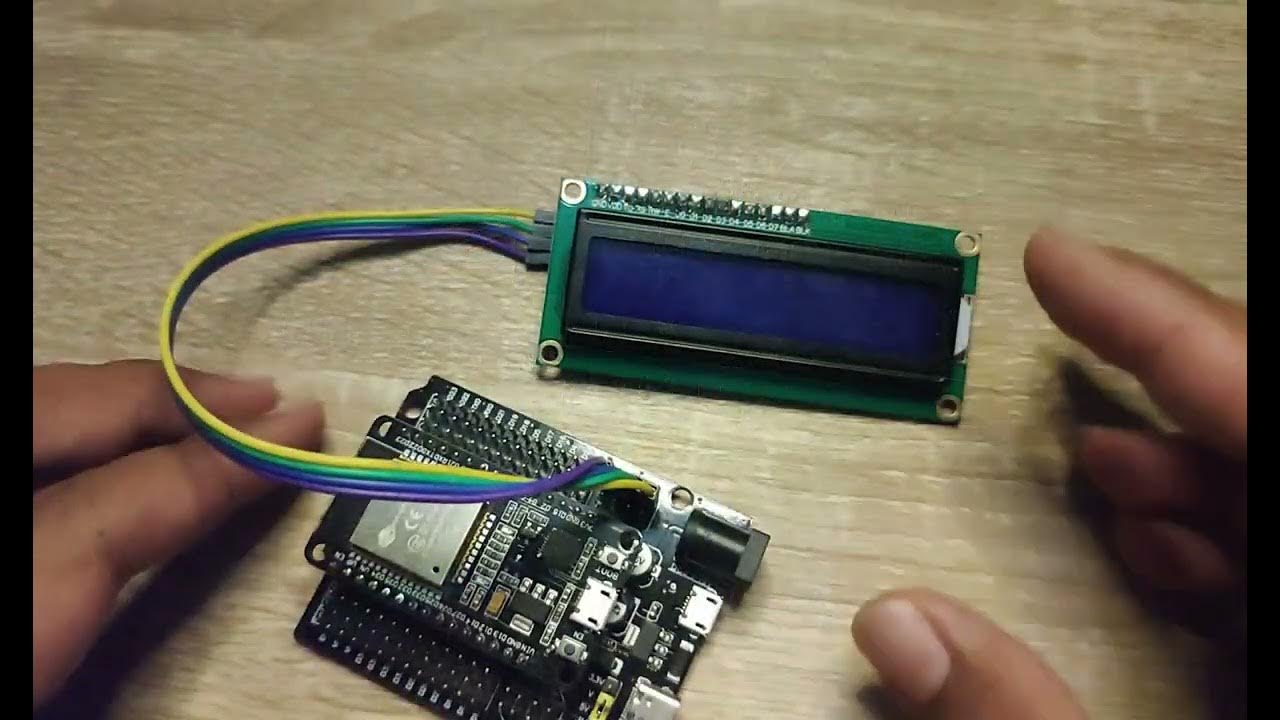
TLDRThis tutorial provides a comprehensive guide on setting up an Arduino Uno with a 16x2 LCD display using an I2C module. It covers the necessary components, wiring connections, and how to adjust brightness. Viewers will learn to install the LiquidCrystal I2C library and write code to display text on the LCD, including how to create moving text effects. The instructor explains key programming concepts clearly, making it accessible for beginners. Overall, it serves as a practical introduction to integrating LCDs with Arduino, encouraging experimentation and further exploration.
Takeaways
- 😀 The tutorial covers how to set up an Arduino Uno with a 16x2 I2C LCD display.
- 😀 Only four connections are needed for the I2C LCD: GND, VCC, SDA, and SCL.
- 😀 The I2C module simplifies wiring, reducing the number of pins used on the Arduino.
- 😀 Adjust the LCD brightness using a potentiometer on the I2C module if the display is too dim.
- 😀 The LiquidCrystal_I2C library must be installed via the Arduino IDE to control the LCD.
- 😀 The LCD should be initialized with the correct I2C address, typically 0x27.
- 😀 The setup function initializes the LCD and turns on the backlight for better visibility.
- 😀 A loop function can be used to display scrolling text, enhancing interactivity.
- 😀 Positioning on the LCD is managed with a variable that resets when the end of the display is reached.
- 😀 The tutorial encourages experimentation with different texts and scrolling effects using the basic code provided.
Q & A
What is the purpose of the I2C module mentioned in the tutorial?
-The I2C module simplifies connections for the LCD by reducing the number of required pins on the Arduino, allowing it to function with just four connections instead of many.
How many columns and rows does the LCD used in the tutorial have?
-The LCD has 16 columns and 2 rows, allowing it to display two lines of text with up to 16 characters each.
What initial setup steps are necessary before running the code?
-You need to install the LiquidCrystal_I2C library in the Arduino IDE and ensure the Arduino is correctly connected to the LCD via the I2C module.
What does the function lcd.setCursor do?
-The lcd.setCursor function sets the position of the text cursor on the LCD screen, specifying the column and row where the next text will be displayed.
What is the significance of the parameters passed to the LiquidCrystal_I2C initialization?
-The parameters specify the I2C address of the LCD, the number of columns, and the number of rows, which is necessary for proper communication with the display.
Why is it important to adjust the brightness of the LCD?
-Adjusting the brightness ensures the display is visible and clear, preventing issues where text might be too dim or not readable.
What happens if you try to print more than 16 characters on the LCD?
-If you print more than 16 characters, the text will overflow and not display correctly, as the LCD can only show a maximum of 16 characters per line.
How can you make the text scroll across the LCD?
-You can implement scrolling by adjusting the position variable in a loop, incrementing it until it reaches the end of the screen, and then resetting it to create a continuous effect.
What are the roles of the variables position and delay in the loop?
-The position variable tracks the current cursor position on the LCD, while the delay controls the speed of the scrolling effect by pausing the loop for a specified duration.
How do you handle cases where the text moves off the screen?
-You can implement a condition to reset the position back to zero when it exceeds the maximum column count, ensuring the text continuously scrolls back to the start.
Outlines

Esta sección está disponible solo para usuarios con suscripción. Por favor, mejora tu plan para acceder a esta parte.
Mejorar ahoraMindmap

Esta sección está disponible solo para usuarios con suscripción. Por favor, mejora tu plan para acceder a esta parte.
Mejorar ahoraKeywords

Esta sección está disponible solo para usuarios con suscripción. Por favor, mejora tu plan para acceder a esta parte.
Mejorar ahoraHighlights

Esta sección está disponible solo para usuarios con suscripción. Por favor, mejora tu plan para acceder a esta parte.
Mejorar ahoraTranscripts

Esta sección está disponible solo para usuarios con suscripción. Por favor, mejora tu plan para acceder a esta parte.
Mejorar ahoraVer Más Videos Relacionados

pengenalan, instalasi dan program dasar tampilan lcd 16x2 I2C dengan Arduino IDE

Temperature Based Fan Speed Controller Using Arduino UNO || ARDUINO PROJECTS

Membuat Kipas Angin Otomatis Arduino

Indoor Air Quality Monitor System using Arduino #airqualityindex #arduinoproject #arduinonano #diy

Introduction to Arduino Mega 2560 | Pinout | Features | Proteus Simulation

IoT based Battery monitoring and controlling system for EV
5.0 / 5 (0 votes)
