Direct Modeling - Press Pull Tool
Summary
TLDRThis video provides a detailed overview of one of the Autodesk Certified User (ACU) exam objectives for Fusion 360, specifically focusing on the Press and Pull tool. The presenter demonstrates how to modify a 3D model, such as adjusting the size of a hole or changing the geometry of a part, using the tool. It also explains how to track changes in model history and discusses exam-related tasks like modifying parts and calculating updated mass or volume. The video offers useful tips to help viewers prepare for the ACU exam successfully.
Takeaways
- 🛠️ The video focuses on an Autodesk Certified User exam objective for Fusion 360, specifically dealing with the press and pull tool.
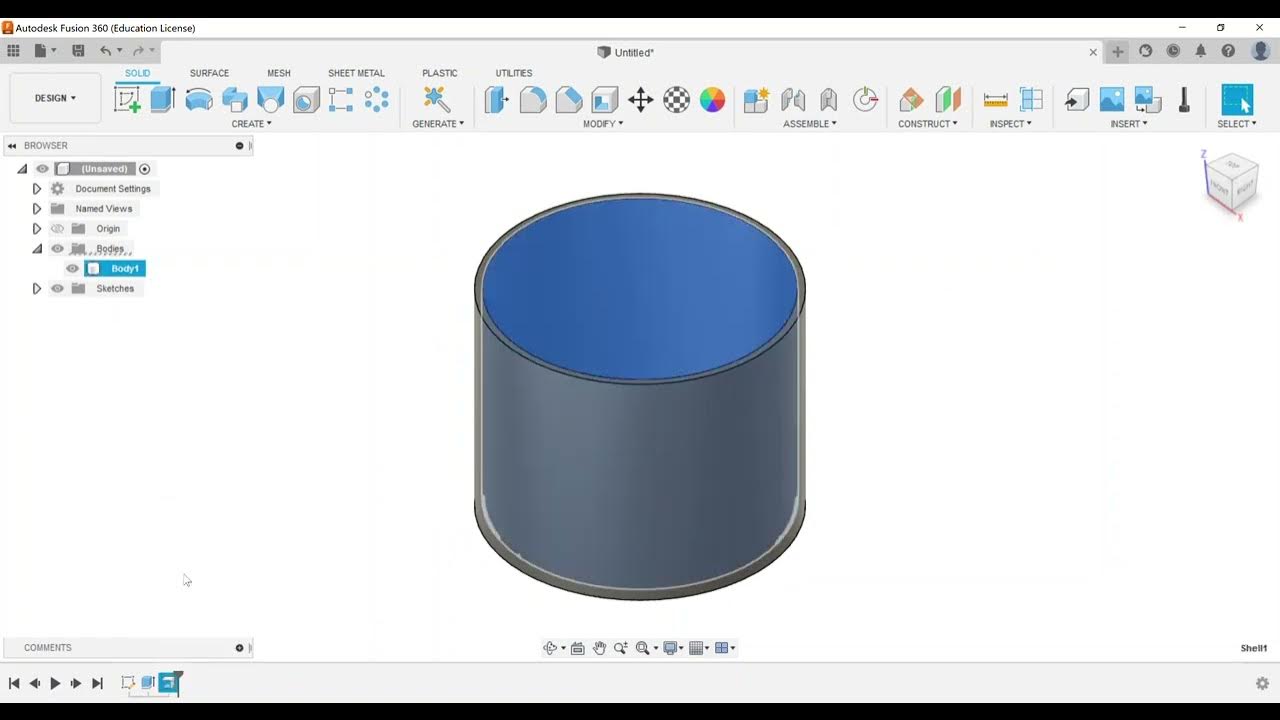
- 📏 The press pull tool allows for easy modifications, like resizing a hole or adjusting geometry in the model.
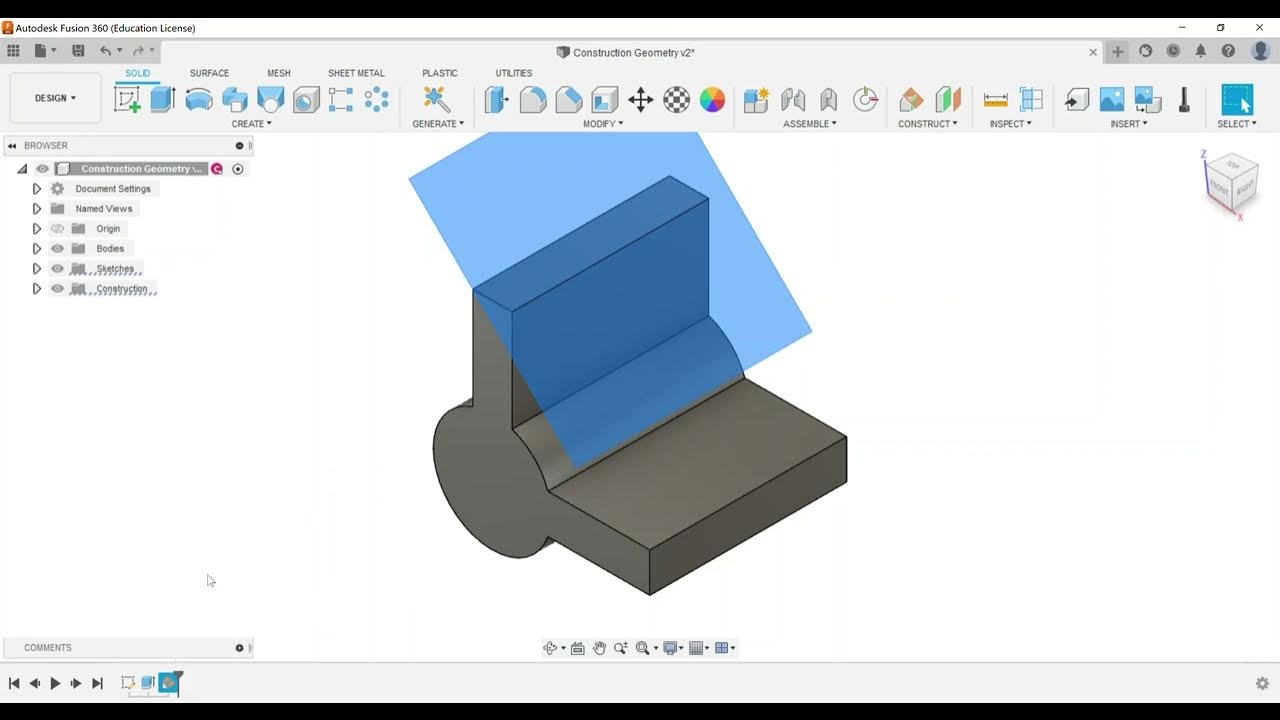
- 🔧 A tube hanger model is used as an example, demonstrating how to access and modify the features in the model history tree.
- ⚙️ Selecting the press pull tool from the modify panel enables automatic selection and modification of features, such as resizing a hole from 1 inch to 0.5 inches.
- 📝 Changes made with the press pull tool are reflected in the model history, showing that the feature was modified and not newly created.
- 🔄 The tool can also be used to offset and extend faces, which may add new features to the model history that can be undone if necessary.
- 📊 The exam often includes tasks like modifying dimensions or features and reporting updated values, such as the mass and volume of the part.
- ⚖️ Changing a feature, such as the size of a hole, updates the part's volume or mass, which needs to be communicated during the exam.
- 📐 The video highlights how mass and volume are important measurements in Fusion 360, with specific examples provided (e.g., mass: 83.37, volume: 18.374 cubic inches).
- 🎯 The press pull tool and volume/mass modification are common questions in the exam, and the video provides tips to help users succeed in preparation.
Q & A
What is the main objective of this video?
-The main objective of the video is to spotlight one of the Autodesk Certified User exam objectives for Fusion 360, specifically focusing on the direct modeling feature using the Press Pull tool.
What does the Press Pull tool in Fusion 360 do?
-The Press Pull tool allows users to modify existing features or create new offsets by selecting faces or holes on the model. It enables changes to dimensions, such as hole diameter or surface thickness.
How can you modify the diameter of a hole using the Press Pull tool?
-To modify the diameter of a hole, you can select the hole using the Press Pull tool and adjust the offset type to either modify an existing feature or create a new offset. The user can input a new dimension, such as changing a 1-inch hole to a 0.5-inch diameter.
What happens in the model history when you use the Press Pull tool?
-When using the Press Pull tool, the model history is updated automatically. For example, if you modify a hole, a small icon with three diagonal hash marks appears above the corresponding command in the history tree, indicating a change.
Can you revert changes made using the Press Pull tool?
-Yes, you can revert changes by using the Press Pull tool again. For instance, after modifying a hole size, you can select the hole again and change it back to its original dimension.
How does the Autodesk Certified User exam test the usage of the Press Pull tool?
-In the exam, users may be asked to modify features such as hole sizes or face thickness using the Press Pull tool. They may also be required to report changes in the model, such as the volume or mass after modifications.
What are some common tasks in the exam related to the Press Pull tool?
-Common tasks include adjusting the size of holes, modifying the thickness of faces, offsetting geometry by a specified distance, and reporting the updated mass or volume of the part after changes.
What happens when you offset a face using the Press Pull tool?
-When you offset a face using the Press Pull tool, a new icon is added to the model history tree, indicating a new feature. If you want to remove the offset, you can delete the corresponding feature, which will revert the geometry to its original state.
How can you check the mass and volume of a part in Fusion 360?
-You can check the mass and volume of a part by right-clicking on the component, selecting 'Properties,' and viewing the details such as mass and volume in the properties window.
How does changing the hole size affect the volume of a part?
-Changing the hole size affects the overall volume of the part. For example, reducing the hole diameter increases the volume of the part, and Fusion 360 updates the volume automatically when such changes are made.
Outlines

Esta sección está disponible solo para usuarios con suscripción. Por favor, mejora tu plan para acceder a esta parte.
Mejorar ahoraMindmap

Esta sección está disponible solo para usuarios con suscripción. Por favor, mejora tu plan para acceder a esta parte.
Mejorar ahoraKeywords

Esta sección está disponible solo para usuarios con suscripción. Por favor, mejora tu plan para acceder a esta parte.
Mejorar ahoraHighlights

Esta sección está disponible solo para usuarios con suscripción. Por favor, mejora tu plan para acceder a esta parte.
Mejorar ahoraTranscripts

Esta sección está disponible solo para usuarios con suscripción. Por favor, mejora tu plan para acceder a esta parte.
Mejorar ahora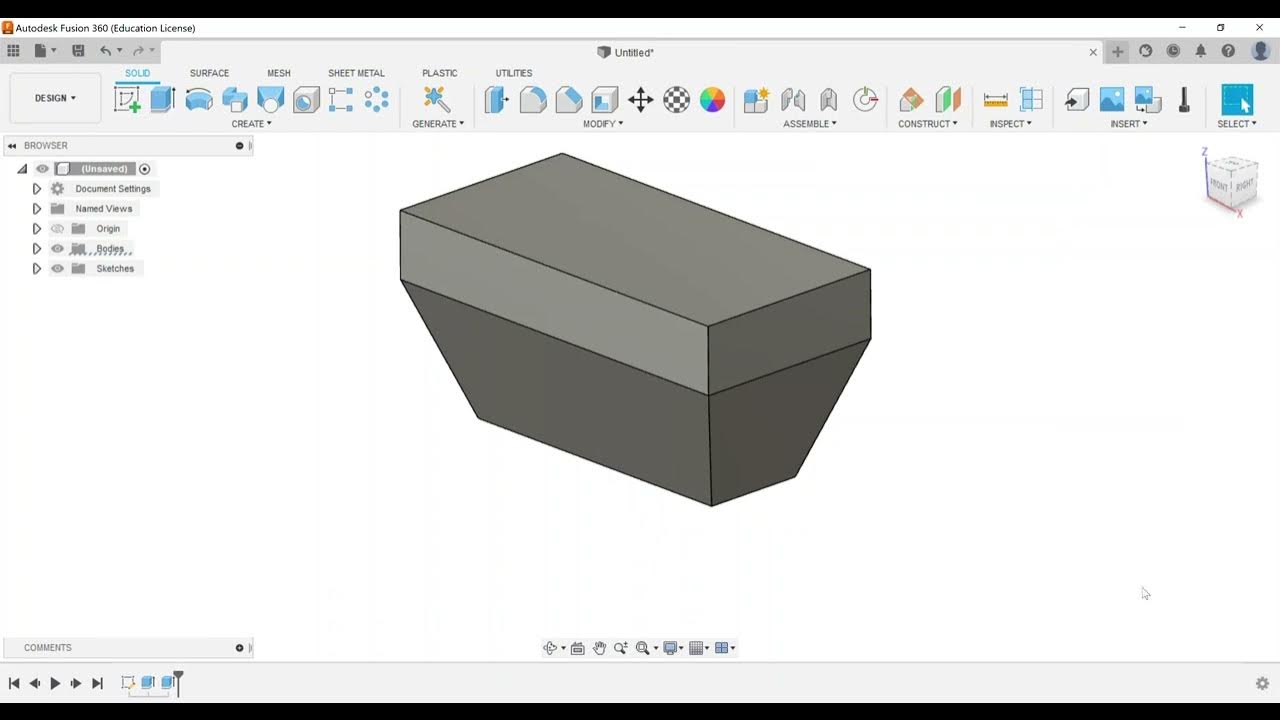


5.0 / 5 (0 votes)
