Tutorial Cara Gampang Melakukan Docking dengan PyRX, Vina Wizard
Summary
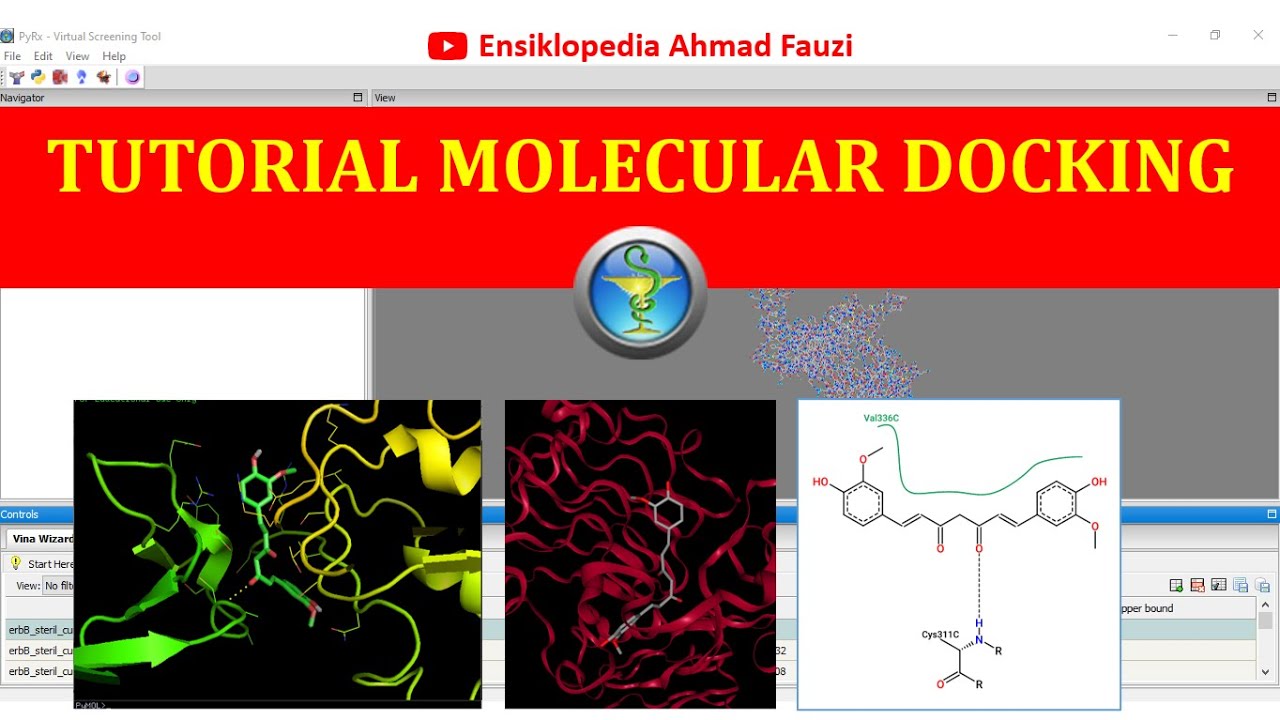
TLDRThis tutorial guides viewers through the process of molecular docking, focusing on preparing receptor and ligand molecules using various drug compounds like piperine, eugenol, and tetracycline oxidase. The presenter demonstrates how to use the PX application for docking, from loading receptor and ligand molecules to selecting the correct docking settings. The video also introduces blind docking, where the ligand is assumed to bind to all areas of the protein. After completing the docking process, results are generated, and the next video will cover saving results and visualizing the interactions between amino acids and drug compounds.
Takeaways
- 😀 The tutorial focuses on molecular docking, specifically using the PX application for docking receptor and ligand molecules.
- 😀 The receptor molecule used in this tutorial is hemolysin from Vibrio harvei, obtained from Swiss Model.
- 😀 Five compounds (piperine, eugenol, cepadion, piperolonginine, and tetracycline oxidase) are tested in the molecular docking process.
- 😀 The tutorial explains how to set preferences in the PX application and organize files for docking.
- 😀 Protein and ligand molecules need to be loaded separately into the PX application before starting the docking process.
- 😀 The receptor molecule (hemolysin) must be converted into a PDBQT file using the Autodock method for docking preparation.
- 😀 Each ligand molecule is individually loaded into the application and marked as a ligand using the 'Autodock Mcligan' option.
- 😀 The docking process involves selecting the receptor and ligand molecules and using the 'final wizard' to initiate docking.
- 😀 The method to select multiple ligands for docking is by holding 'Shift' and selecting the top and bottom ligands in the list.
- 😀 Blind docking is performed by creating a large docking box that covers the entire protein, allowing the ligand to bind to any part of the protein.
- 😀 The docking process is completed after calculations, and a results table is generated to display the interaction data for each ligand.
- 😀 Future tutorials will focus on how to save the docking results and visualize the interactions between amino acids and the drug compounds.
Q & A
What is the main focus of the molecular docking tutorial?
-The main focus of the tutorial is to demonstrate how to perform molecular docking using the PX application, specifically docking five different ligands to the hemolysin protein receptor.
Which protein receptor is used for docking in this tutorial?
-The protein receptor used in this tutorial is hemolysin from *Vibrio harveyi*.
How are the ligands prepared for docking in the PX application?
-The ligands are prepared by loading each compound into the PX application, then right-clicking on the ligand and selecting 'Autodock M Ligand' to make them compatible with the docking system.
How are the receptor and ligands loaded into the PX application?
-The receptor is loaded by selecting 'Load Molecule' from the file menu, and the ligands are loaded one by one through the same method. Each ligand is then right-clicked and set as an 'Autodock M Ligand.'
What does the 'Autodock Make Macromolecule' option do in the PX application?
-The 'Autodock Make Macromolecule' option prepares the protein receptor by converting it into a macromolecule format, making it ready for docking.
How do you select multiple ligands for docking in the PX application?
-To select multiple ligands, click on the top ligand, hold the Shift key, and then click on the bottom ligand. This will select all ligands in between. You can also use the shift-click method to ensure all five ligands are selected.
What is the purpose of the white box that appears during the docking setup?
-The white box represents the area where the ligand will be targeted for binding to the protein receptor. It is resized to cover the entire protein to allow blind docking, meaning the ligand can bind anywhere on the protein.
What is blind docking, and how is it implemented in this tutorial?
-Blind docking is a method where the ligand is assumed to be able to bind to any part of the protein receptor. In this tutorial, the docking grid box is resized to cover the whole protein, ensuring the ligand can bind to any area.
What should be done if the docking grid box disappears when attempting to maximize it?
-If the grid box disappears when attempting to maximize, click the 'Reset' button, and it will reappear. From there, you can manually adjust the box or maximize it again.
What happens after the docking process is completed in the PX application?
-Once the docking process is complete, a results table will appear, showing the outcomes of the docking for each ligand. Further tutorials will cover saving the results and visualizing ligand-protein interactions.
Outlines

Dieser Bereich ist nur für Premium-Benutzer verfügbar. Bitte führen Sie ein Upgrade durch, um auf diesen Abschnitt zuzugreifen.
Upgrade durchführenMindmap

Dieser Bereich ist nur für Premium-Benutzer verfügbar. Bitte führen Sie ein Upgrade durch, um auf diesen Abschnitt zuzugreifen.
Upgrade durchführenKeywords

Dieser Bereich ist nur für Premium-Benutzer verfügbar. Bitte führen Sie ein Upgrade durch, um auf diesen Abschnitt zuzugreifen.
Upgrade durchführenHighlights

Dieser Bereich ist nur für Premium-Benutzer verfügbar. Bitte führen Sie ein Upgrade durch, um auf diesen Abschnitt zuzugreifen.
Upgrade durchführenTranscripts

Dieser Bereich ist nur für Premium-Benutzer verfügbar. Bitte führen Sie ein Upgrade durch, um auf diesen Abschnitt zuzugreifen.
Upgrade durchführenWeitere ähnliche Videos ansehen
4.3. Molecular Docking with Autodock Vina Part 2 (Docking Senyawa Uji dengan Autodock Vina)

Molecular Docking Tutorial: AUTODOCK VINA - PART 2 | Beginners to Advanced
4.4. Molecular Docking dengan Autodock Tools Part 1
Cara Melakukan Molecular Docking antara Protein dengan Senyawa Alami Kandidat Obat
Tutorial de Docking Molecular con Autodock : Proteina - Ligando
4.2. Molecular Docking with Autodock Vina Part 1 (Preparasi Ligand, Reseptor, Validasi)
5.0 / 5 (0 votes)
