Tutorial Membuat Opening/Intro Desain Multimedia Interaktif pada Adobe Animate
Summary
TLDRIn this tutorial, Tisna Sudrajat explains how to create a simple opening for an interactive learning design using Adobe Animate. The video walks through the steps of designing an introductory animation, including setting up keyframes, animating text, and creating visual effects like fading and masking. Tisna also demonstrates various animation techniques to enhance the user interface, from creating transitions to integrating different elements. The tutorial is beginner-friendly, showcasing how to build an interactive menu and adding basic animations to create an engaging opening sequence for educational content.
Takeaways
- 😀 Tisna Sudrajat introduces the tutorial on creating a simple opening animation using Adobe Animate for interactive learning designs.
- 😀 The process begins by creating a basic layout for the interactive media, including a home screen, video materials, and profiles.
- 😀 The tutorial emphasizes organizing objects into layers for better animation control, using a standard layout for each element.
- 😀 The key technique demonstrated is creating keyframes and adjusting animation frames to design smooth transitions.
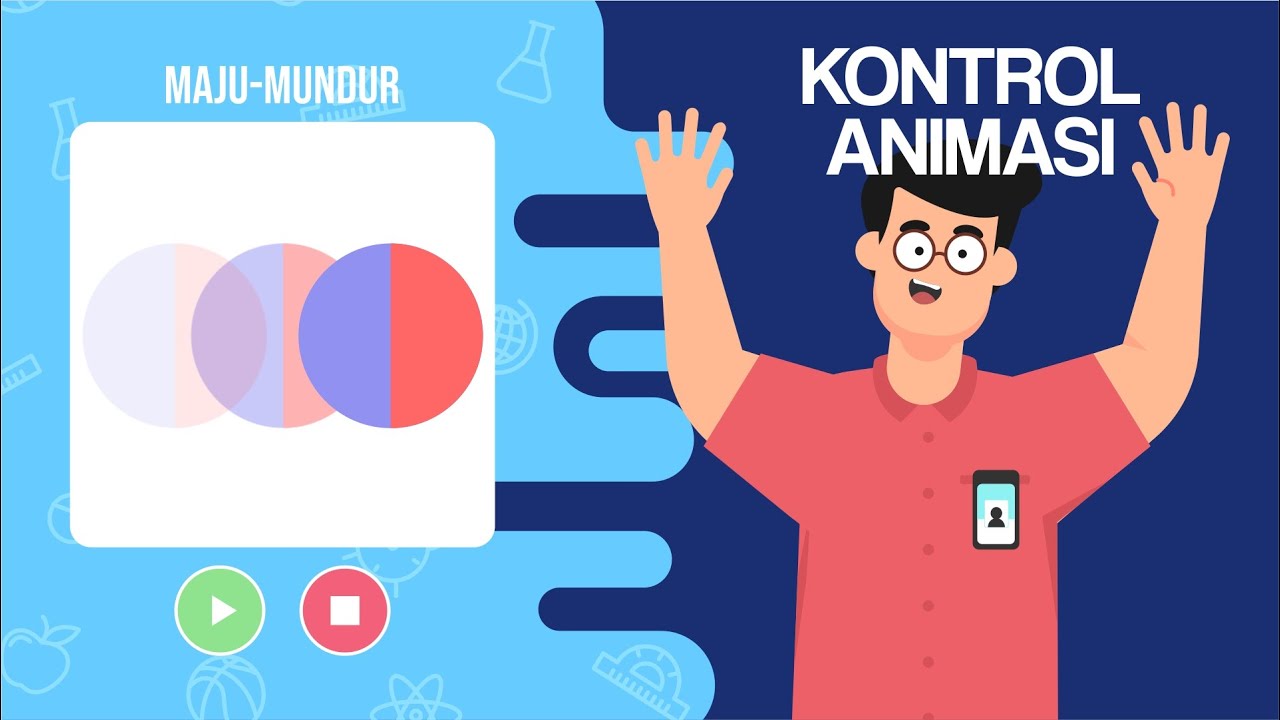
- 😀 A simple animation effect is applied to an object to grow from small to large, with alpha transparency for a fading effect.
- 😀 A masking technique is used to animate text (such as 'Welcome') from top to bottom using a rectangular mask to control the visibility.
- 😀 The tutorial demonstrates how to animate other objects, including a logo and a website-like button with movement across the screen.
- 😀 The importance of adjusting animation timing is emphasized by ensuring smooth transitions between actions.
- 😀 The use of the 'Free Transform' tool and registration points is shown to animate objects from left to right or across other dimensions.
- 😀 The final animation is reviewed, and small tweaks are made to ensure smoothness and timing, including removing unnecessary frames and finalizing the design.
- 😀 The tutorial ends with a brief review, with the animation now ready to be exported, and Tisna wishes the viewers success with their projects.
Q & A
What is the main purpose of the video tutorial?
-The main purpose of the video tutorial is to teach viewers how to create an interactive learning design, specifically focusing on creating a simple opening animation in Adobe Animate.
Which software is used in the tutorial for creating the interactive design?
-The software used in the tutorial is Adobe Animate.
What are the basic elements the tutorial covers for creating the opening animation?
-The basic elements include a simple design with various objects such as intro menus, home, video materials, and profiles, along with the steps to animate them.
How does the tutor organize the objects for the animation?
-The tutor organizes the objects by separating them into layers, then applies specific animations to each layer to create the desired effects.
What is the first step the tutor takes to create the opening animation?
-The first step is to create a simple design in Adobe Animate, which includes an intro menu, home, video content, and profile.
How does the tutor animate the first object in the opening?
-The tutor animates the first object (a circle) by scaling it from small to large and applying an alpha effect to make it fade out.
What is the role of the 'masking' technique in the tutorial?
-The masking technique is used to control the visibility of the 'Welcome' text by revealing it from top to bottom as part of the animation.
How does the tutor create the animation for the 'Welcome' text?
-The 'Welcome' text is animated by using a mask that moves from top to bottom, with a box to hide the text initially. The tutor also applies an alpha effect to make the text gradually appear.
What steps does the tutor take to animate the 'Loading' text?
-For the 'Loading' text, the tutor uses the Free Transform tool to create a left-to-right movement, adjusting the registration point to control the direction of the animation.
How does the tutor finalize the animation and test it?
-Once all animations are applied, the tutor ensures proper sequencing by inserting keyframes and adjusting timing. They then preview the animation by pressing Ctrl + Enter to check if the results are smooth and functional.
Outlines

Dieser Bereich ist nur für Premium-Benutzer verfügbar. Bitte führen Sie ein Upgrade durch, um auf diesen Abschnitt zuzugreifen.
Upgrade durchführenMindmap

Dieser Bereich ist nur für Premium-Benutzer verfügbar. Bitte führen Sie ein Upgrade durch, um auf diesen Abschnitt zuzugreifen.
Upgrade durchführenKeywords

Dieser Bereich ist nur für Premium-Benutzer verfügbar. Bitte führen Sie ein Upgrade durch, um auf diesen Abschnitt zuzugreifen.
Upgrade durchführenHighlights

Dieser Bereich ist nur für Premium-Benutzer verfügbar. Bitte führen Sie ein Upgrade durch, um auf diesen Abschnitt zuzugreifen.
Upgrade durchführenTranscripts

Dieser Bereich ist nur für Premium-Benutzer verfügbar. Bitte führen Sie ein Upgrade durch, um auf diesen Abschnitt zuzugreifen.
Upgrade durchführenWeitere ähnliche Videos ansehen
TUTORIAL - Mengontrol Animasi Adobe Animate

TUTORIAL - Membuat Kuis Pilihan Ganda Sederhana Adobe Animate Indonesia

Tutorial Membuat Kuis Interaktif Simple Dan Mudah di Powerpoint | Game powerpoint | FREE TEMPLATE

Mudahnya Membuat Animasi Logo Brand DJI - Tutorial After Effect
Adobe Animate Tutorial for Beginners - 2024

Learn CSS ::before and ::after in 4 Minutes
5.0 / 5 (0 votes)
