Stratix Industrial Switch - Preparing for Initial Use
Summary
TLDRThis video provides a step-by-step guide for setting up the Stratix 5700 switch using the express setup method. It walks through the process of preparing your PC, resetting the switch if necessary, and configuring the switch's basic settings like IP address, management VLAN, and user credentials. The video highlights key features of express setup, including enabling IGMP snooping, SIP for PLC communication, and various network safety functions such as BPDU guard and loop guard. Once completed, the Stratix 5700 switch is ready for further configuration, ensuring efficient operation in an industrial network.
Takeaways
- 😀 Express Setup is a simple method for initial configuration of the Stratix 5700 switch.
- 😀 Powering off the switch before starting the setup ensures more predictable results.
- 😀 The switch assigns an IP address to the PC during setup, so ensure the PC is set to obtain an IP automatically.
- 😀 Resetting the switch to default settings requires a 15-20 second press of the Express Setup button, but it will erase previous configurations.
- 😀 After pressing the Express Setup button, the LED on one port will illuminate, signaling it’s time to connect your PC.
- 😀 The default IP address for the switch is `169.254.0.1`, and you should proceed by clicking 'Advanced' when prompted in the browser.
- 😀 Login credentials: Username is blank and the default password is 'switch' (lowercase).
- 😀 During setup, configure settings such as switch name, management VLAN, IP address, default gateway, and user credentials.
- 😀 Enabling protocols like SIP for PLC communication and remote access options like SSH or Telnet are optional during setup.
- 😀 Once configured, power cycle the switch and reconnect the PC to the network with an IP on the same subnet (e.g., `192.168.1.225`).
- 😀 After the switch reboots, access it via the assigned IP (`192.168.1.100`) and login with the username and password set during the setup.
Q & A
What is the purpose of the express setup for the Stratix 5700?
-The express setup is used for the initial configuration of the Stratix 5700 switch. It automates several critical functions, such as enabling IGMP snooping, SIP, SNMP, and quality of service settings, allowing for smooth and efficient integration into a network.
What does IGMP snooping do in the Stratix 5700 express setup?
-IGMP snooping enables the switch to send multicast traffic only to devices that need it, preventing unnecessary traffic from being broadcasted across the network.
Why is SIP enabled during the express setup of the Stratix 5700?
-SIP (Common Industrial Protocol) is enabled to allow communication and monitoring between the Stratix 5700 switch and programmable logic controllers (PLCs) for industrial applications.
How does the express setup help prevent network loop failures?
-The express setup configures Rapid Spanning Tree, BPDU Guard, BPDU Filter, and Loop Guard, which are features designed to prevent network loops that can cause network disruptions and failures.
What should you do to configure your PC for the express setup process?
-Ensure your PC is set to obtain an IP address automatically by configuring it for DHCP. This can be done in the Ethernet settings under 'Change Adapter Options' by selecting IPv4 and enabling 'Obtain an IP address automatically.'
What action is required if the Stratix 5700 switch is not in its default state?
-If the switch is not in the default state, you can reset it by pressing the express setup button for 15-20 seconds, which will erase the current configuration and return the switch to factory settings.
How do you access the Stratix 5700 switch during the express setup?
-You access the switch by connecting your PC to the switch's port that has illuminated after pressing the express setup button. Then, navigate to the default IP address '169.254.0.1' in a web browser.
What are the key settings you must define during the express setup?
-You need to define the switch name, management VLAN, static IP address (e.g., '192.168.1.100'), default gateway (if necessary), time server, and set a username and password.
What should you do after submitting the configuration during the express setup?
-After submitting the configuration, you should cycle the power to the switch by removing and reinserting the power cable. This will allow the switch to reboot and apply the new settings.
How do you verify the switch's IP address after the reboot?
-Once the switch has rebooted, you need to configure your PC with an IP address on the same network as the switch (e.g., '192.168.1.225'), ensuring the IP address is not already in use. Then, access the switch via the new IP address (e.g., '192.168.1.100') in a web browser.
Outlines

Dieser Bereich ist nur für Premium-Benutzer verfügbar. Bitte führen Sie ein Upgrade durch, um auf diesen Abschnitt zuzugreifen.
Upgrade durchführenMindmap

Dieser Bereich ist nur für Premium-Benutzer verfügbar. Bitte führen Sie ein Upgrade durch, um auf diesen Abschnitt zuzugreifen.
Upgrade durchführenKeywords

Dieser Bereich ist nur für Premium-Benutzer verfügbar. Bitte führen Sie ein Upgrade durch, um auf diesen Abschnitt zuzugreifen.
Upgrade durchführenHighlights

Dieser Bereich ist nur für Premium-Benutzer verfügbar. Bitte führen Sie ein Upgrade durch, um auf diesen Abschnitt zuzugreifen.
Upgrade durchführenTranscripts

Dieser Bereich ist nur für Premium-Benutzer verfügbar. Bitte führen Sie ein Upgrade durch, um auf diesen Abschnitt zuzugreifen.
Upgrade durchführenWeitere ähnliche Videos ansehen

Stratix 5700 Unboxing
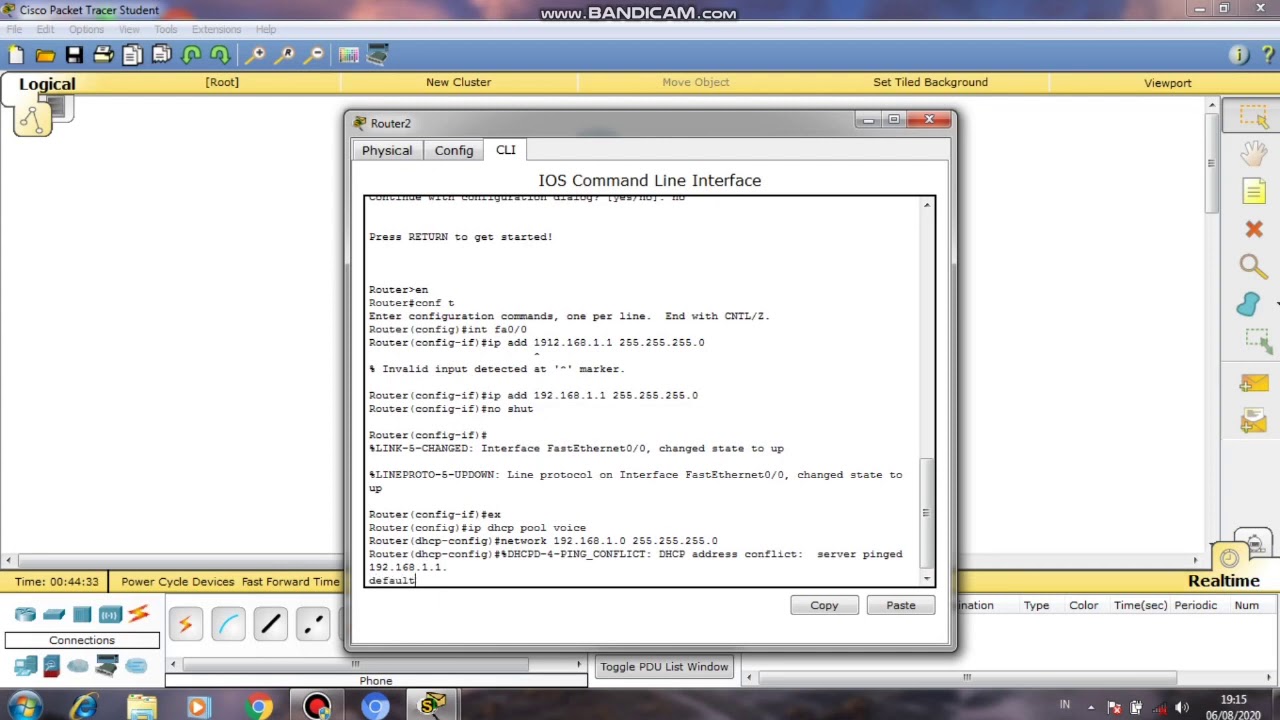
Simulasi VoIP Server softswitch pbx - Cisco Packet Tracer
CARA MEMBUAT SERVER INTERNET DENGAN PROXMOX, MIKROTIK, OLT , SWITCH MANAGED
Video Materi : Instalasi Jaringan Lokal (LAN) sederhana

I Copied a $103k/Month Faceless YouTube Channel Using AI

Cara Konfigurasi VoIP Pada Cisco Packet Tracer Terbaru || Command Line Interface CLI
5.0 / 5 (0 votes)
