How To Make a Topdown RPG in Godot 4: Adding The Player (Part 1)
Summary
TLDRThis tutorial video script guides viewers through creating a pixel art RPG character in Godot. It covers setting up project settings for pixel art quality, creating a world scene, and building a player character with a sprite and animations. The script details adding a collision shape, animation player, and implementing movement and attack animations. It also explains setting up an animation tree, handling inputs for player movement and attacks, and adjusting camera settings for a smooth gameplay experience. The video promises to provide all necessary files on GitHub and hints at future tutorials on advanced animations and game mechanics.
Takeaways
- 🎮 Start by setting the texture filter to 'Nearest' in project settings to maintain high-quality pixel art in the RPG series.
- 🌍 Create a 'World' node and set an icon for reference to ensure the player's movement is tracked correctly.
- 👤 Add a 'CharacterBody' with a collision shape, animation player, animation tree, and a Sprite to construct the player character.
- 📁 Organize assets by creating folders for the player and art, then drag the art into the Sprite node.
- 🔁 Set up the animation frames and configure the AnimationTree to manage different character states and transitions.
- 💻 Use 'on_ready' variables with explicit types for better performance, especially on lower-end computers.
- 🕹️ Implement a physics process for handling player inputs to improve responsiveness.
- 🏃 Create a velocity specification using the input vector multiplied by speed for character movement.
- 🎭 Add attack animations and ensure blend positions are set correctly when the movement vector is not at zero.
- 📸 Set up a 'Move and Slide' function to handle character movement and incorporate animations.
- 🔍 Configure the AnimationPlayer to enable smooth transitions between idle and run animations with proper settings.
- 🛡️ Create a circular CollisionShape for the player to facilitate interactions with the game world and potential future occlusion effects.
- 📸 Add a camera with zoom and smoothing settings to enhance the in-game viewing experience.
- 🔧 Set up inputs and activate the AnimationTree before testing the game to ensure character movements and animations work as intended.
- ⚔️ Implement attack animations with a marker and area to define the attack range and connect them to the AnimationTree for seamless transitions.
- 🛠️ Code the attack functionality to disable player movement during the attack and manage the attack animation state.
Q & A
What is the first setting adjustment recommended for a pixel art RPG series in Godot?
-The first setting adjustment is to go to Project Settings and under Textures, Default Texture Filter, select the 'Nearest' setting to ensure high-quality pixel art without low resolution.
How do you create a new world in the game?
-To create a new world, you make a new scene, name it 'World', and drag in an icon to serve as a reference model to ensure that the player is moving.
What are the essential components to add to the player character in Godot?
-The essential components to add to the player character include a CharacterBody, CollisionShape, AnimationPlayer, AnimationTree, and a Sprite.
Why is it important to specify variable types in Godot when creating a game?
-Specifying variable types in Godot is important for performance, especially on lower-end computers, as it allows the computer to know the type of variable without guessing, thus improving the program's performance.
How do you handle player inputs in the Godot game engine?
-Player inputs are handled by changing the script's process mode to 'physics process' which allows for better input processing compared to the normal 'process' mode.
What is the purpose of using a blend space 2D for animations in Godot?
-A blend space 2D is used for animations to smoothly transition between different animation states, such as idle and run, and to handle various directions and attack animations.
Why is it necessary to disable the 'Ready' function in the AnimationTree?
-The 'Ready' function is disabled in the AnimationTree because it is not used in this setup, and removing it simplifies the process and potentially improves performance.
How do you ensure that the player character's attack animation is synchronized with a hitbox?
-The attack animation is synchronized with a hitbox by enabling the hitbox's CollisionShape during the attack animation and disabling it once the animation is over.
What is the significance of using a Marker2D for the sword hitbox in the attack animation?
-A Marker2D is used for the sword hitbox to allow for easy rotation and positioning of the hitbox without manually changing the sword's CollisionShape during different attack animations.
How do you implement camera smoothing in Godot for a better player experience?
-Camera smoothing is implemented by adding a camera to the scene, setting the zoom level, and enabling smoothing options with a specified speed to ensure a smooth follow of the player character.
What is the role of the 'is attacking' Boolean variable in controlling the player's movement during an attack?
-The 'is attacking' Boolean variable is used to prevent the player from moving while attacking, ensuring that the attack animation plays without interruption from movement inputs.
Outlines

Dieser Bereich ist nur für Premium-Benutzer verfügbar. Bitte führen Sie ein Upgrade durch, um auf diesen Abschnitt zuzugreifen.
Upgrade durchführenMindmap

Dieser Bereich ist nur für Premium-Benutzer verfügbar. Bitte führen Sie ein Upgrade durch, um auf diesen Abschnitt zuzugreifen.
Upgrade durchführenKeywords

Dieser Bereich ist nur für Premium-Benutzer verfügbar. Bitte führen Sie ein Upgrade durch, um auf diesen Abschnitt zuzugreifen.
Upgrade durchführenHighlights

Dieser Bereich ist nur für Premium-Benutzer verfügbar. Bitte führen Sie ein Upgrade durch, um auf diesen Abschnitt zuzugreifen.
Upgrade durchführenTranscripts

Dieser Bereich ist nur für Premium-Benutzer verfügbar. Bitte führen Sie ein Upgrade durch, um auf diesen Abschnitt zuzugreifen.
Upgrade durchführenWeitere ähnliche Videos ansehen
Start Your Game Creation Journey Today! (Godot beginner tutorial)
How To Make a Topdown RPG in Godot 4: Adding Health Bars and Health UI! (Part 4)
How To Make a Topdown RPG in Godot 4: Adding Combo Attacks and an Enemy(Part 2)
Godot 4 Crash Course #4 - Adding Meteors

How To Make Pixel Art In Blender - The Complete Guide
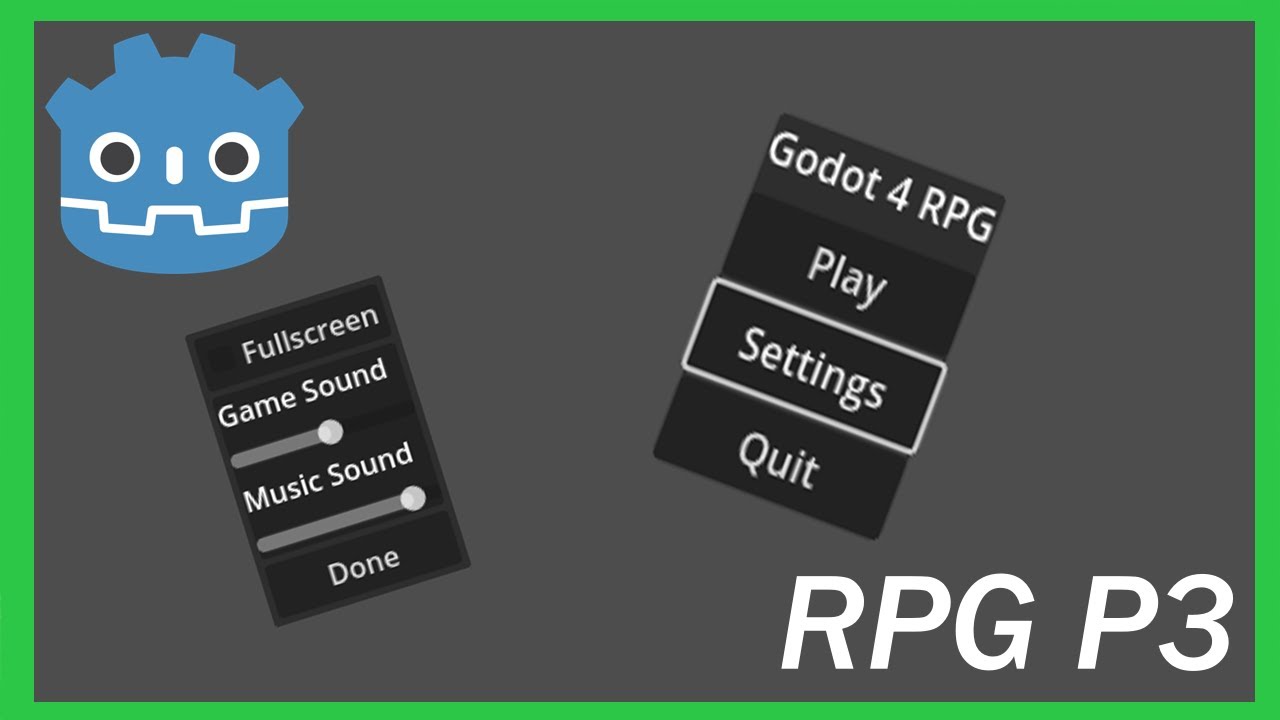
How To Make a Topdown RPG in Godot 4: Adding Menus! (Part 3)
5.0 / 5 (0 votes)
