How To Make a Topdown RPG in Godot 4: Adding Menus! (Part 3)
Summary
TLDRThis video tutorial guides viewers through creating a settings menu in a game development environment using Godot. It covers the process of organizing audio files, setting up folders, and constructing a user interface with various containers and elements like checkboxes, sliders, and buttons. The script also demonstrates how to implement audio and video settings adjustments, including volume control and full-screen toggles, and concludes with saving and testing the menu.
Takeaways
- 📁 Start by organizing files: Create folders named 'audio' and 'menus' for structured project management.
- 🎵 Import audio files: Bring in a 'toggle' sound and a 'wind' sound to be used for music toggles in the project.
- 🛠️ Set up UI elements: Construct a pop-up panel with nested containers (VBox, Panel, Margin, HBox) and a checkbox for 'fullscreen'.
- 🔊 Manage audio settings: Duplicate and rename panel containers to 'sound settings' and 'video settings', adjusting UI components accordingly.
- 🔑 Utilize sliders: Add sliders for 'game slider' and 'music slider' to control audio levels, using a horizontal orientation.
- 🎛️ Implement audio streaming: Add 'AudioStreamPlayer' nodes for sound effects and music, and configure them with respective buses.
- 🔈 Adjust audio buses: Create and assign buses for 'music' and 'sound effects' to manage different audio types separately.
- 📝 Script interactions: Write scripts for adjusting volume based on slider values and toggling fullscreen mode.
- 🔗 Connect UI to functionality: Ensure sliders and checkboxes are connected to the correct script functions for immediate feedback.
- 🎮 Create a main menu: Design a main menu with buttons for 'play', 'settings', and 'quit', and ensure the pop-up panel is initialized as invisible.
- 🔄 Test and iterate: After setting up, test the in-game audio and video settings to ensure they function as intended and make adjustments if necessary.
Q & A
What is the first step in creating the audio and menus folders in the script?
-The first step is to create a new folder named 'audio' and another one named 'menus'.
Which two sounds are imported for the audio in the script?
-A toggle sound and a wind sound are imported for the audio.
What kind of panel is created first in the script, and what is its purpose?
-A pop-up panel is created first, which is used to create settings for sound and video.
How are the containers structured within the pop-up panel?
-The containers are structured as follows: a VBox container, a Panel container, a Margin container, an HBox container, and finally a CheckBox.
What is the purpose of duplicating the panel container in the script?
-The panel container is duplicated to create separate sections for 'sound settings' and 'video settings'.
How are the sliders named after being duplicated?
-The sliders are renamed to 'game slider' and 'music slider' after duplication.
What does the 'normal audio stream player' do in the script?
-The 'normal audio stream player' is used to play sound effects and music, with instances named 'sound effects' and 'music'.
What are the two buses added in the audio settings, and what are they used for?
-Two buses are added, one for 'music' and one for 'sound effects', used to manage the volume of these audio types.
How are the volume levels of the sound effects and music adjusted in the script?
-The volume levels are adjusted using the 'game slider' and 'music slider' connected to the respective audio buses.
What is the purpose of the 'done' button in the script?
-The 'done' button is used to close the pop-up settings panel.
How is the main menu created and what elements does it contain?
-The main menu is created with a Control node, a Margin container, a Panel, and nested VBoxes containing labels for the game title and buttons for 'play', 'settings', and 'quit'.
What script functionality is added to the play, settings, and quit buttons in the main menu?
-The play button changes the scene to 'world', the settings button opens the settings panel, and the quit button closes the application.
Outlines

This section is available to paid users only. Please upgrade to access this part.
Upgrade NowMindmap

This section is available to paid users only. Please upgrade to access this part.
Upgrade NowKeywords

This section is available to paid users only. Please upgrade to access this part.
Upgrade NowHighlights

This section is available to paid users only. Please upgrade to access this part.
Upgrade NowTranscripts

This section is available to paid users only. Please upgrade to access this part.
Upgrade NowBrowse More Related Video
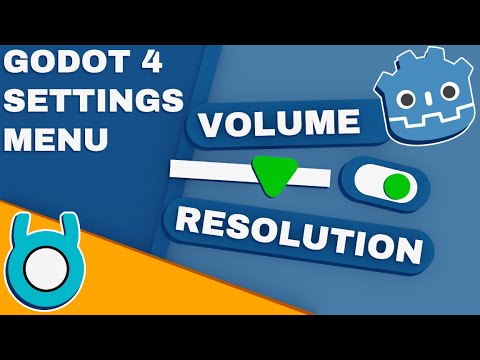
Godot 4 Settings Menu Tutorial
Start Your Game Creation Journey Today! (Godot beginner tutorial)
Space Shooter in Godot 4 - part 1 (introduction)
How To Make a Topdown RPG in Godot 4: Adding Combo Attacks and an Enemy(Part 2)

Make Games Without Writing ANY Code in 2025 #1
How To Make a Topdown RPG in Godot 4: Adding The Player (Part 1)
5.0 / 5 (0 votes)