Konfigurasi Hotspot Mikrotik Di VMware Menggunakan Winbox
Summary
TLDRThis video tutorial demonstrates the process of configuring a MikroTik router using VMware. It covers steps like creating a virtual machine, selecting the ISO file, setting up the virtual machine's hardware, and installing the MikroTik system. It also explains how to divide users, create profiles, and change the login page. The video includes practical instructions for configuring a hotspot, assigning IP addresses, and setting DNS names. The tutorial finishes by showing how to customize the login page's appearance and testing the login process to ensure everything is properly set up.
Takeaways
- 😀 The video demonstrates how to configure MikroTik using VMware for network management.
- 😀 The process starts by creating a new virtual machine in VMware and selecting the appropriate installation image.
- 😀 Users must locate and select the MikroTik ISO file to begin the installation process.
- 😀 A virtual machine is created with specific settings, including 1GB of hard disk space and 512MB of RAM.
- 😀 After the virtual machine is set up, the user accesses the MikroTik terminal to begin system installation.
- 😀 The video shows how to configure MikroTik's initial settings, including setting up IP addresses and local network configurations.
- 😀 Winbox is used to connect to the MikroTik system and manage configurations through its graphical interface.
- 😀 The hotspot setup wizard is run, where various network settings are configured, including DNS and SMTP server settings.
- 😀 Users are divided into different profiles (e.g., employee, guest) to manage network access and user privileges.
- 😀 The login page for the MikroTik hotspot is customized by uploading and extracting a new design through Winbox.
- 😀 The final step demonstrates testing the login page by accessing it through a browser and successfully logging in with a customized username and password.
Q & A
What is the main goal of Group 3's presentation?
-The main goal is to explain how to configure MikroTik using VMware, manage user profiles, and customize the login page.
How do you begin the setup process for MikroTik in VMware?
-You start by opening the VMware software, creating a new virtual machine, selecting the installer ISO file for MikroTik, and configuring the machine's settings.
What are the hardware settings for the virtual machine in the setup?
-The virtual machine is set with 1GB of hard drive space and 512MB of RAM. These can be adjusted based on the system's requirements.
How do you install MikroTik on the virtual machine?
-You power on the virtual machine, press 'Enter' to begin the installation, and follow the prompts. The default login credentials are blank for the username and 'Enter' for the password.
What is the purpose of setting up the Hotspot in MikroTik?
-The Hotspot setup allows the configuration of network interfaces for user access, IP address allocation, and managing DNS settings, enabling the connection of users to the network.
How do you configure the IP and DNS settings in the Hotspot setup?
-During the Hotspot setup, you define the local IP address, specify the range of IP addresses available for DHCP, and set up DNS servers, such as specifying the DNS name (e.g., kybtiket.ke).
How are user profiles managed in MikroTik?
-User profiles are managed by creating different roles, such as 'employee' and 'guest', assigning them unique passwords, and applying the changes for each profile through the MikroTik interface.
What is the process to customize the login page in MikroTik?
-To customize the login page, you extract the login page files, drag them into the hotspot directory in Winbox, and then choose a new template, such as the Metro Style template, for the login page.
How can you verify the login page customization?
-You verify the login page customization by opening a browser, typing the DNS name (e.g., lp3t.unair), and ensuring that the new login page appears correctly.
What is the significance of using DNS settings in this configuration?
-The DNS settings are important for translating domain names into IP addresses, allowing users to access the hotspot using a domain name (e.g., kybtiket.ke) instead of a raw IP address.
Outlines

هذا القسم متوفر فقط للمشتركين. يرجى الترقية للوصول إلى هذه الميزة.
قم بالترقية الآنMindmap

هذا القسم متوفر فقط للمشتركين. يرجى الترقية للوصول إلى هذه الميزة.
قم بالترقية الآنKeywords

هذا القسم متوفر فقط للمشتركين. يرجى الترقية للوصول إلى هذه الميزة.
قم بالترقية الآنHighlights

هذا القسم متوفر فقط للمشتركين. يرجى الترقية للوصول إلى هذه الميزة.
قم بالترقية الآنTranscripts

هذا القسم متوفر فقط للمشتركين. يرجى الترقية للوصول إلى هذه الميزة.
قم بالترقية الآنتصفح المزيد من مقاطع الفيديو ذات الصلة

Share Internet ke Mikrotik VMware #MK2
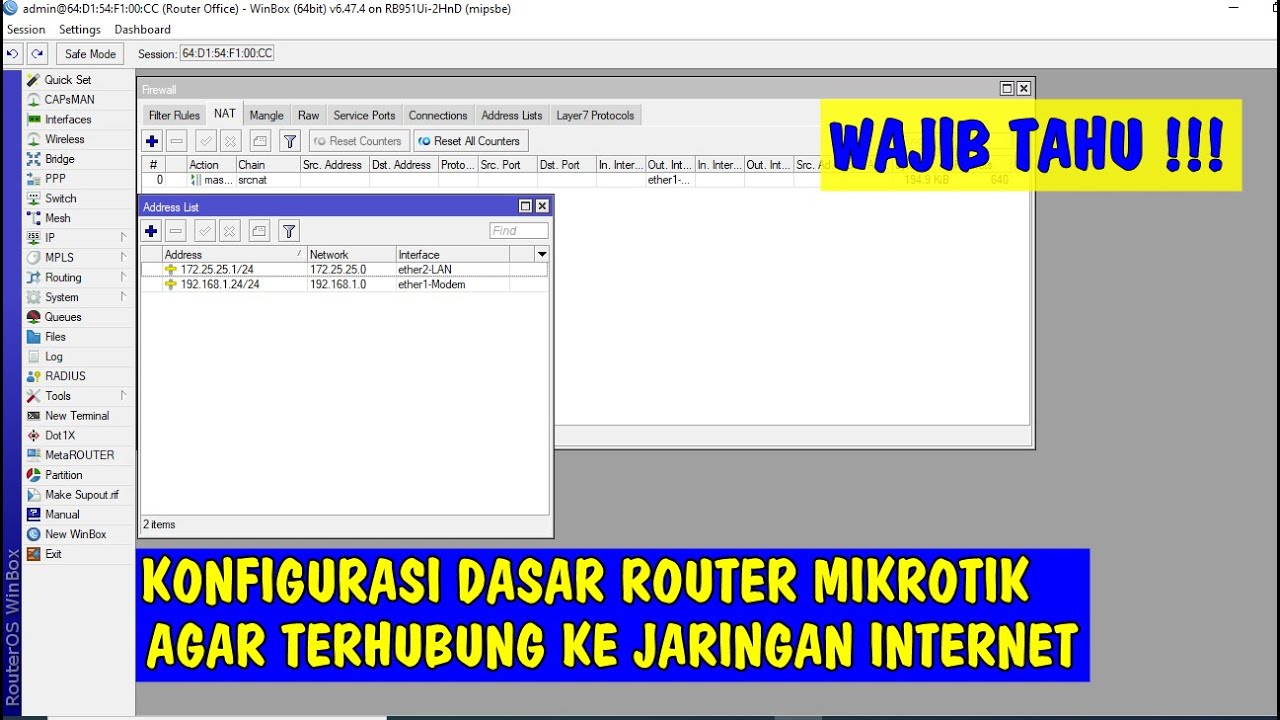
Konfigurasi Dasar Router Mikrotik agar terhubung ke Jaringan Internet

Belajar Mikrotik Tanpa "Mikrotik"

Koneksi Jaringan Lan Ke Internet Melalui Mikrotik Rb941 2Nd
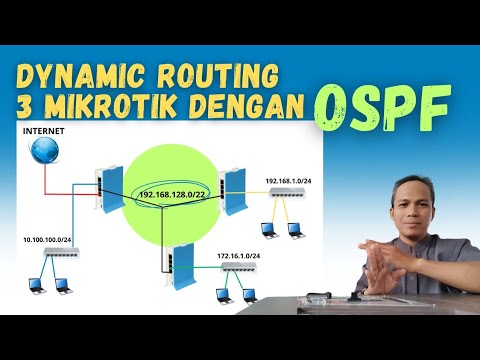
Konfigurasi Routing OSPF 3 Router Mikrotik
Konfigurasi OpenVPN Di MikroTik RouterOS v7 - MIKROTIK TUTORIAL [ ]
5.0 / 5 (0 votes)
