Cara Membuat Kerucut Dari Kertas Karton || Jaring Jaring Kerucut Dari Kertas
Summary
TLDRIn this tutorial, Patmawati Hasan demonstrates how to create a cone-shaped paper model using cardboard. The process begins with measuring and cutting an F4 size cardboard, followed by drawing and cutting a semicircular pattern. After folding the cardboard, the pieces are glued together to form a cone. The tutorial provides clear, step-by-step instructions, showing how to assemble the cone with simple tools like a ruler, compass, and glue. Viewers are encouraged to experiment with different colors and designs, and the video concludes with a call to support the channel and thank viewers.
Takeaways
- 😀 Start by preparing a piece of F4 size cardboard, a ruler, and a marker.
- 😀 Draw a 20 cm line on the cardboard and find the center point.
- 😀 Leave a 1 cm margin at the bottom for gluing purposes.
- 😀 Using a compass, create a half-circle starting from the center of the 20 cm line.
- 😀 Measure a 5 cm radius with the compass and draw a circle for the base.
- 😀 Draw a triangle shape inside the half-circle for the gluing area.
- 😀 Cut the cardboard along the drawn pattern to shape the pieces.
- 😀 Fold the extra paper at the bottom inward before applying glue.
- 😀 Use glue (such as Fox glue) to adhere the folded section.
- 😀 Attach the two halves of the circle to form the cone shape.
- 😀 Finally, glue the circular base to the folded triangle section to complete the cone-shaped 3D figure.
Q & A
What materials are needed to make the cone-shaped structure?
-The materials required are F4-sized cardboard, a ruler, a pen, a compass, and glue (Fox glue is used in the video).
What is the first step in making the cone?
-The first step is to prepare the F4-sized cardboard and use a ruler to draw a 20 cm line. Then, find the midpoint and leave a 1 cm margin for the part that will be glued.
How do you create the base of the cone?
-To create the base, use a compass to draw a semi-circle from the midpoint, and then measure 5 cm with the compass to form the circular base.
Why is there a 1 cm margin left at the bottom part of the cardboard?
-The 1 cm margin is left for the area where glue will be applied to join the cardboard, ensuring that the cone holds its shape.
What should be done after drawing the semi-circle and triangle on the cardboard?
-Once the semi-circle and triangle are drawn, cut along the outlines to create the desired shape of the cone.
How is the cone shape created after cutting the cardboard?
-After cutting, fold the excess cardboard inward and apply glue to the folded part. Then, join the two halves of the semi-circle to form the cone shape.
How is the base of the cone attached?
-The base is attached by gluing the folded triangular section to the circular base, securing the cone’s bottom part.
What type of glue is used in the video?
-The video uses Fox glue to adhere the different parts of the cone together.
What additional creative step is suggested in the video?
-The video encourages viewers to get creative with different colors for the cone structure, allowing for personalized designs.
How does the video conclude?
-The video concludes by thanking viewers for watching, encouraging them to support the channel, and wishing them success in their own cone-making projects.
Outlines

هذا القسم متوفر فقط للمشتركين. يرجى الترقية للوصول إلى هذه الميزة.
قم بالترقية الآنMindmap

هذا القسم متوفر فقط للمشتركين. يرجى الترقية للوصول إلى هذه الميزة.
قم بالترقية الآنKeywords

هذا القسم متوفر فقط للمشتركين. يرجى الترقية للوصول إلى هذه الميزة.
قم بالترقية الآنHighlights

هذا القسم متوفر فقط للمشتركين. يرجى الترقية للوصول إلى هذه الميزة.
قم بالترقية الآنTranscripts

هذا القسم متوفر فقط للمشتركين. يرجى الترقية للوصول إلى هذه الميزة.
قم بالترقية الآنتصفح المزيد من مقاطع الفيديو ذات الصلة

Cara Membuat Bangun Ruang Tabung Dari Kertas Karton || Jaring Jaring Tabung || Buat Bangun Ruang
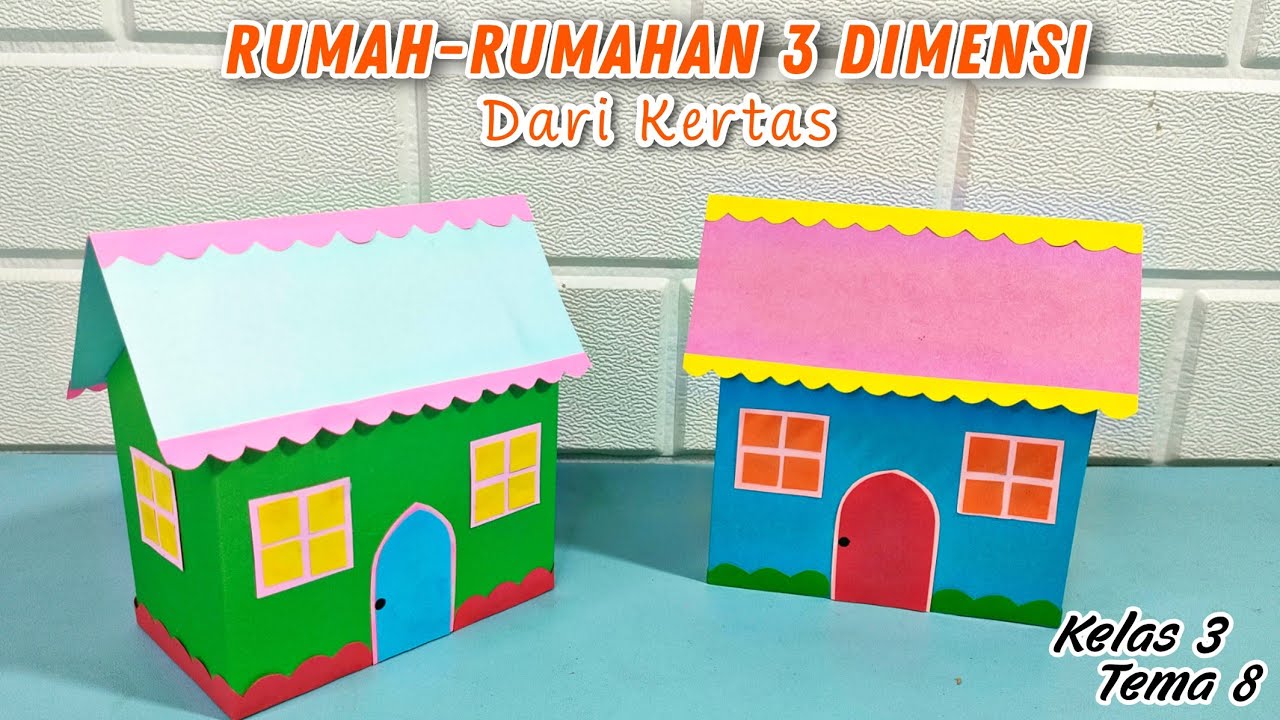
Cara Membuat Rumah Rumahan 3 Dimensi Dari Kertas Tugas Kelas 3 Tema 8 || Membuat Rumah Kertas

Cara Membuat Tabung Dari Kertas Karton || Jaring Jaring Tabung || Membuat Pola Tabung

DIY Bingkai foto dari kardus dan kertas kado||Photo frame with cardboard@TamtamArtandCraft
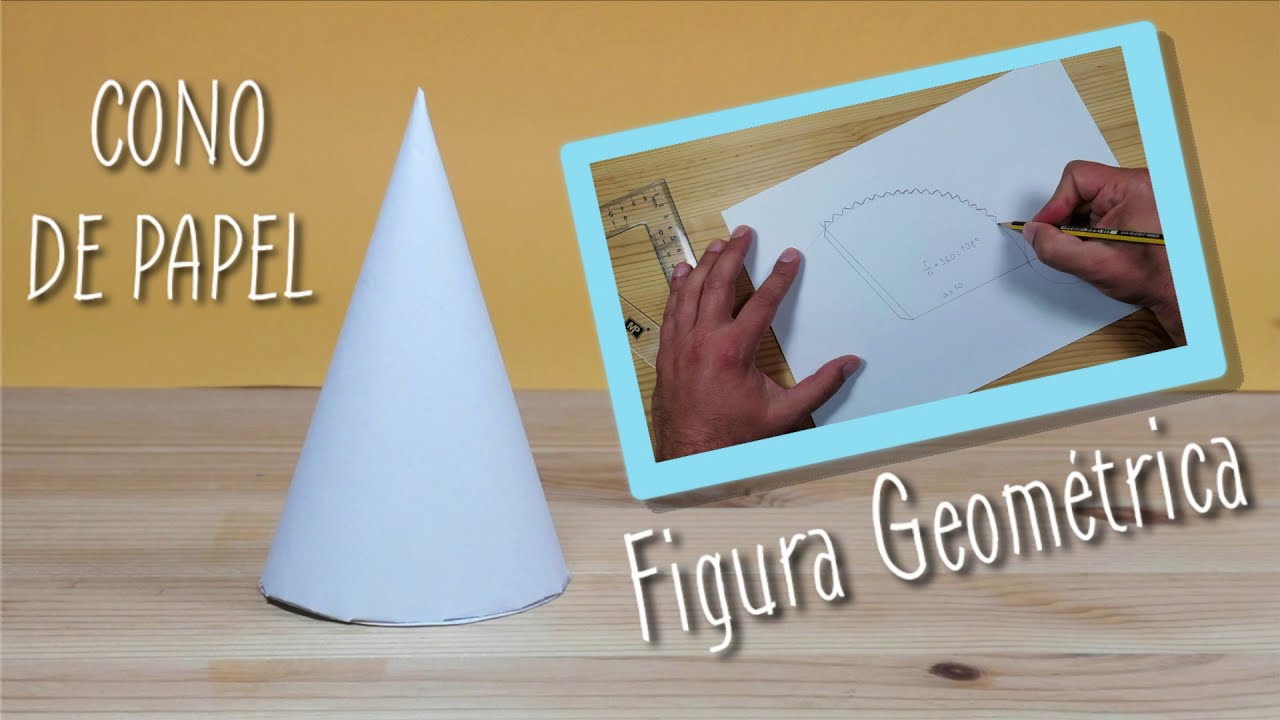
COMO HACER UN CONO DE PAPEL FIGURA GEOMETRICA

Tempat Pensil Dari Botol Bekas || Kerajinan Botol Bekas || Kerajinan Limbah Anorganik
5.0 / 5 (0 votes)
