Cara Membuat Bangun Ruang Tabung Dari Kertas Karton || Jaring Jaring Tabung || Buat Bangun Ruang
Summary
TLDRIn this video, Patmawati Hasan guides viewers through a step-by-step process to create a cardboard cylinder using simple materials like cardboard, a ruler, and a compass. She demonstrates how to draw and cut patterns, including a square and a circle, and then assembles the pieces to form a cylinder. The tutorial includes tips on folding and gluing the edges to complete the structure. It's an easy and creative craft project perfect for beginners, with clear instructions and an encouraging tone. Viewers are invited to try it out and support the channel.
Takeaways
- 😀 The video demonstrates how to create a 3D shape of a cylinder using cardboard.
- 😀 The materials required include cardboard, a ruler, a marker, and a compass.
- 😀 The first step is to mark points on the cardboard to make straight lines for the pattern.
- 😀 A square shape is drawn as part of the initial design for the 3D object.
- 😀 A circle is drawn within the square using a compass, ensuring the correct proportions.
- 😀 Measurements are written down to keep track of the sizes while making the shape.
- 😀 A small extension (about 1 cm) is added to the top line to mark the area for gluing.
- 😀 The edges of the cardboard are cut according to the drawn pattern to shape the object.
- 😀 Triangular sections at the edges are folded inward and glued to create the cylindrical form.
- 😀 After gluing the triangular edges and shaping the top and bottom, the cylinder is complete.
- 😀 The video concludes with a thank you message, encouraging viewers to subscribe and continue supporting the channel.
Q & A
What is the main purpose of this video tutorial?
-The main purpose of the video tutorial is to show viewers how to create a 3D cylindrical shape (bangun ruang tabung) using cardboard.
What materials are required to make the 3D cylindrical shape?
-The materials required include cardboard, a ruler, a marker, a compass, scissors, and glue.
How do you start the process of making the cylindrical shape?
-You begin by preparing the cardboard, using a ruler and marker to draw a rectangle, and finding its center point to help create a straight line.
What is the purpose of the dashed circle in the tutorial?
-The dashed circle, drawn using a compass, is part of the pattern to shape the cylindrical object.
What role does the small 1 cm line at the top of the rectangle play?
-The small 1 cm line at the top of the rectangle is for gluing and helps in shaping the structure of the cylinder.
What do you do after cutting out the pattern?
-After cutting out the pattern, you fold the triangular parts inward and apply glue to stick the edges together.
Why do you fold the triangular pieces inward?
-Folding the triangular pieces inward helps to form the 3D structure of the cylinder by creating the walls and the curved shape.
How is the top and bottom of the cylindrical shape secured?
-The top and bottom are secured by applying glue to the folded edges of the triangular sections.
What is the significance of the final step of the project?
-The final step of applying glue and securing the edges completes the 3D cylindrical shape, making it stable and ready to use.
What does the tutorial encourage viewers to do at the end?
-At the end, the tutorial encourages viewers to try making the project themselves and supports the channel by asking for continued viewership.
Outlines

This section is available to paid users only. Please upgrade to access this part.
Upgrade NowMindmap

This section is available to paid users only. Please upgrade to access this part.
Upgrade NowKeywords

This section is available to paid users only. Please upgrade to access this part.
Upgrade NowHighlights

This section is available to paid users only. Please upgrade to access this part.
Upgrade NowTranscripts

This section is available to paid users only. Please upgrade to access this part.
Upgrade NowBrowse More Related Video

Cara Membuat Kerucut Dari Kertas Karton || Jaring Jaring Kerucut Dari Kertas
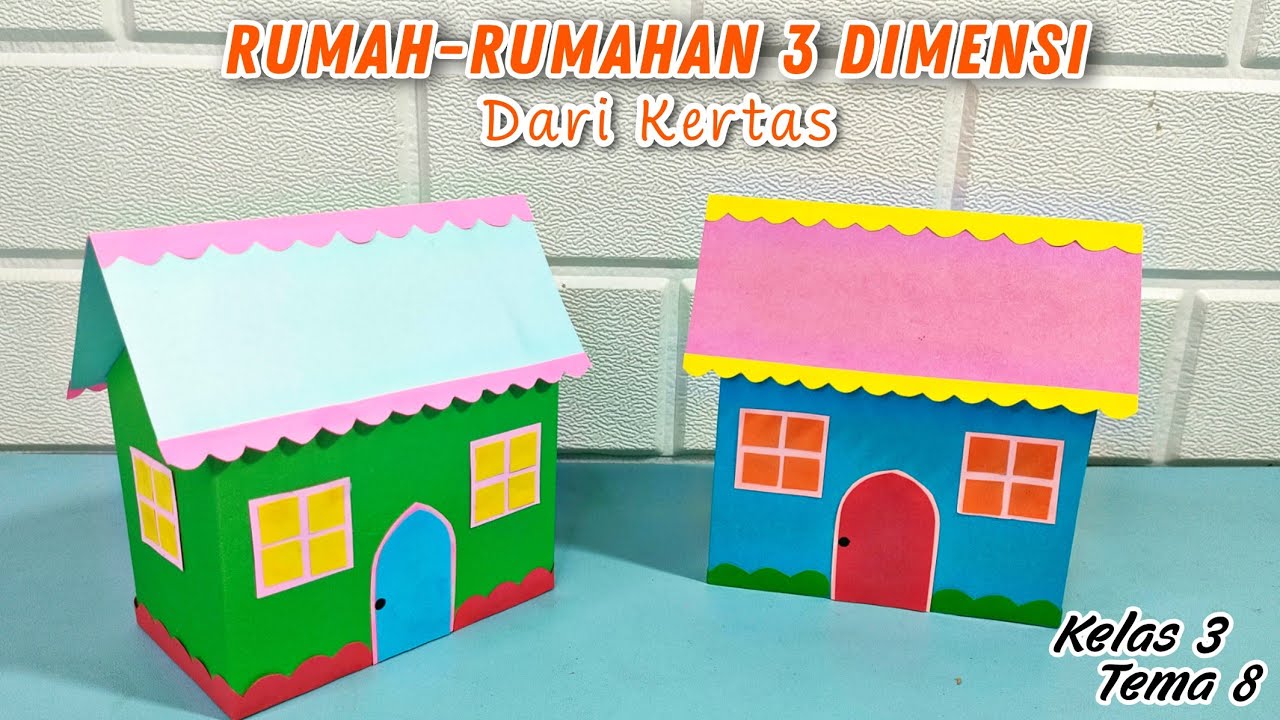
Cara Membuat Rumah Rumahan 3 Dimensi Dari Kertas Tugas Kelas 3 Tema 8 || Membuat Rumah Kertas

Cara Membuat Media Pembelajaran Penjumlahan dan pengurangan Siswa SD || Media Pembelajaran Siswa
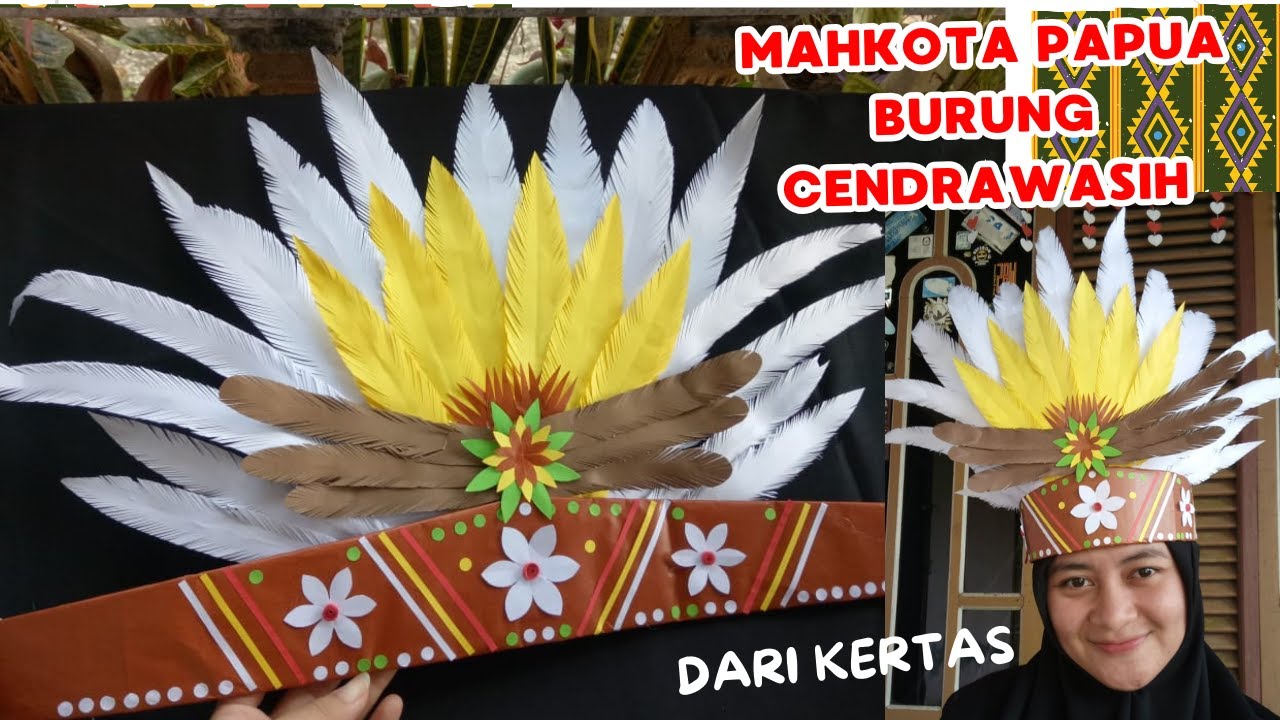
Cantik !! Tutorial Membuat Mahkota Hiasan Kepala Karnaval Adat Papua Burung Cendrawasih dari Kertas

How to make a creative cardboard mini marble track - DIY tutorial
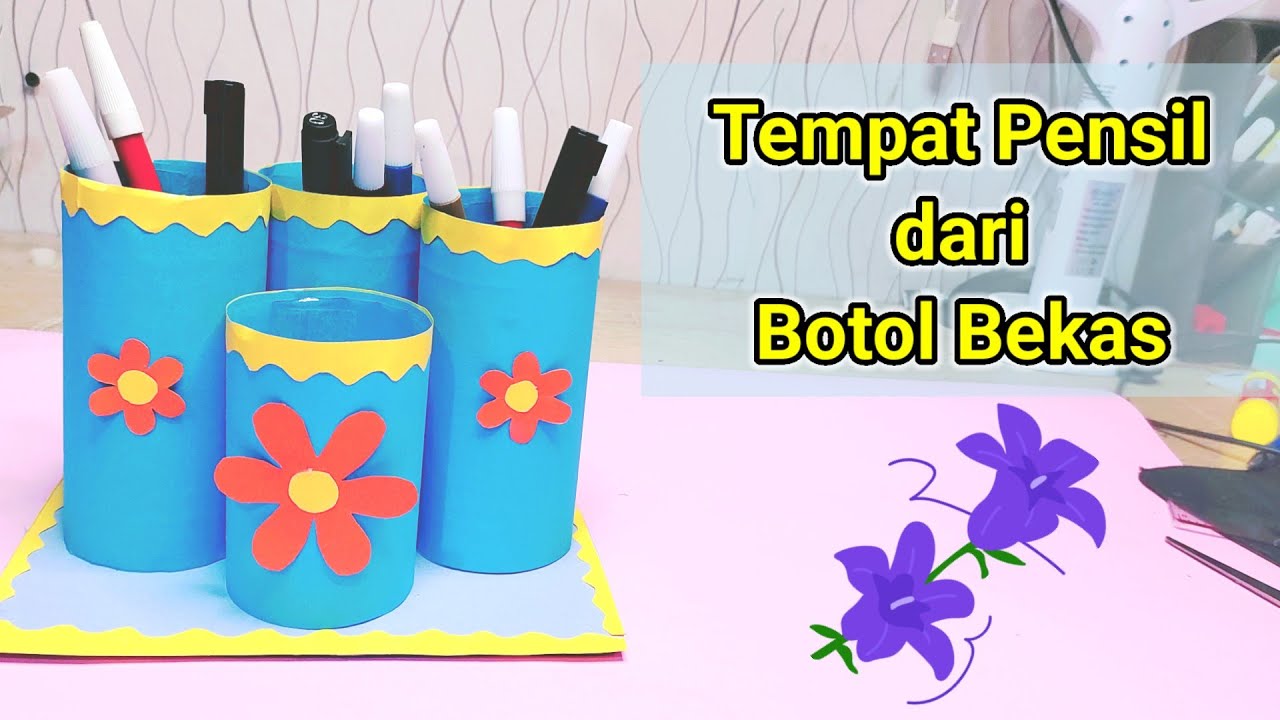
Tempat Pensil Dari Botol Bekas / Contoh Kegiatan P5 Kurikulum Mereka
5.0 / 5 (0 votes)