Belajar Ppt - Cara Desain Kartu Nama dengan Powerpoint
Summary
TLDRIn this tutorial, Erwin demonstrates how to design professional double-sided business cards using PowerPoint, a cost-effective alternative to high-end design software. He guides viewers through setting up slide sizes, creating custom shapes, applying brand colors, and adding text and icons for contact details. The video emphasizes practical techniques like grouping objects, using the eyedropper tool for color matching, and arranging design elements for a polished look. Erwin also shares tips on replicating logos, formatting text, and exporting the final design. This step-by-step guide empowers viewers to create visually appealing business cards even with minimal software and computer specifications.
Takeaways
- 😀 PowerPoint can be used to design professional business cards without expensive software or high-spec computers.
- 🖥️ Start by opening a blank presentation and deleting unnecessary elements to create a clean workspace.
- 📐 Set a custom slide size (3.5 x 2 inches) to match standard business card dimensions for both front and back.
- 🎨 Use the Eyedropper tool to pick colors from your logo to maintain brand consistency in the card design.
- ✏️ Create custom shapes and ornaments using the Freeform tool and Edit Points feature for unique design elements.
- 📝 Add personal information including name, job title, email, phone number, address, and website using text boxes.
- 📱 Design contact icons like smartphone, email, and location using simple shapes and Edit Points for clarity.
- 📏 Group objects (Ctrl+G) to maintain layout consistency when moving or resizing elements on the card.
- 🔄 Copy and paste elements to efficiently create both the front and back sides of the business card.
- 💾 Export the final design in a print-ready format once all elements, colors, and layouts are properly aligned.
Q & A
What is the main objective of this PowerPoint tutorial?
-The main objective of this tutorial is to show how PowerPoint can be used to design a business card, especially for those who are interested in graphic design but lack expensive software or high-performance computers.
What are the first steps to create a business card in PowerPoint?
-The first steps include opening PowerPoint, selecting a Blank Presentation, deleting unnecessary objects, and then adjusting the slide size to a standard business card size of 3.5 inches by 2 inches using the 'Custom Slide Size' option.
How can you divide the layout of the business card?
-The business card layout can be divided into two sections: one for the logo and one for contact information. The logo is placed on one side, and the other side contains personal details like the name, job title, and contact information.
What is the importance of using the Eyedropper tool in PowerPoint?
-The Eyedropper tool is useful for picking the exact colors from the logo or other elements to maintain color consistency throughout the design.
What types of shapes are recommended for creating custom designs in PowerPoint?
-The tutorial recommends using the 'Freeform' shape tool, which allows you to create custom shapes and objects according to your design needs.
How can you create icons for contact information on the business card?
-Icons for contact information (such as a smartphone or location pin) can be created by drawing basic shapes like circles or rectangles and then resizing and positioning them next to the relevant contact information.
How do you adjust the size and position of text and objects in PowerPoint?
-Text and objects can be resized by selecting them and using the drag handles or the 'Size' options in the toolbar. The position can be adjusted by dragging them to the desired location or using alignment tools to ensure proper spacing and balance.
Why is it important to group elements in PowerPoint when designing a business card?
-Grouping elements helps to keep the design organized, ensuring that objects like text, logos, and icons move together as a unit when repositioning or resizing, preventing them from getting misaligned.
What are the final steps for saving and printing the business card design?
-Once the design is complete, save the file and export it as a PDF or another suitable format. For printing, ensure high-quality paper and a printer capable of printing business cards.
What additional design tips were provided in the tutorial?
-The tutorial advises keeping the design minimalistic and balanced, avoiding overcrowding the card with too much text or graphics. It also emphasizes maintaining color consistency with the logo and using professional fonts.
Outlines

此内容仅限付费用户访问。 请升级后访问。
立即升级Mindmap

此内容仅限付费用户访问。 请升级后访问。
立即升级Keywords

此内容仅限付费用户访问。 请升级后访问。
立即升级Highlights

此内容仅限付费用户访问。 请升级后访问。
立即升级Transcripts

此内容仅限付费用户访问。 请升级后访问。
立即升级浏览更多相关视频
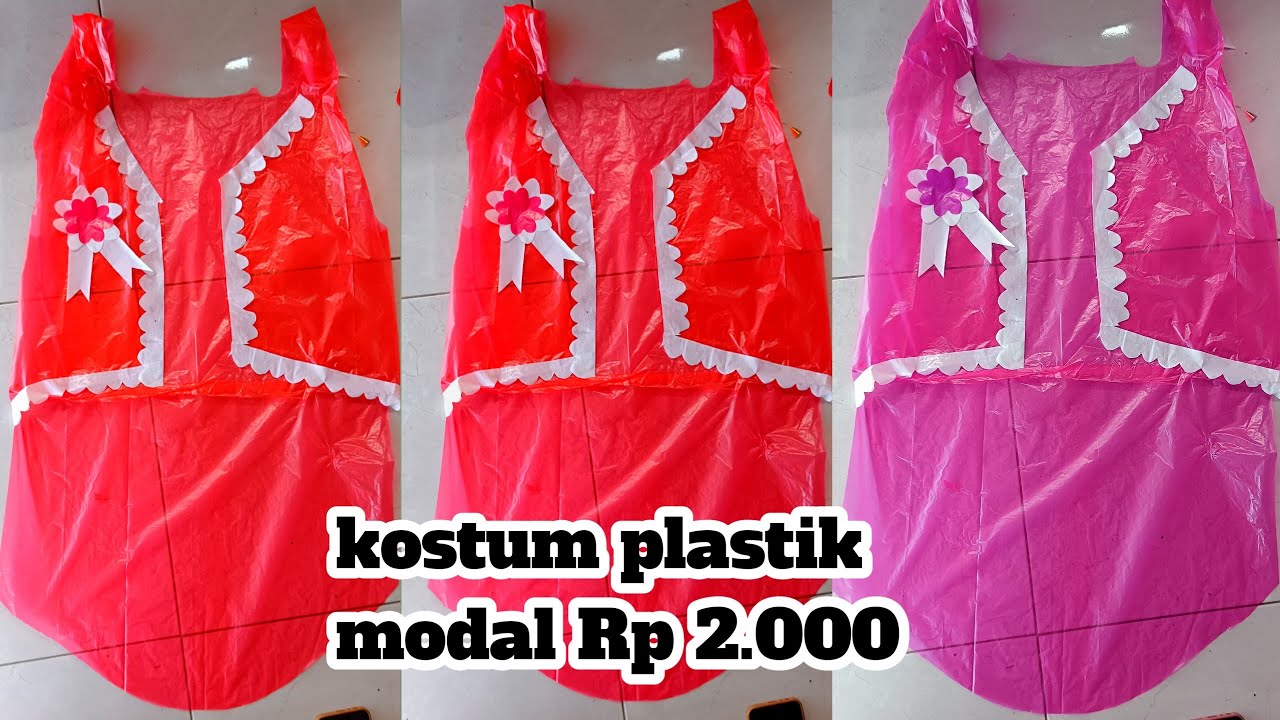
Cara membuat baju kostum karnaval dari plastik modal Rp 2.000

How To Make Bookmarks | Double Sided 📚✨ procreate tutorial for double sided bookmarks

How To Design Ready To Print Business Card in Figma (Front and Back) For Free.

Microsoft PowerPoint Tutorial - Beginners Level 1

Cara cetak bolak balik dengan printer epson (Epson L Series)
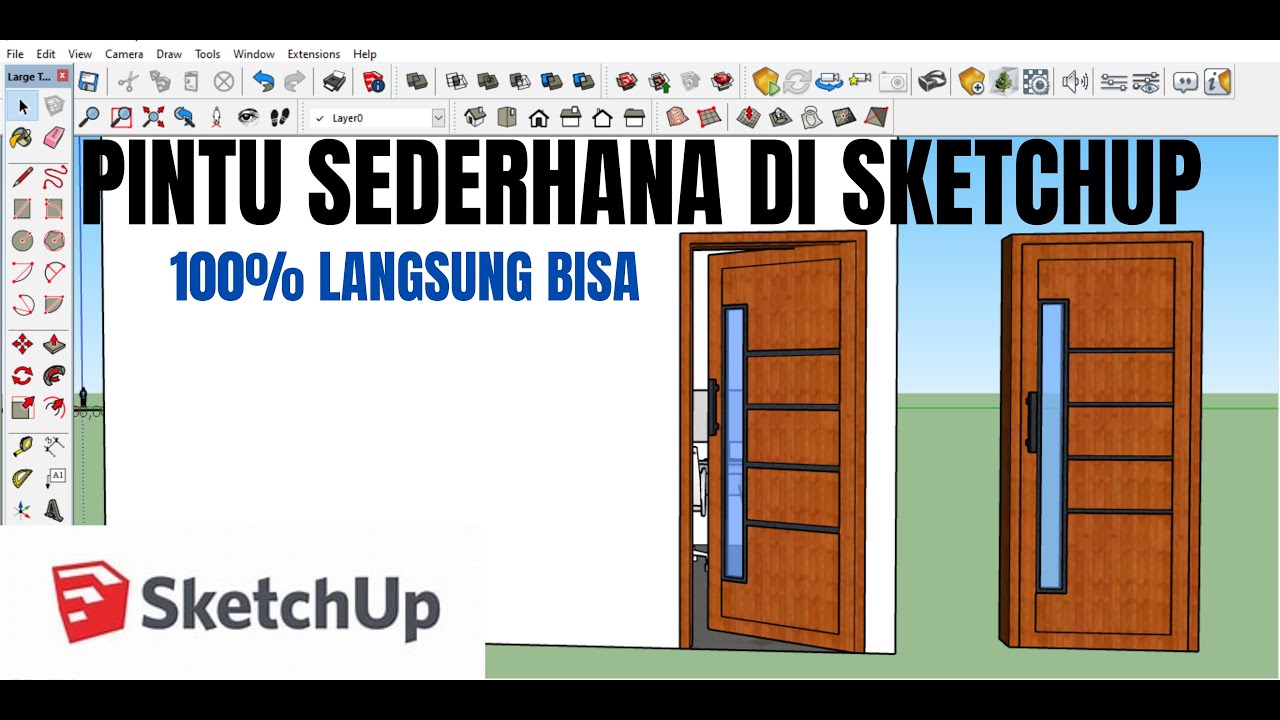
CARA MEMBUAT PINTU DI SKETCHUP - GAMPANG BANGET
5.0 / 5 (0 votes)
