Button | TUKAdesign Video Help Training | CAD Pattern Making Software
Summary
TLDRThis video tutorial guides users through the process of adding a button or drill hole to a piece using the software tool. It demonstrates how to select the Button Tool, choose a placement point or offset, and enter X and Y offset values, with a visual marker indicating placement. Users are then instructed to set the diameter and choose the drilling mode, specifically creating a 1/8-inch drill hole. The tutorial also covers selecting which sizes require the drill hole and concludes by showing how to finalize the process with the Create button, providing a clear, step-by-step workflow for accurate and efficient modifications.
Takeaways
- 😀 To add a button or drill hole, start by clicking the Button Tool.
- 😀 You can place the button or hole anywhere on the piece or use a reference point to offset placement.
- 😀 Enter X and Y offset values to position the button precisely.
- 😀 A red X will appear to indicate where the button or drill hole will be placed.
- 😀 Click OK to confirm the placement of the button or drill hole.
- 😀 Set the diameter of the hole before proceeding.
- 😀 Choose the appropriate mode; for example, Drill Mode can be used for creating drill holes.
- 😀 In Drill Mode, you can specify the exact size of the drill hole, such as 1/8 inch.
- 😀 Use the Sizes button to select which sizes require this drill hole.
- 😀 Click the Create button to finalize and complete the process.
- 😀 The process allows precise customization of button or hole placement for different sizes.
Q & A
What is the first step to add a button or drill hole to a piece?
-The first step is to click the Button Tool to initiate the process of adding a button or drill hole.
How can you choose where to place the button or drill hole?
-You can either click anywhere on the piece to place it directly or select a reference point to offset the placement.
What is the purpose of entering X and Y offset values?
-Entering X and Y offset values allows precise placement of the button or drill hole relative to a reference point.
What visual aid indicates where the button or hole will be placed?
-A red X will appear to show the exact placement of the button or drill hole.
What should you do after setting the offset values?
-After setting the offset values, you should click OK to confirm the placement.
How do you set the size and mode for the button or drill hole?
-You set the diameter for the hole or button and choose the mode, such as Drill Mode for creating a 1/8-inch drill hole.
What does Drill Mode do?
-Drill Mode specifies that the tool will create a drill hole rather than placing a button.
How can you select which sizes require the drill hole?
-Click the Sizes button to select the specific sizes that need the drill hole.
What is the final step to complete the process?
-The final step is to click the Create button to finish adding the button or drill hole.
Why is it important to confirm placement before setting the diameter and mode?
-Confirming the placement ensures that the button or drill hole is positioned accurately, preventing errors before defining the size and mode.
Outlines

此内容仅限付费用户访问。 请升级后访问。
立即升级Mindmap

此内容仅限付费用户访问。 请升级后访问。
立即升级Keywords

此内容仅限付费用户访问。 请升级后访问。
立即升级Highlights

此内容仅限付费用户访问。 请升级后访问。
立即升级Transcripts

此内容仅限付费用户访问。 请升级后访问。
立即升级浏览更多相关视频

How to create Geological Database in Surpac (Step-by-Step)

How To Edit an HTML Web Page Using BlueGriffon - PLR Tutorial

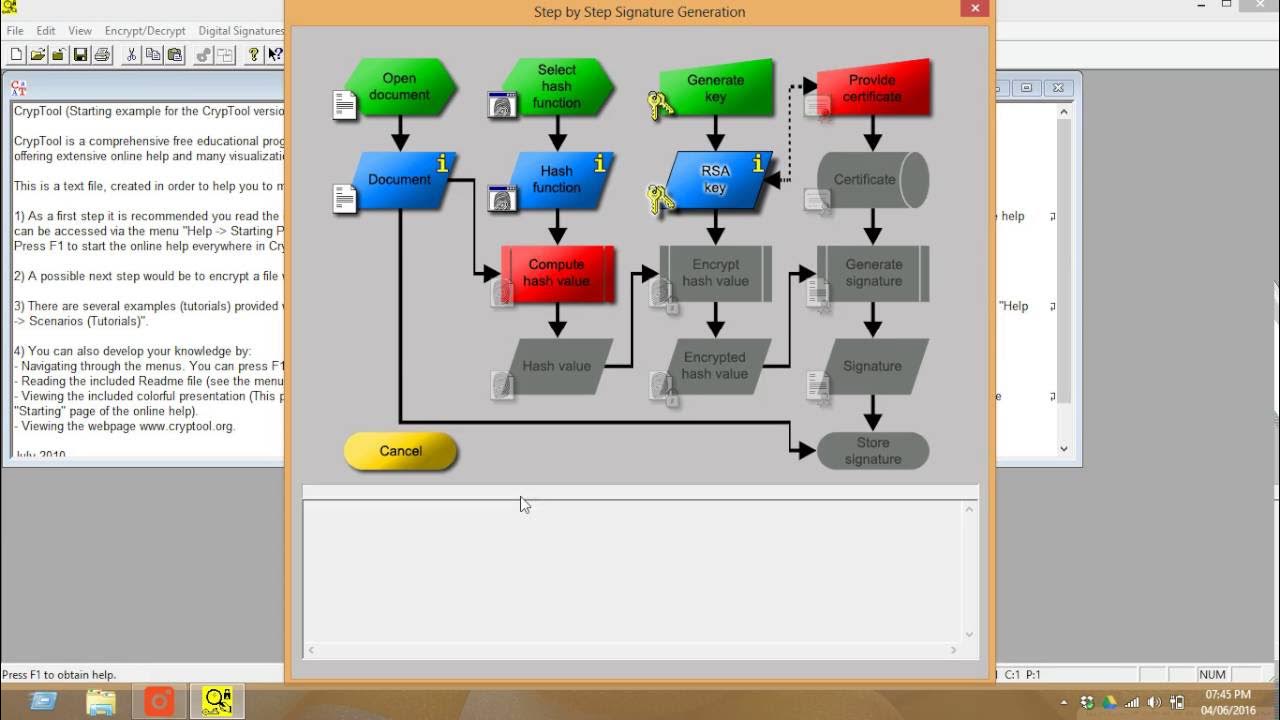
How to use CrypTool for creating the digital signature for documents

How to Repair PST & OST file Outlook 365

Coin Flip Tutorial

How to Prepare Slope Map from DEM #shorts #youtubeshorts #gis
5.0 / 5 (0 votes)
