Cara Mudah Membuat Gradient Text Effect di Photoshop
Summary
TLDRThis tutorial demonstrates how to easily create a gradient text effect in Photoshop. The presenter walks viewers through each step, starting with creating a new file, choosing the right settings, and applying a solid color. The focus is on using the horizontal type tool to add text, applying a gradient overlay through layer styles, and customizing the gradient colors. The tutorial also highlights how to adjust the gradient angle and scale for the desired effect. The video concludes with a detailed view of the gradient text and encourages viewers to like, share, and subscribe.
Takeaways
- 😀 Open Photoshop and create a new project with a width of 1920px and a height of 1080px at 300 resolution with a white background.
- 😀 Use the solid color tool to fill the background with black color (RGB: 0, 0, 0).
- 😀 Select the Horizontal Type Tool and choose 'Fredoawan' font, size 80, with a white color for the text.
- 😀 Type 'tutorial' as the text and align it both horizontally and vertically using the align options.
- 😀 Deselect the text using 'Ctrl + D' to remove the selection.
- 😀 Go to 'Layer' > 'Layer Style' > 'Blending Options' to open the gradient overlay settings.
- 😀 Set the gradient overlay's blending mode to 'Normal' and opacity to 100%.
- 😀 Reverse the gradient and adjust the angle (e.g., 90 degrees) to suit your design preference.
- 😀 Choose the gradient colors, for example, yellow and white, or red and blue, depending on your preference.
- 😀 Adjust the gradient scale to 100% for the desired effect and click 'OK' to apply.
- 😀 Zoom in using 'Alt + Scroll' to see the detailed gradient text effect on your design.
Q & A
What is the first step to start creating a gradient text effect in Photoshop?
-The first step is to create a new document by going to **File > New**. Set the width to 1920 px, height to 1080 px, resolution to 300, and the background color to white.
How do you add a solid color layer in Photoshop?
-To add a solid color layer, select the **Solid Color** icon and choose the color black (or hex code #000000), then click **OK**.
Which font and size should be used for the text in this tutorial?
-The font used in the tutorial is **Fira Awang**, with a font size of 80 pt.
How do you align the text both horizontally and vertically?
-To align the text, press **Ctrl + A** to select the text and then use the alignment tools to center the text horizontally and vertically.
What should be done to remove the selection after aligning the text?
-To remove the selection, press **Ctrl + D**.
How do you apply the gradient effect to the text in Photoshop?
-Right-click the text layer, select **Blending Options**, and choose **Gradient Overlay**. Then, set the blend mode to **Normal**, opacity to 100%, and adjust the angle and colors for the gradient.
What is the default angle set for the gradient overlay in this tutorial?
-The default angle for the gradient overlay is set to 90 degrees.
How can the gradient colors be customized in this tutorial?
-You can customize the gradient colors by selecting a gradient preset or adjusting the colors to your preference, such as using yellow and white, or red and blue.
What does the **Reverse** option do when applying a gradient effect?
-The **Reverse** option flips the colors of the gradient, changing the direction of the color transition.
How can you zoom in to check the details of the gradient effect?
-You can zoom in by holding **Alt** and scrolling with your mouse to see the details of the gradient effect.
Outlines

此内容仅限付费用户访问。 请升级后访问。
立即升级Mindmap

此内容仅限付费用户访问。 请升级后访问。
立即升级Keywords

此内容仅限付费用户访问。 请升级后访问。
立即升级Highlights

此内容仅限付费用户访问。 请升级后访问。
立即升级Transcripts

此内容仅限付费用户访问。 请升级后访问。
立即升级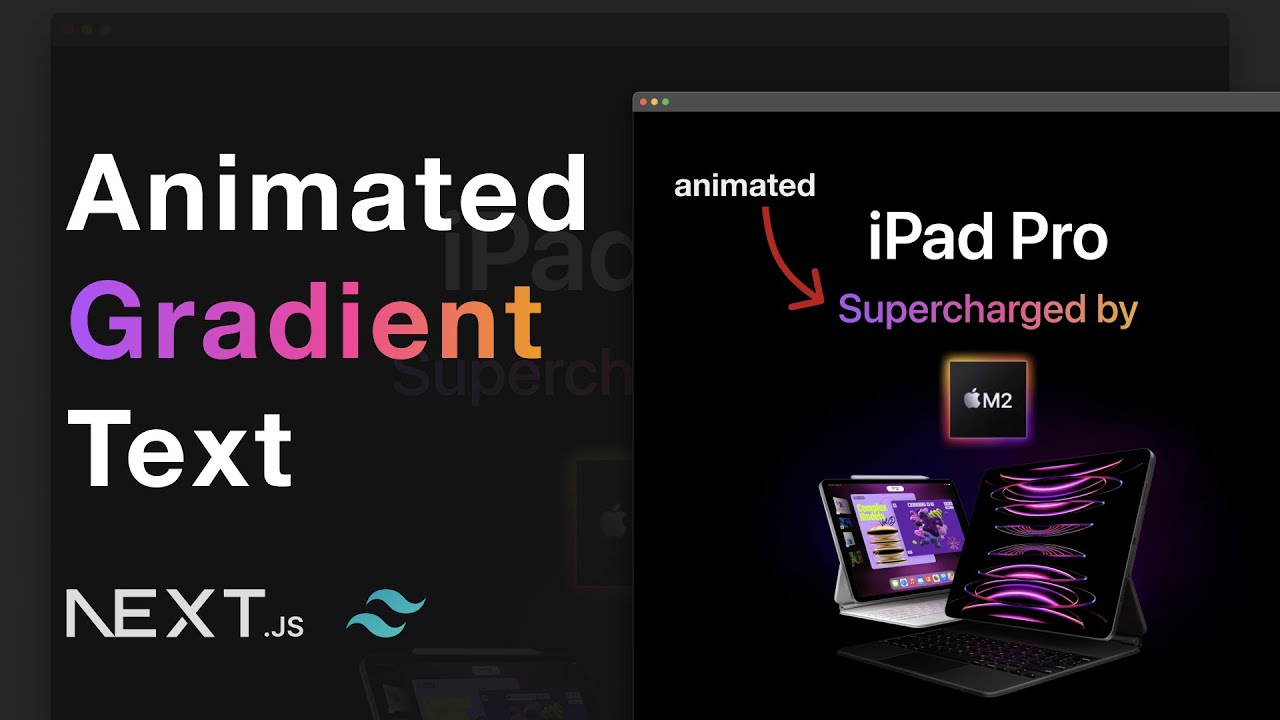


5.0 / 5 (0 votes)
