Photoshope AYO MELOMPAT
Summary
TLDRThis tutorial video demonstrates how to create a 3D frame effect using Photoshop. The process begins with opening an image, duplicating layers, and adding a white rectangular frame. The tutorial covers techniques for manipulating the frame with perspective and creating a 3D effect. The video also explains how to add and adjust shadows, duplicate and mirror images, and refine the frame using tools like the Eraser and Pen Tool. Lastly, it shows how to customize the background with gradient colors for a polished, realistic final result.
Takeaways
- 😀 Open an image in Photoshop by selecting 'File' > 'Open' or pressing 'Ctrl + O'.
- 😀 Duplicate the image by dragging it to the 'Create new layer' icon or using 'Ctrl + J'.
- 😀 Create a new empty layer by clicking the 'New Layer' icon.
- 😀 Use the 'Rectangle Tool' to create a white frame on the image by clicking and dragging.
- 😀 Cut the inner part of the frame using the 'Ctrl + X' shortcut to create the border effect.
- 😀 Apply a perspective effect to the frame by going to 'Edit' > 'Transform' > 'Perspective' and adjusting the corners.
- 😀 Add a second frame with a light gray color and adjust the thickness as needed.
- 😀 Duplicate the image by holding 'Alt' while dragging the layer, then use 'Edit' > 'Transform' > 'Flip Horizontal' to mirror it.
- 😀 Erase the unwanted background outside the frame using the 'Eraser Tool' or 'Pen Tool'.
- 😀 Merge the layers by selecting both and using 'Ctrl + Shift + E' to combine them into a single layer.
- 😀 Add a gradient background by creating a new layer and applying the gradient tool with the desired colors.
Q & A
What is the main focus of the video?
-The video focuses on demonstrating a technique in Photoshop to create a three-dimensional effect on an image, following a specific manipulation method from a book on Photoshop.
How does the tutorial start in terms of file preparation?
-The tutorial begins by opening a file in Photoshop, selecting an image from a subfolder, and displaying it on the workspace. The user then zooms in to get a closer view of the image.
What is the first step to duplicate the image?
-To duplicate the image, the user clicks and drags the image to the 'Create New Layer' icon, creating a copy of the image on the workspace.
Why is the background image deactivated?
-The background image is deactivated to allow the user to work only with the duplicated image, ensuring that any manipulations or changes are applied to the copy, not the original background.
How is the frame for the 3D effect created?
-The frame is created by selecting the 'Rectangle Tool,' changing the color to white, and drawing a rectangle on the workspace. The selection is then used to cut out a portion of the image to form a frame.
How does the user apply perspective to the frame?
-To apply perspective, the user selects 'Edit' and then 'Transform' followed by 'Perspective.' The corners of the rectangle are dragged inward to create a slanted, 3D look.
What steps are taken to change the frame's color and appearance?
-The user changes the color of the frame by selecting a new shade of gray, adjusting the tone to a value of 30-35. They then adjust the size and position of the frame to refine its appearance.
How does the user add depth to the frame?
-Depth is added to the frame by duplicating the image, reflecting it horizontally, and adjusting its position to make it appear as a 3D frame.
What tool is used to remove the background outside the frame?
-The 'Eraser Tool' is used to remove the background outside the frame. The size of the brush is adjusted, and the tool is used carefully around the frame to cleanly erase the unwanted areas.
How is the final background added to the image?
-A new layer is created for the background, and a gradient tool is applied to fill the background with a smooth transition of colors, giving the image a more polished and complete look.
Outlines

This section is available to paid users only. Please upgrade to access this part.
Upgrade NowMindmap

This section is available to paid users only. Please upgrade to access this part.
Upgrade NowKeywords

This section is available to paid users only. Please upgrade to access this part.
Upgrade NowHighlights

This section is available to paid users only. Please upgrade to access this part.
Upgrade NowTranscripts

This section is available to paid users only. Please upgrade to access this part.
Upgrade NowBrowse More Related Video
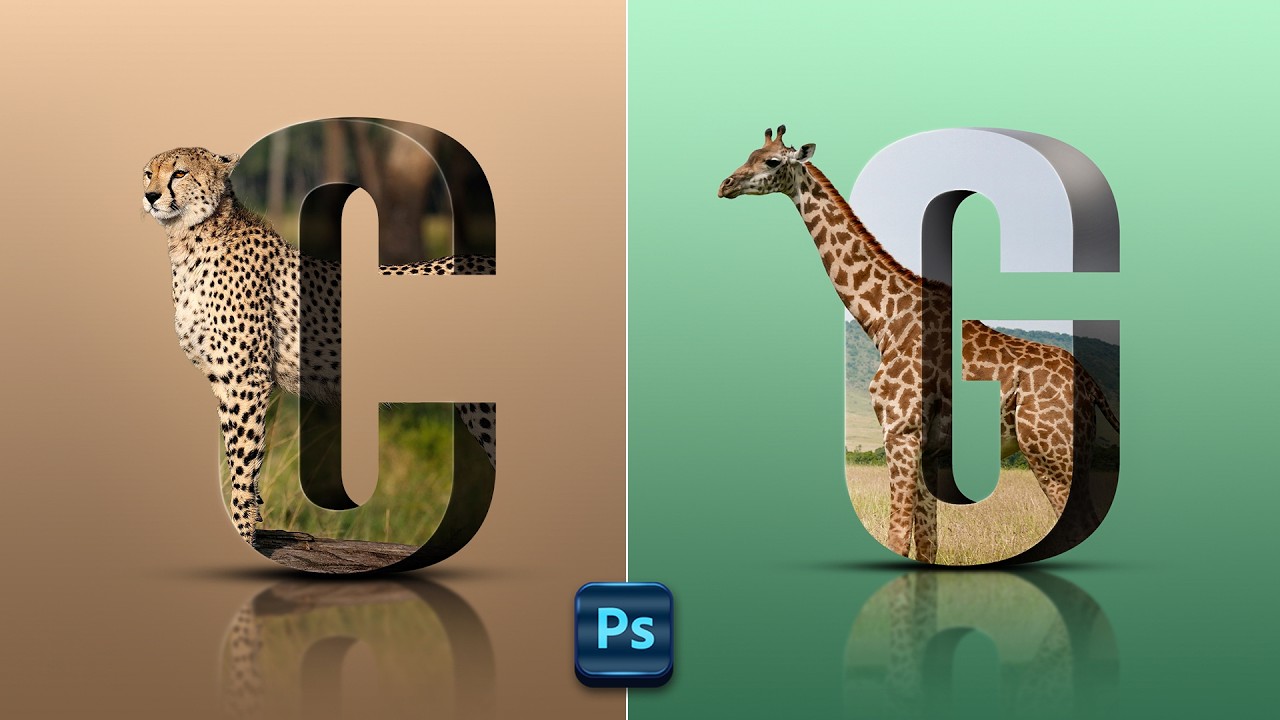
3D Letter Manipulation in Photoshop | Best Tutorial for Beginners
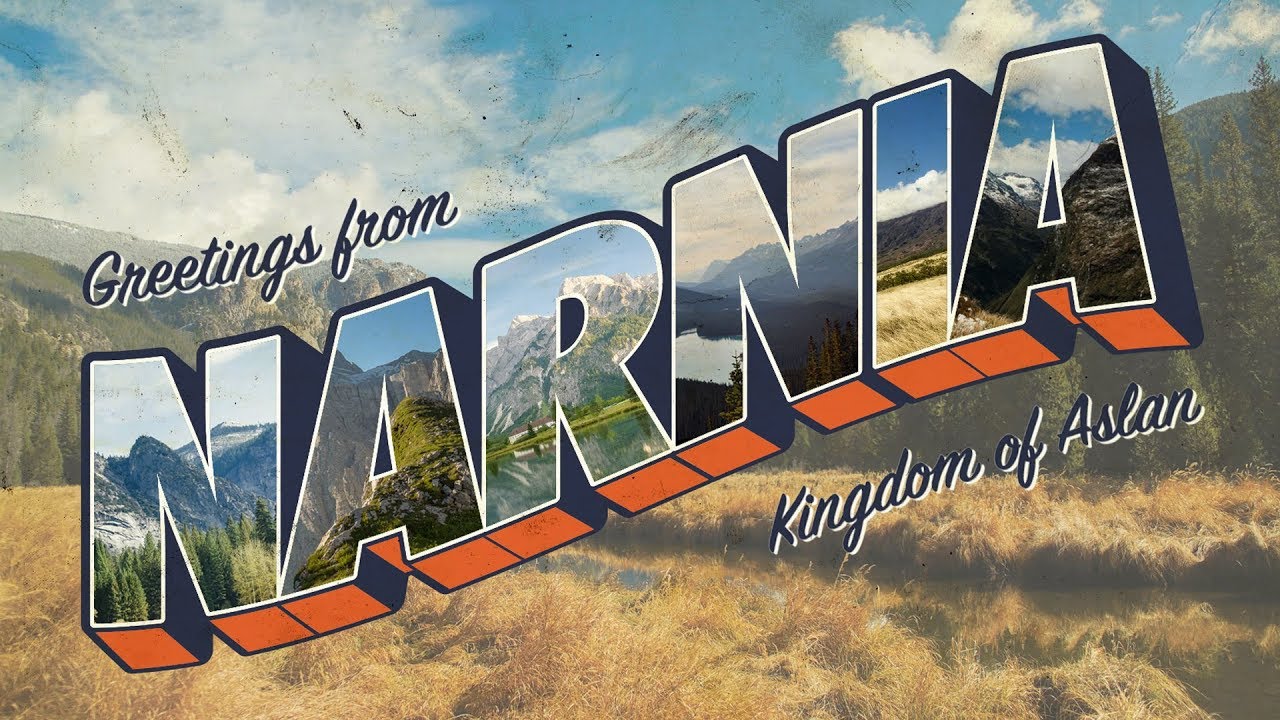
How To Create a Vintage Postcard Design (Illustrator & Photoshop Tutorial)
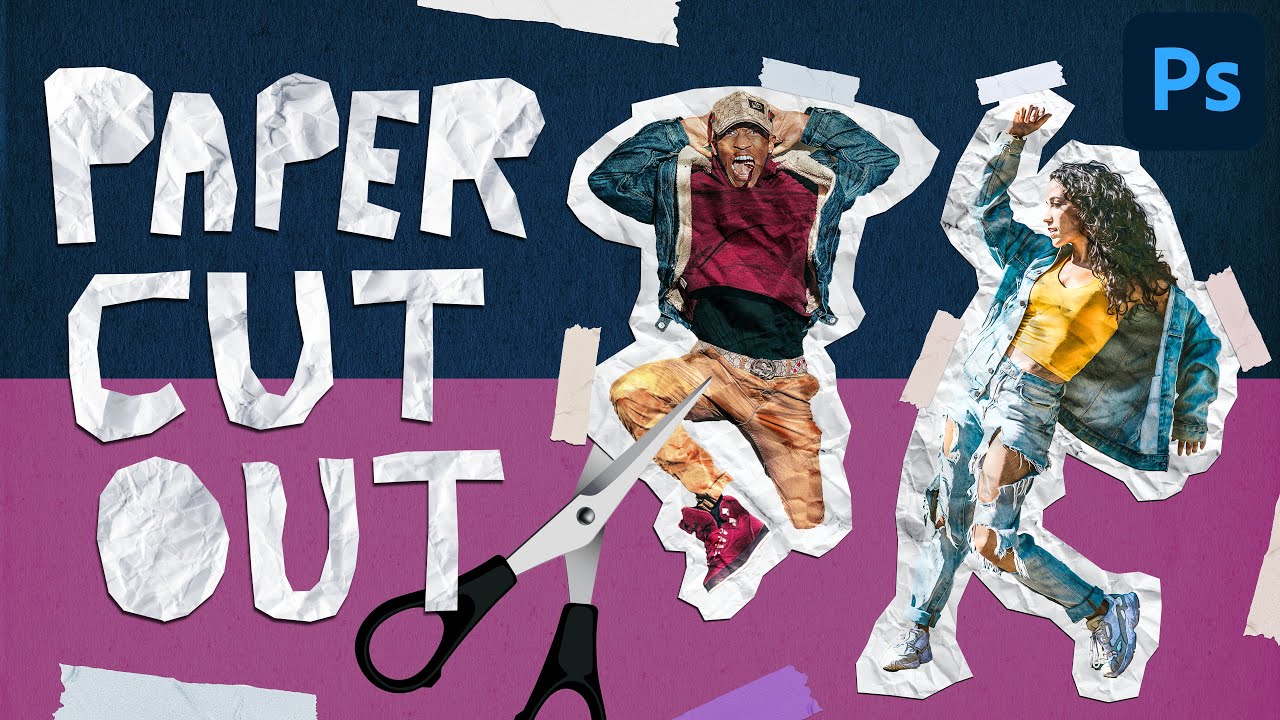
Paper Cut Out Effect in Photoshop CC | Easy Photo Manipulation Tutorial

GAMPANG!! MEMBUAT FILTER INSTAGRAM BINGKAI FRAME ACARA DIES NATALIS | SPAK ART + CANVA
Text portrait Effect in Photoshop

Cara Mudah Membuat Gradient Text Effect di Photoshop
5.0 / 5 (0 votes)