How to Make a Table in MS Excel Neatly | Beginner
Summary
TLDRIn this tutorial, Atika teaches viewers how to create an organized attendance table in Excel. The video covers essential steps such as setting up columns for attendee details, formatting titles, merging and centering cells, and applying automatic numbering. Atika also demonstrates how to add borders for a neat appearance, adjust row height, and ensure the table fits perfectly when printing. By the end, viewers will be able to design a professional-looking attendance sheet with ease, all while learning useful Excel tips for effective document formatting.
Takeaways
- 😀 Open a blank workbook in Excel to begin creating your table.
- 😀 Set a title for the table, such as 'Daftar Hadir Peserta' (Attendance List), and format it with bold text and a larger font size.
- 😀 Label the columns with headers like 'Nomor' (Number), 'Nama' (Name), 'Instansi' (Organization), 'Jabatan' (Position), and 'Tanda Tangan' (Signature).
- 😀 Adjust column widths to fit the content by dragging the column borders.
- 😀 Use the 'Merge and Center' feature to merge cells for the 'Tanda Tangan' (Signature) section and center the text.
- 😀 To center the text in all cells, select the entire table, right-click, and choose 'Format Cells,' then set vertical alignment to 'Center'.
- 😀 Add automatic numbering to the 'Nomor' column by using the formula '=A4+1' and dragging it down to fill the numbers.
- 😀 Adjust row heights quickly by selecting the rows and dragging to change their size uniformly.
- 😀 Bold and adjust the font size for the column headers to make them stand out.
- 😀 Apply borders to the table using thick borders for the headers and thinner borders for the content cells.
- 😀 Before printing, ensure the table fits on one page by selecting 'Fit to One Page' under the 'Scaling' option in print settings.
Q & A
What is the first step to create a table in Microsoft Excel according to the tutorial?
-The first step is to open Microsoft Excel and choose a Blank Workbook from the File menu.
How does the tutorial suggest adjusting the size of the columns in the Excel table?
-You can adjust the column size by dragging the borders of the columns to the desired width.
How do you merge cells for the 'Signature' column in the table?
-To merge cells for the 'Signature' column, select the cells, then use the 'Merge & Center' option from the toolbar.
What does the tutorial recommend for centering the text vertically in the entire table?
-You can center the text vertically by selecting all cells, right-clicking, choosing 'Format Cells', then selecting 'Center' under the 'Vertical Alignment' section.
What is the method to automatically number rows in the table?
-To number the rows automatically, you can use a formula where the number in cell A4 is increased by 1 in the next row (e.g., =A4+1). Then, drag the formula down to fill the numbers.
How do you modify the row height for multiple rows at once?
-To modify the row height for multiple rows, select the rows you want to adjust, then drag the row boundary to set a uniform height for all selected rows.
What is the process to apply a border to the table?
-To apply a border, select the cells you want to format, right-click, choose 'Format Cells', go to the 'Border' tab, and select the desired line style and thickness.
What kind of border is used for the top row and the inner table cells?
-For the top row, a thicker border is used, while the inner table cells are given a thinner border for a cleaner look.
How do you remove the outline border for the 'Signature' column?
-To remove the outline border for the 'Signature' column, select the cells, right-click, choose 'Format Cells', then select 'No Outline' from the 'Border' section.
What does the tutorial recommend for fitting the table on a single page when printing?
-To fit the table on a single page, go to the 'Print' menu, click on 'No Scaling', and select 'Fit to One Page'. This will ensure the table fits neatly within the page boundaries.
Outlines

此内容仅限付费用户访问。 请升级后访问。
立即升级Mindmap

此内容仅限付费用户访问。 请升级后访问。
立即升级Keywords

此内容仅限付费用户访问。 请升级后访问。
立即升级Highlights

此内容仅限付费用户访问。 请升级后访问。
立即升级Transcripts

此内容仅限付费用户访问。 请升级后访问。
立即升级浏览更多相关视频
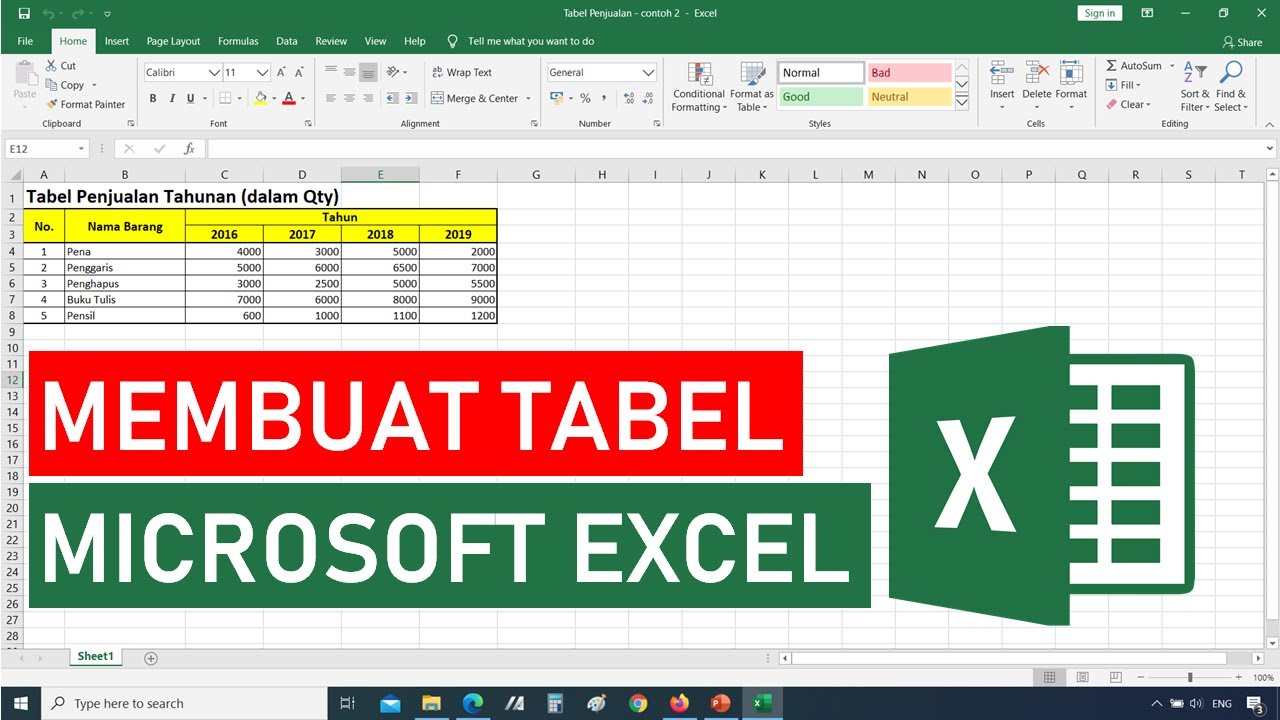
Tutorial Cara Membuat Tabel di Microsoft Excel || Tutorial Excel Bahasa Indonesia
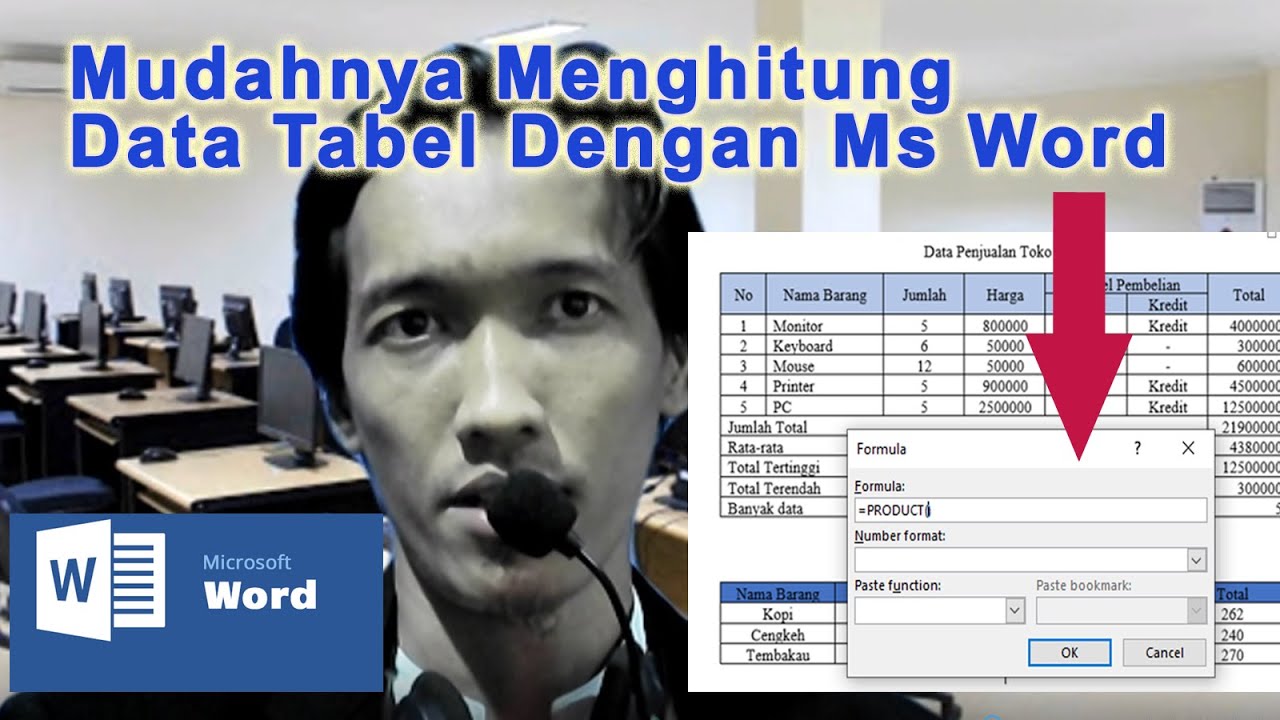
Menghitung data table dengan ms word || how to calculate table data with ms word

Contoh Soal Latihan Dasar Excel #1
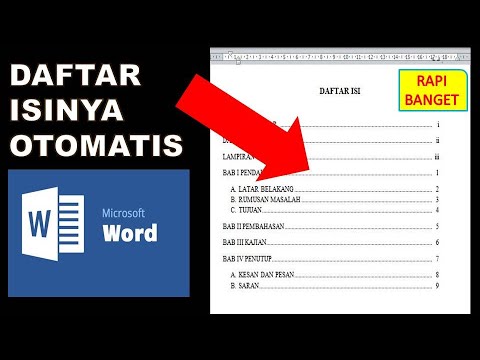
cara membuat daftar isi otomatis word 2010

CARA MEMBUAT TITIK PADA DAFTAR ISI | Gampang bangetttt

Cara Membuat Daftar Isi Otomatis di Word
5.0 / 5 (0 votes)
