TUTORIAL MEMBUAT WIFI VOUCHERAN MENGGUNAKAN MIKHMON
Summary
TLDRThis tutorial provides a step-by-step guide on setting up a hotspot voucher system using Mikrotik. It begins with configuring basic network settings to connect to the internet, followed by creating and bridging interfaces. The tutorial then walks through setting up the hotspot, configuring DNS, and adding users in MikMon. Finally, it demonstrates how to create a daily voucher profile, generate vouchers, and test the connection and speed. The tutorial emphasizes user-friendliness and simplicity, ensuring a smooth experience for those wanting to implement a hotspot voucher system.
Takeaways
- 😀 Configure the internet connection by setting up the WAN interface and assigning the source internet connection.
- 😀 Create a bridge interface for user access, and assign Ethernet ports to the bridge interface to manage client connections.
- 😀 Change the router mode to 'AP Bridge' and configure SSID for the wireless interface to enable Wi-Fi access.
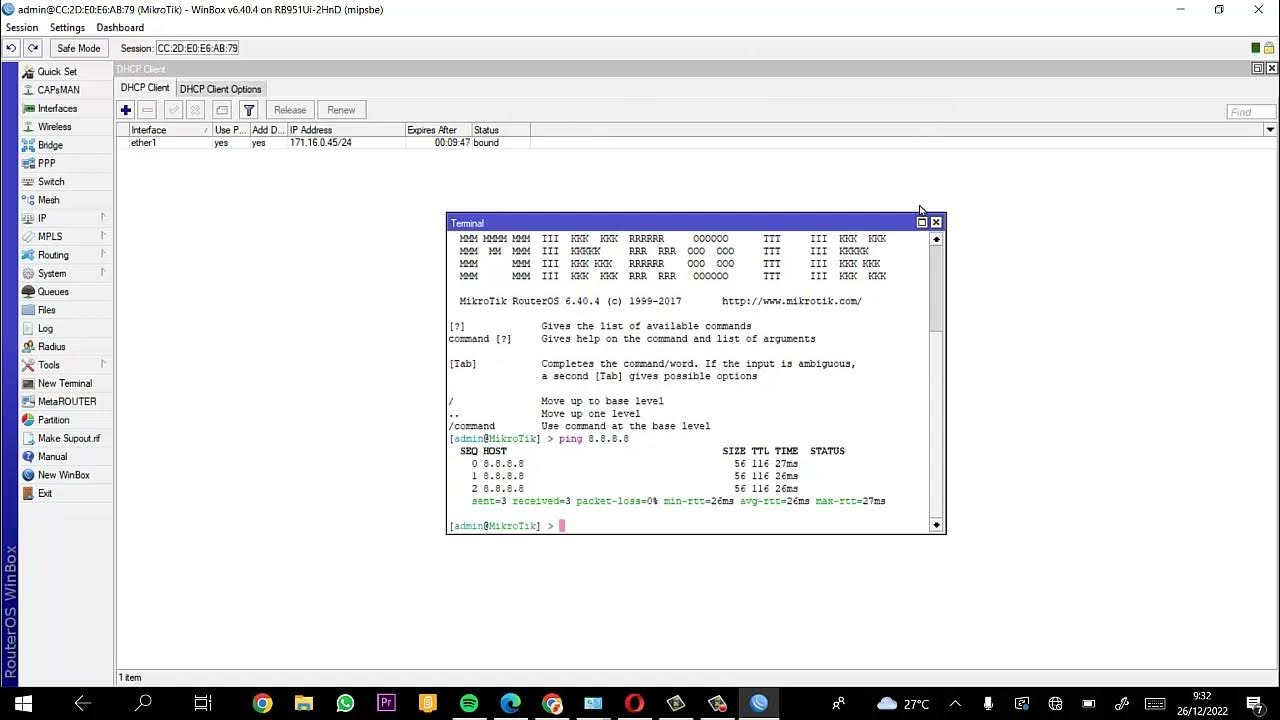
- 😀 Set up a DHCP client on the WAN interface to automatically receive IP address information from the internet source.
- 😀 Add an IP address to the bridge interface (e.g., 10.10.1/24) for internal network communication.
- 😀 Use the 'Hotspot Setup' feature in MikroTik to configure the hotspot interface and define necessary DNS settings.
- 😀 Create a user group in the system settings and assign the appropriate permissions for accessing MikMon.
- 😀 Install and access MikMon, configure the MikroTik router IP and hotspot settings within the MikMon interface.
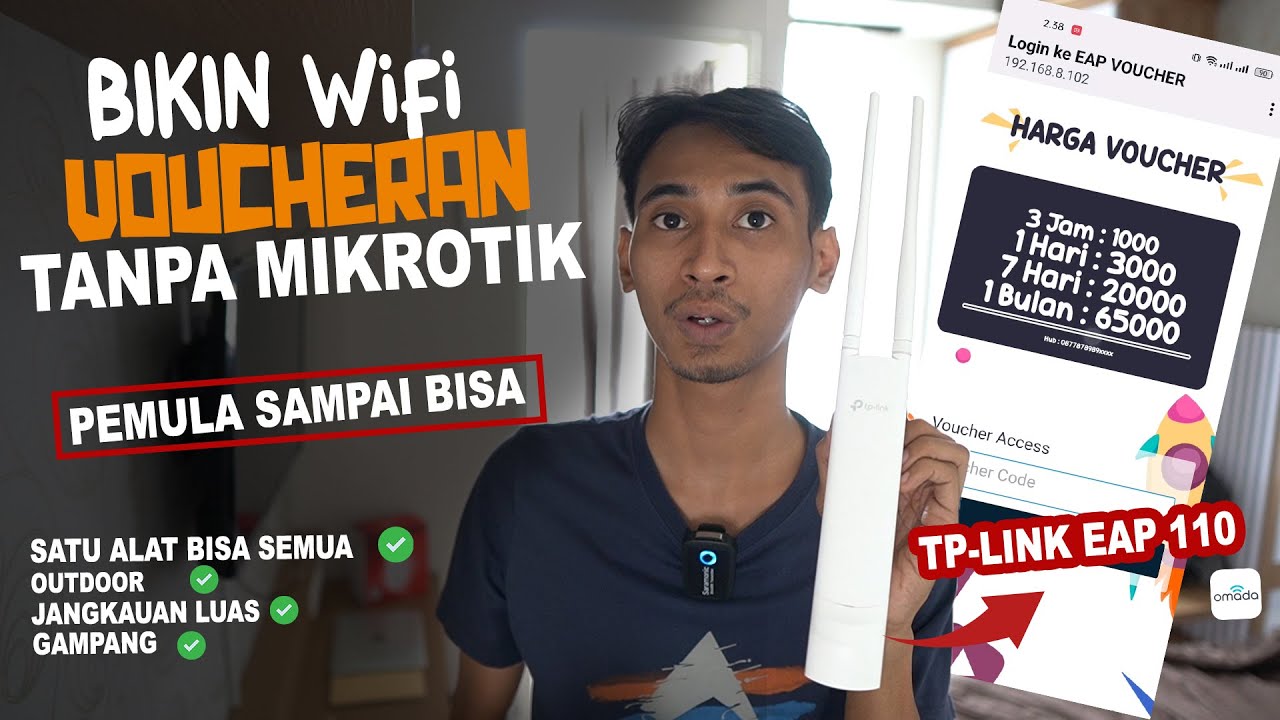
- 😀 Generate user vouchers within MikMon, defining parameters such as expiry time, bandwidth limits, and price.
- 😀 Test the setup by connecting to the hotspot with voucher credentials and verifying internet speed against set limits (e.g., 5 Mbps).
- 😀 Ensure successful configuration and operation by monitoring the system status and checking the user experience with the hotspot connection.
Q & A
What is the first step in setting up the hotspot and voucher using MikroTik?
-The first step is to perform basic configuration to connect to the internet. This includes setting up the interface, changing the name of the source internet interface to 'SP', and configuring a bridge to connect the user interfaces.
How do you set up the bridge interface for client connections?
-To set up the bridge interface, you create a bridge and add multiple Ethernet ports to it, such as Ethernet 2, Ethernet 4, Ethernet 5, and the wireless interface, ensuring all are added correctly to the bridge.
How do you configure the WAN interface for wireless connections?
-The WAN interface is configured by changing the mode to 'AP Bridge', assigning an SSID, and applying the settings. After that, you configure the IP using DHCP client mode on the appropriate interface for internet access.
What should be done after configuring the WAN and IP settings?
-Once the WAN and IP are set, you must configure the DHCP server on the bridge, check the IP status, and ensure the network is working by pinging a site like Google from the terminal.
What steps are involved in setting up a hotspot on MikroTik?
-To set up a hotspot, you access the hotspot setup menu, select the bridge interface, and proceed with the configuration, including defining the DNS name, setting the administrator password, and applying the settings.
What is the purpose of creating a user group in MikroTik's user management?
-A user group is created to define access levels for users who will log in to the MikroTik system. You enable permissions such as 'read' and 'sensitive' for the group, and assign users to it for proper access.
How do you log in to MikroMon and configure it with MikroTik?
-To log in to MikroMon, access it via a browser by entering the MikroTik IP address, use the default login credentials, and then configure the router's IP, username, password, and hotspot settings within the MikroMon interface.
How do you generate a voucher in MikroMon?
-To generate a voucher, you go to the dashboard, select 'User Profile', create a new profile with settings like validity period, price, and speed limits, then go to 'Generate' to create the voucher. Once generated, it can be printed for distribution.
What should you test after generating the voucher?
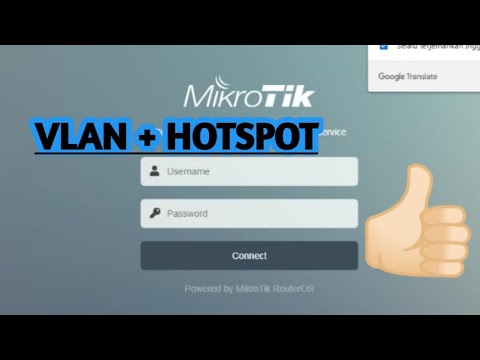
-After generating the voucher, test the connection by selecting the correct hotspot, entering the voucher credentials, and checking the internet speed using a speed test tool to confirm the speed limits are applied correctly.
What troubleshooting steps should be followed if the voucher connection doesn't work?
-If the voucher connection doesn't work, ensure that the username and password are entered correctly, verify that the hotspot interface is functioning properly, and check the validity and limits set for the voucher in the user profile settings.
Outlines

此内容仅限付费用户访问。 请升级后访问。
立即升级Mindmap

此内容仅限付费用户访问。 请升级后访问。
立即升级Keywords

此内容仅限付费用户访问。 请升级后访问。
立即升级Highlights

此内容仅限付费用户访问。 请升级后访问。
立即升级Transcripts

此内容仅限付费用户访问。 请升级后访问。
立即升级


5.0 / 5 (0 votes)
