IPN MANDRIL
Summary
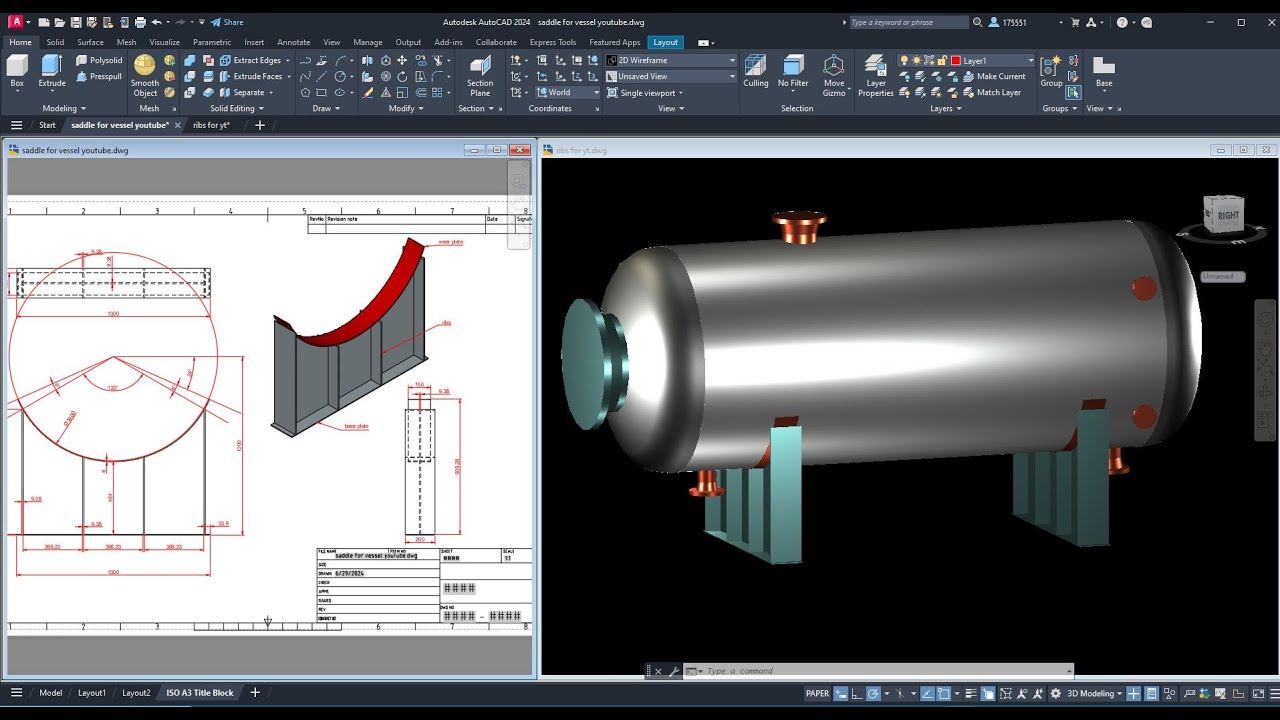
TLDRThis video tutorial demonstrates the process of modifying and customizing a 3D assembly model. The presenter walks through steps such as saving the model, adjusting material properties, changing colors, and customizing the assembly based on specific instructions. The tutorial also covers creating an exploded view for presentations and simulating movements of the components, including rotating and moving parts with precise adjustments. The goal is to show how to effectively visualize and manipulate the model, making it ready for further analysis or presentation.
Takeaways
- 😀 The first step in the process is to save the assembly model before making any color or material adjustments.
- 😀 The 'Build of Material' section is used to customize the components' materials and colors as per requirements.
- 😀 Users can right-click on structural components and enable them to edit or remove unnecessary elements.
- 😀 The process includes adjusting colors, such as selecting a specific shade like denim blue or gold, for parts in the assembly.
- 😀 Material selection is crucial for customization, with options available to change materials like alloys or others based on instructions.
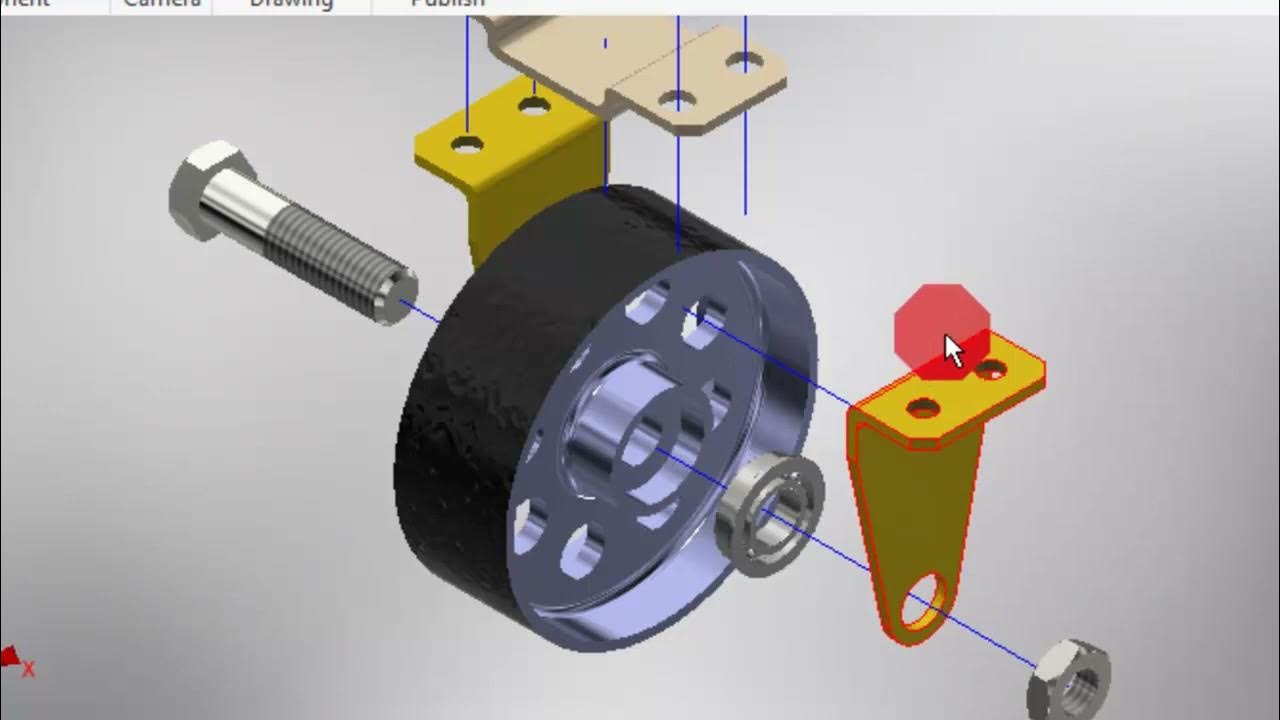
- 😀 The 'IPN' (International Product Number) template is used for exploring or presenting assembly models with detailed views.
- 😀 Animation simulation can be performed on components, such as rotating or moving parts, with adjustments to speed and rotation direction.
- 😀 Time settings for movements and rotations are adjustable, with a common value of 2.5 seconds for smooth transitions.
- 😀 To visualize changes in the assembly, users can reset the position of components to check how they behave under different conditions.
- 😀 Negative and positive values are applied to control the direction and distance of movements and rotations in the simulation.
- 😀 The final step involves checking whether all movements and rotations are correctly applied to the components in the simulation process.
Q & A
What is the first step after saving the assembly in the process described?
-The first step after saving the assembly is to decide whether to color or change the material. If changes are to be made, the user accesses the 'Build of Material' (BOM) to begin the customization.
How do you customize the structure in the 'Build of Material'?
-To customize the structure, you right-click on the structure and select 'Enable'. This will display the available options to remove or keep specific parts as needed.
How do you change the color of a component in the assembly?
-To change the color, right-click on the component in the BOM and select 'Customize'. Then, choose 'Color' from the available options and select the desired color, such as 'cyan' or 'denim blue'.
What is the process for changing the material of a component?
-To change the material, right-click on the component, select 'Customize', and then choose 'Material'. Search for the desired material, such as 'gold' or 'alloy', and apply it to the component.
What is the purpose of using 'IPN' in the assembly process?
-The 'IPN' is used as a template for presentations or to explore and explain the assembly. It helps in simulating and visualizing the assembly process.
What action should be taken after selecting the appropriate mode in the assembly simulation?
-After selecting the appropriate mode, you need to click on 'Twist' to simulate the movement of the selected components. This action helps visualize how the assembly behaves when it moves or rotates.
How can you adjust the movement of a component during the simulation?
-You can adjust the movement by changing the parameters in the simulation, such as modifying the angle or distance (e.g., -100 or 150). You can also adjust the time, for example, setting it to 2.5 seconds.
Why is it necessary to reset the assembly to the starting position before simulating rotations?
-Resetting the assembly to the starting position is crucial to ensure the simulation begins from a defined state. This step is especially important when the assembly needs to rotate or move accurately.
How do you rotate a component in the assembly?
-To rotate a component, select the 'Rotate' option in the simulation tools. Then, adjust the rotation angle, such as -120, to simulate the desired rotation direction.
What does the negative value represent when adjusting rotation or movement?
-The negative value represents a movement or rotation in the opposite direction. For example, a negative rotation value will cause the component to rotate in the opposite direction compared to a positive value.
Outlines

此内容仅限付费用户访问。 请升级后访问。
立即升级Mindmap

此内容仅限付费用户访问。 请升级后访问。
立即升级Keywords

此内容仅限付费用户访问。 请升级后访问。
立即升级Highlights

此内容仅限付费用户访问。 请升级后访问。
立即升级Transcripts

此内容仅限付费用户访问。 请升级后访问。
立即升级浏览更多相关视频
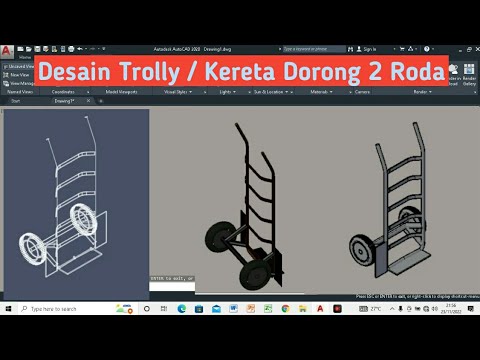
Desain Trolly / Kereta Dorong 2 Roda
Autodesk Inventor #6 Cara Melakukan Explode View

CARA MEMBUAT PUSH BUTTON(SWITCH) DI PROTEUS 8 DENGAN 3D VISUALIZATION
Tutorial Autocad 3D II Studycadcam Exercise 9
How to 3D Print your own Cityscapes and Terrains (FREE Method)
Saddle Support of Pressure Vessel Tutorial in Autocad
5.0 / 5 (0 votes)
