CARA MEMBUAT PUSH BUTTON(SWITCH) DI PROTEUS 8 DENGAN 3D VISUALIZATION
Summary
TLDRThe video guides viewers through a detailed process of modifying a design, including adjusting measurements, layouts, and adding 3D elements. It covers steps like resizing components, adding fade effects, and utilizing tools to create accurate schematics for a project. The tutorial also includes instructions on wiring and connecting buttons for functionality, culminating in a 3D preview to ensure everything is correctly aligned and connected. The video is instructional and targeted at those with technical knowledge in design and circuit assembly.
Takeaways
- 😀 The session begins with audio cues like music and clapping, indicating the start of a task.
- 😀 Adjustments are made to the 'secret snap' setting, changing it from a default value to 2.5 mm, and further calculations are done to achieve a 5 mm result.
- 😀 The layout is modified by positioning components on the left and right sides to fit the design.
- 😀 Measurements are fine-tuned, including setting the layout to 6 mm and modifying the 'great escape' setting to 0.1 mm.
- 😀 Right-click actions and the use of Google are mentioned for executing commands related to the design process.
- 😀 The user adds a 3D view to the design, and instructions for downloading necessary plugins or tools are given.
- 😀 A schematic layout is reviewed, with specific steps for arranging buttons and reset functions in the design.
- 😀 Grounding connections are emphasized as an important step in linking components together in the layout.
- 😀 A final review of the 3D design confirms that all components are properly connected and aligned.
- 😀 The task concludes with a check of the button layout and reset function to ensure everything is working as intended.
- 😀 The final design is confirmed to be functional, with the layout and connections ready for use.
Q & A
What is the primary focus of the script?
-The primary focus of the script is on a technical process related to modifying and setting up a circuit or electronic layout, particularly involving adjustments to physical dimensions, adding components, and visualizing the design through 3D viewing and schematic layouts.
What does the speaker mean by 'Secret snap' and why is it important?
-The term 'Secret snap' refers to a specific configuration or measurement, which is changed to 2.5 mm to fit the design requirements. This is an essential step in customizing the circuit layout or component placement for better compatibility and alignment in the overall design.
How are physical dimensions such as 2.5 mm and 5 mm used in the process?
-The physical dimensions (e.g., 2.5 mm and 5 mm) are used to adjust the distance or spacing between components. These adjustments are necessary for ensuring proper placement of parts on the circuit board, which directly impacts the functionality and layout of the final design.
What is meant by '3D viewing' in the context of this process?
-3D viewing refers to the use of a 3D modeling tool or software to visualize the circuit or layout. This allows the user to see the design from different perspectives, ensuring that components are properly aligned and that the design is feasible before physical assembly.
Why is the 'push button' mentioned repeatedly in the script?
-The push button is an integral part of the circuit being designed. It is used for actions such as resetting or triggering certain functions within the system. The script mentions the button to emphasize its placement and functionality within the overall schematic and physical design.
What is the significance of the 'PCB preview' in the design process?
-The PCB preview allows the designer to review how the printed circuit board (PCB) will look once fully assembled. It serves as a critical step in ensuring that all components are properly placed, connections are correct, and the layout functions as intended before moving forward with production.
What role does the term 'grounding' play in the process?
-Grounding is crucial in electronic design as it ensures that the circuit is safely connected to the earth or neutral point, preventing electrical interference and ensuring proper current flow. In the script, grounding is referenced to ensure the circuit functions safely and correctly.
What is meant by 'full button' in the context of this design?
-The 'full button' likely refers to a complete configuration or setup for the button in the design. It could indicate the final placement or the full integration of the button within the circuit, including its connection to other components and its role in the overall system.
What is the purpose of adding 'value share' as mentioned in the transcript?
-The 'value share' seems to be a parameter or configuration setting that affects the layout or operation of the design. It could be related to adjusting specific attributes, such as voltage, resistance, or other factors that influence the performance of the circuit.
What does the script suggest about troubleshooting or verifying the design?
-The script suggests verifying the design through visualization tools like the 3D view and PCB preview, as well as testing the components like the push button. These steps ensure that the design functions as intended, allowing for any necessary adjustments before finalizing the setup.
Outlines

This section is available to paid users only. Please upgrade to access this part.
Upgrade NowMindmap

This section is available to paid users only. Please upgrade to access this part.
Upgrade NowKeywords

This section is available to paid users only. Please upgrade to access this part.
Upgrade NowHighlights

This section is available to paid users only. Please upgrade to access this part.
Upgrade NowTranscripts

This section is available to paid users only. Please upgrade to access this part.
Upgrade NowBrowse More Related Video

Cara membuat 3D Nut/Mur menggunakan AUTOCAD
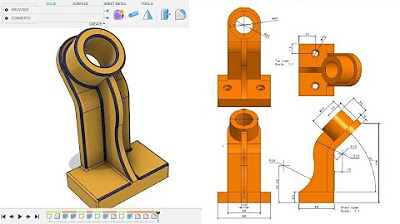
Fusion 360 beginner's Exercise #10 - Fusion 360 tutorial

Figma UX tutorial for beginners - Mockup

Adobe Express Tutorial for Beginners 2024
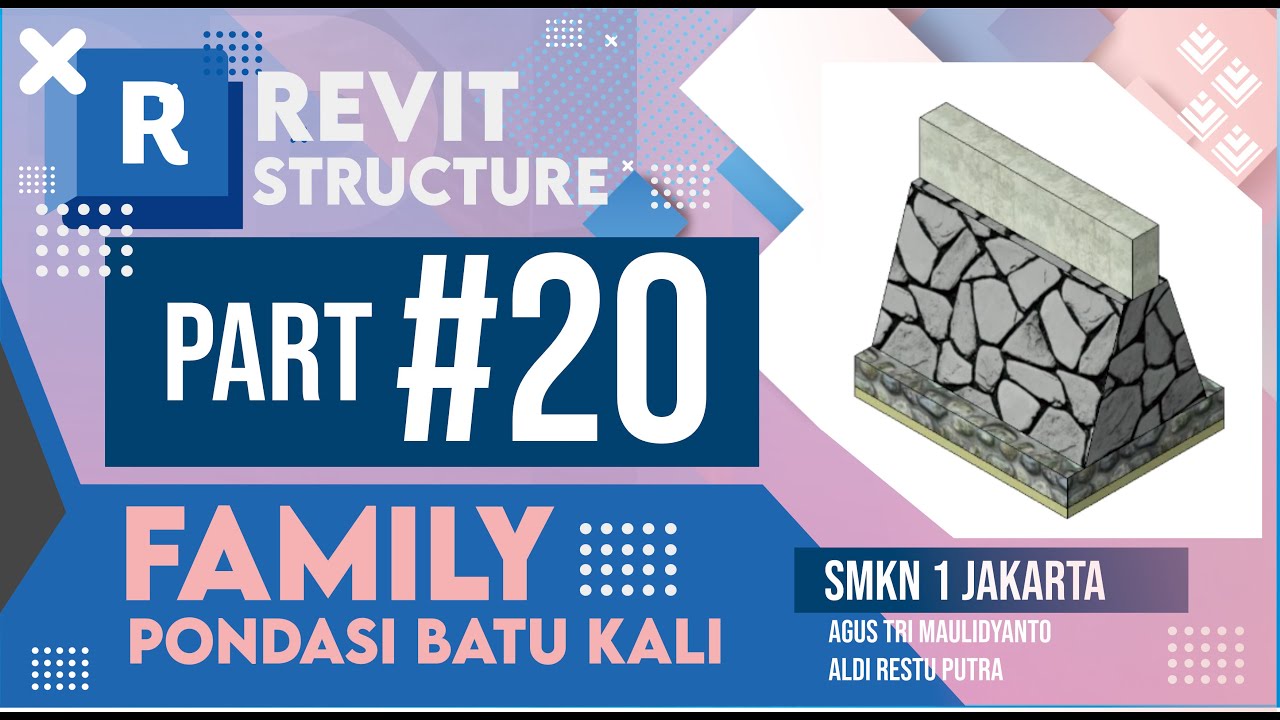
TUTORIAL BIM REVIT STRUKTUR SMK PART 20 | DPIB SMKN 1 JAKARTA - PONDASI BATU KALI
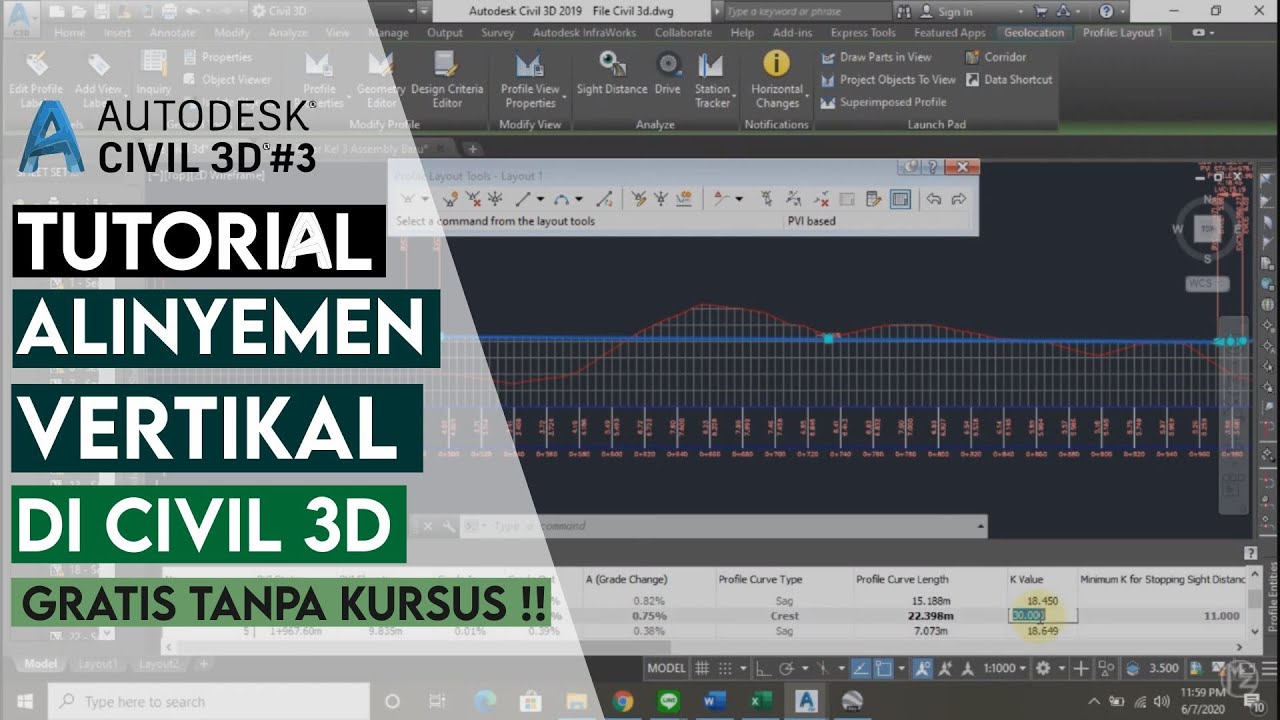
Tutorial Alinyemen Vertikal / Profile View di Civil 3D | Perancangan Jalan #5
5.0 / 5 (0 votes)