Come realizzare un pulsante dotato di stato con Arduino #12
Summary
TLDRThe video explains how to use a non-latching push button with Arduino to simulate a switch that maintains its state, like a light switch. The tutorial covers the necessary components (breadboard, resistor, LED, and Arduino) and provides a step-by-step guide for connecting them. The script also details the coding process, focusing on managing the LED state using variables and implementing a delay to prevent contact bounce issues. The result is a system where pressing the button toggles the LED on or off. Future videos will explore controlling multiple LEDs.
Takeaways
- 🔌 The video explains how to use a momentary push button with Arduino to control a LED.
- 💡 The push button used is 'normally open,' meaning it doesn't retain its state after being pressed.
- 🔄 A variable called 'stato' is introduced to manage the state of the LED.
- 📏 The setup involves connecting the button to pin 7 and the LED to pin 13 on the Arduino.
- 🛠️ The `pinMode` function is used to define pin 7 as an input (for the button) and pin 13 as an output (for the LED).
- 📖 The `digitalRead` function checks if the button is pressed and toggles the state of the variable 'stato'.
- 🔄 The `!stato` expression negates the current state of the variable, effectively toggling the LED on and off.
- ⏳ A delay of 200 milliseconds is added to handle debounce issues and prevent accidental multiple presses.
- 💡 If 'stato' is HIGH, the LED turns on; otherwise, it turns off.
- 🎬 The sketch demonstrates how to control the LED's state using a push button, and the presenter hints at managing multiple LEDs in future videos.
Q & A
What type of button is being used in the video tutorial?
-The button used is a 'normally open' momentary button, which does not retain its state after being pressed.
What is the difference between a momentary button and a switch?
-A momentary button, like the one used in the video, only changes state when pressed and returns to its original state once released. A switch, like a light switch, retains its state after being pressed.
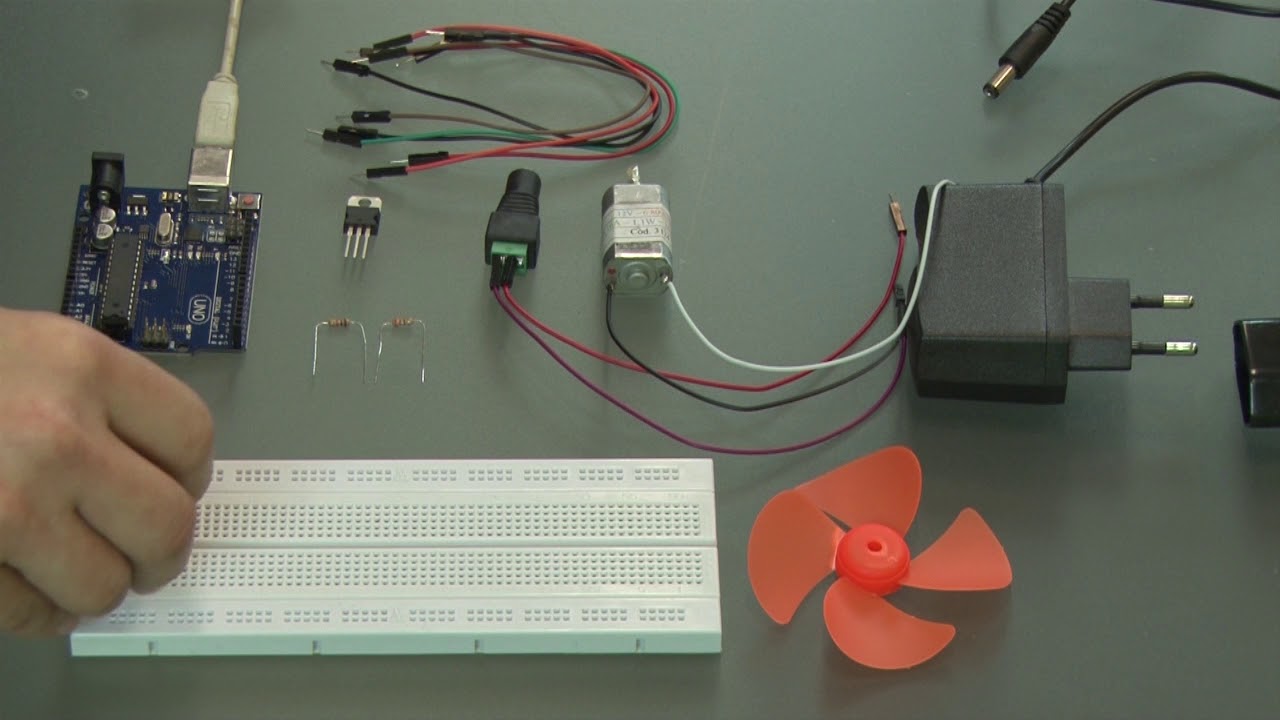
Which components are needed to build the circuit described in the video?
-You need an Arduino board, a breadboard, a button, a 10k ohm resistor, and an LED. The button is connected to a resistor and the Arduino, while the LED is connected to pin 13 on the Arduino.
How is the button connected to the Arduino in the circuit?
-The button is connected to pin 7 on the Arduino using a 10k ohm resistor, and it is used as an input to detect when the button is pressed.
What role does the ‘state’ variable play in the Arduino sketch?
-The 'state' variable tracks the current state of the LED (on or off). When the button is pressed, this variable toggles between its true (on) and false (off) values.
How does the code handle button debouncing?
-A delay of 200 milliseconds is introduced after the button press is detected to handle any potential contact bounce and ensure the button is registered properly.
What does the 'digitalRead' function do in the sketch?
-The 'digitalRead' function checks the current state of the button on pin 7. If the button is pressed, it reads a HIGH signal; otherwise, it reads LOW.
What happens when the button is pressed in this circuit?
-When the button is pressed, the state of the LED toggles. If the LED was off, it turns on, and if it was on, it turns off.
How is the LED controlled in the sketch?
-The LED is connected to pin 13, and its state is controlled by the 'digitalWrite' function, which either sets the pin to HIGH (to turn the LED on) or LOW (to turn it off) based on the value of the 'state' variable.
What improvements or extensions are suggested for future projects in the video?
-In future videos, the tutorial suggests exploring how to manage multiple LEDs and states, potentially adding more complexity to the control system.
Outlines

此内容仅限付费用户访问。 请升级后访问。
立即升级Mindmap

此内容仅限付费用户访问。 请升级后访问。
立即升级Keywords

此内容仅限付费用户访问。 请升级后访问。
立即升级Highlights

此内容仅限付费用户访问。 请升级后访问。
立即升级Transcripts

此内容仅限付费用户访问。 请升级后访问。
立即升级浏览更多相关视频

Electro Pneumatics Prac - Exercise 1

How To Make A Clap Switch | Control Light & Fan With Clap using Arduino | Indian LifeHacker
Arduino - Aula 22 - Experimento 9 - Motor elétrico
🔴 Lerne Arduino in 12 Minuten, ….…JEDER KANN DAS! | #EdisTechlab

Autorretención de un Contactor | Circuito de Marcha y Parada | Enclavamiento

Genetic Switch in Lambda Phage | Video Lecture by Priya Khadgawat #geneticswitch #bacetriophages
5.0 / 5 (0 votes)
