FREE CCNA Lab 023: SSH / VTY lines
Summary
TLDRThis CCNA Packet Tracer lab tutorial guides viewers through setting up a secure SSH connection between a switch and a router. Key steps include configuring hostnames, IP addresses, a DNS domain, creating a user account, generating SSH keys, and enabling SSH on vty lines. The video also demonstrates connecting to devices via SSH from a PC, highlighting the security benefits over Telnet.
Takeaways
- 🔐 **SSH Introduction**: The video introduces SSH (Secure Shell) as a secure method for connecting to network devices, encrypting data packets to prevent unauthorized access.
- 💻 **Lab Setup**: The lab is designed to practice configuring SSH on network devices, similar to previous labs but with a focus on security.
- 🌐 **Hostname Configuration**: The first step in setting up SSH is to configure the hostname of each device using the 'hostname' command.
- 📍 **IP Address Configuration**: Devices must have IP addresses assigned to their interfaces for SSH connectivity, which is configured in the lab.
- 👤 **User Account Creation**: A single user account is created on each device for SSH login purposes, emphasizing case sensitivity for passwords.
- 🌐 **DNS Domain Name Setup**: Configuring a DNS domain name is required for SSH and the lab uses 'cisco.com' as the domain.
- 🔑 **SSH Key Generation**: SSH keys are generated for encrypting packets, with a modulus size of 1024 specified in the lab.
- #️⃣ **VTY Line Configuration**: VTY lines are configured to allow only SSH connections, with settings for local login and a timeout for inactive sessions.
- 🔒 **SSH Version 2**: SSH version 2 is recommended over version 1 for its improved security features.
- 🖥️ **Testing SSH Connection**: The lab concludes with testing SSH connections from a PC to network devices, demonstrating the difference between SSH and Telnet commands.
Q & A
What is the purpose of this CCNA lab practice?
-The purpose of this lab is to practice configuring SSH (Secure Shell) on Cisco devices to establish secure connections between switches and routers.
Why is SSH preferred over Telnet for remote device access?
-SSH is preferred because it encrypts packets between devices, making the data unreadable even if intercepted by an attacker, whereas Telnet sends data in plain text.
What are the four main requirements for configuring SSH on a Cisco device?
-The four requirements are: 1) Set a hostname using the `hostname` command, 2) Configure a DNS domain name using the `ip domain-name` command, 3) Generate the SSH key using `crypto key generate rsa`, and 4) Enable SSH on the vty lines.
What is the purpose of configuring a hostname on a device?
-The hostname is required as part of the SSH configuration to uniquely identify the device. It is a prerequisite for generating the RSA keys.
What command is used to set the hostname of a device?
-The command is `hostname [desired_name]`. For example, `hostname R1` sets the hostname of a router to R1.
Why is a domain name required for SSH configuration?
-A domain name is necessary because it is used in the process of generating the RSA keys for encryption, linking the device's hostname to a specific domain.
What command is used to generate the SSH RSA keys and why is the key size important?
-The command is `crypto key generate rsa`. The key size (modulus) is important as it determines the strength of the encryption, with larger sizes providing stronger security.
How do you restrict the vty lines to use SSH only and disable Telnet?
-Use the command `transport input ssh` under the vty line configuration mode to restrict access to SSH only.
What command is used to set the inactivity timeout for vty lines?
-The command is `exec-timeout [minutes]` to specify the number of minutes before an inactive session is terminated. For example, `exec-timeout 5` sets a 5-minute timeout.
How do you enable SSH version 2 on a Cisco device and why is it recommended?
-SSH version 2 can be enabled with the command `ip ssh version 2`. It is recommended because it offers improved security over SSH version 1, addressing known vulnerabilities.
How can you test SSH connectivity from a PC to a device using a command?
-You can use the command `ssh -l [username] [device IP]`. For example, `ssh -l Cisco 192.168.1.1` attempts to connect to a device at 192.168.1.1 using the username 'Cisco'.
Outlines

此内容仅限付费用户访问。 请升级后访问。
立即升级Mindmap

此内容仅限付费用户访问。 请升级后访问。
立即升级Keywords

此内容仅限付费用户访问。 请升级后访问。
立即升级Highlights

此内容仅限付费用户访问。 请升级后访问。
立即升级Transcripts

此内容仅限付费用户访问。 请升级后访问。
立即升级浏览更多相关视频
Free CCNA | Basic Device Security | Day 4 Lab | CCNA 200-301 Complete Course
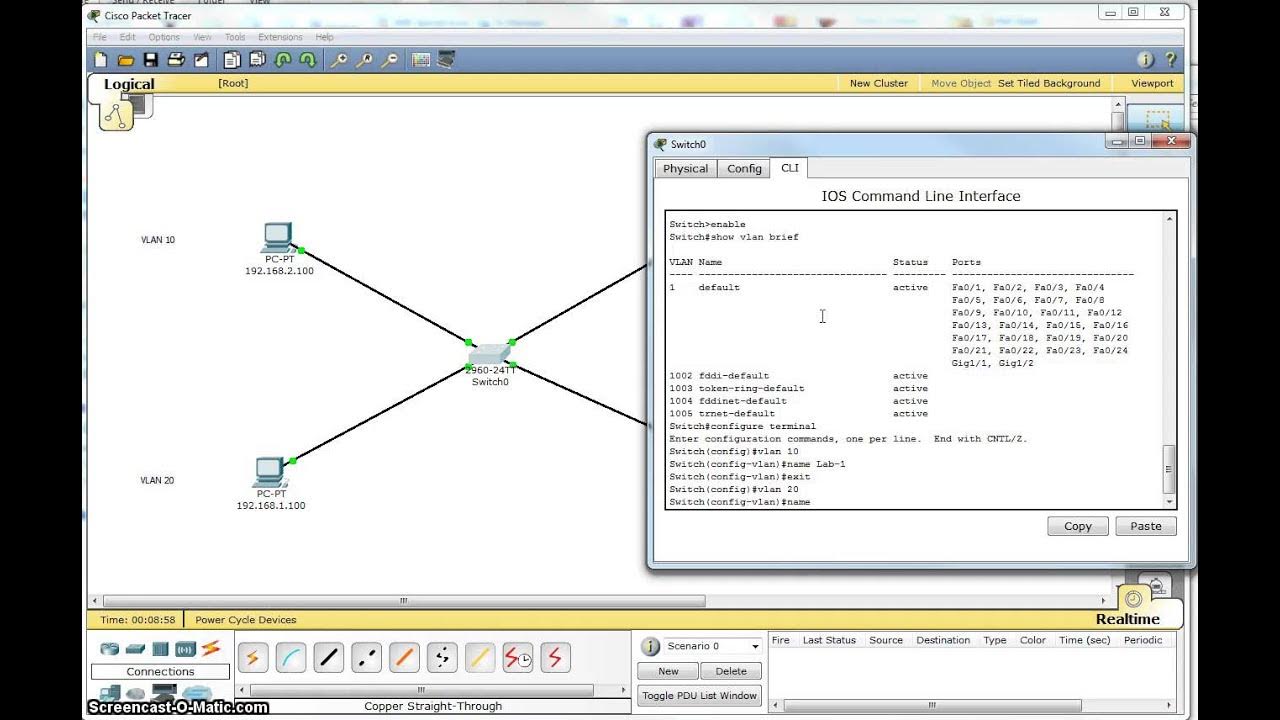
Single Switch VLAN in Packet Tracer

Cara Konfigurasi VoIP Pada Cisco Packet Tracer Terbaru || Command Line Interface CLI
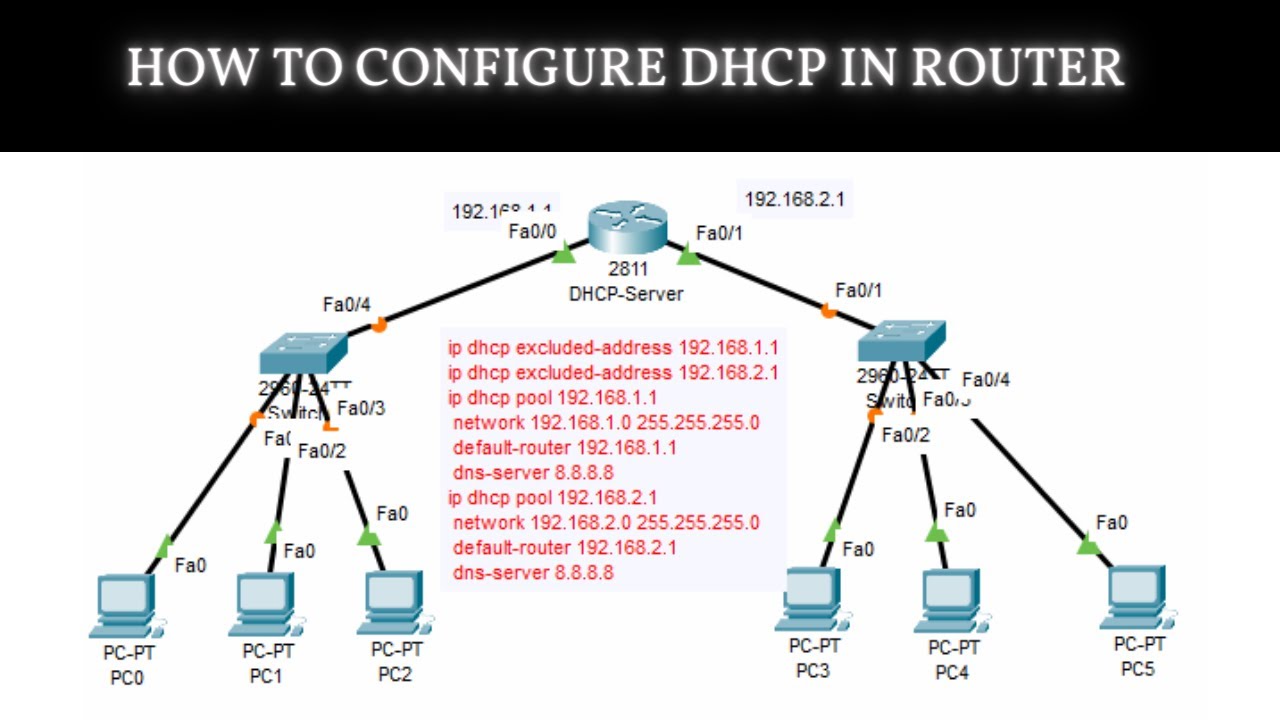
How to Configure DHCP in CISCO router in Packet Tracer | DHCP Server in CCNA | DHCP Configuration
Free CCNA | Packet Tracer Introduction | Day 1 Lab | CCNA 200-301 Complete Course

How to Configure VoIP Phones in Cisco Packet Tracer | Configure IP Phones Telephony Service
5.0 / 5 (0 votes)
