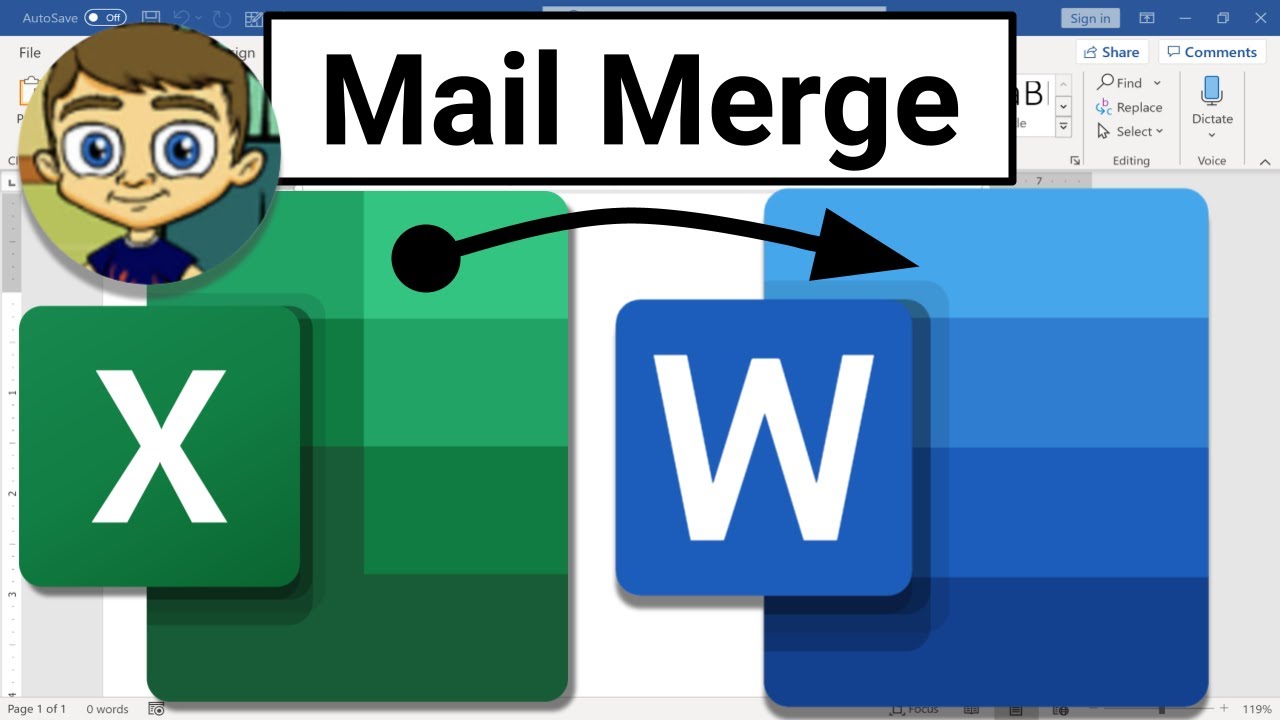
Word: Mail Merge

LearnFree
8 Feb 201603:54

Summary

TLDRThe video explains how to use Mail Merge in Microsoft Word to quickly create personalized documents such as letters, labels, and envelopes. It walks through the process of setting up a Mail Merge using a letter as an example, starting with selecting the type of document, choosing or creating an address list, and inserting personalized fields like addresses and greetings. The tutorial highlights how to preview the final output and complete the merge, saving time and effort when sending multiple documents to different recipients.

Takeaways

  • 📧 Mail Merge is a powerful tool for creating multiple documents that are similar but personalized, such as name tags or envelopes.
  • 📄 The example in the script uses a letter offering customers a discount as the document to personalize.
  • 🛠️ To begin, navigate to the 'Mailings' tab and select 'Step-by-Step Mail Merge Wizard' for an easy, guided process.
  • 📜 Select the type of document you're working on, in this case, a letter, and proceed by clicking 'Next'.
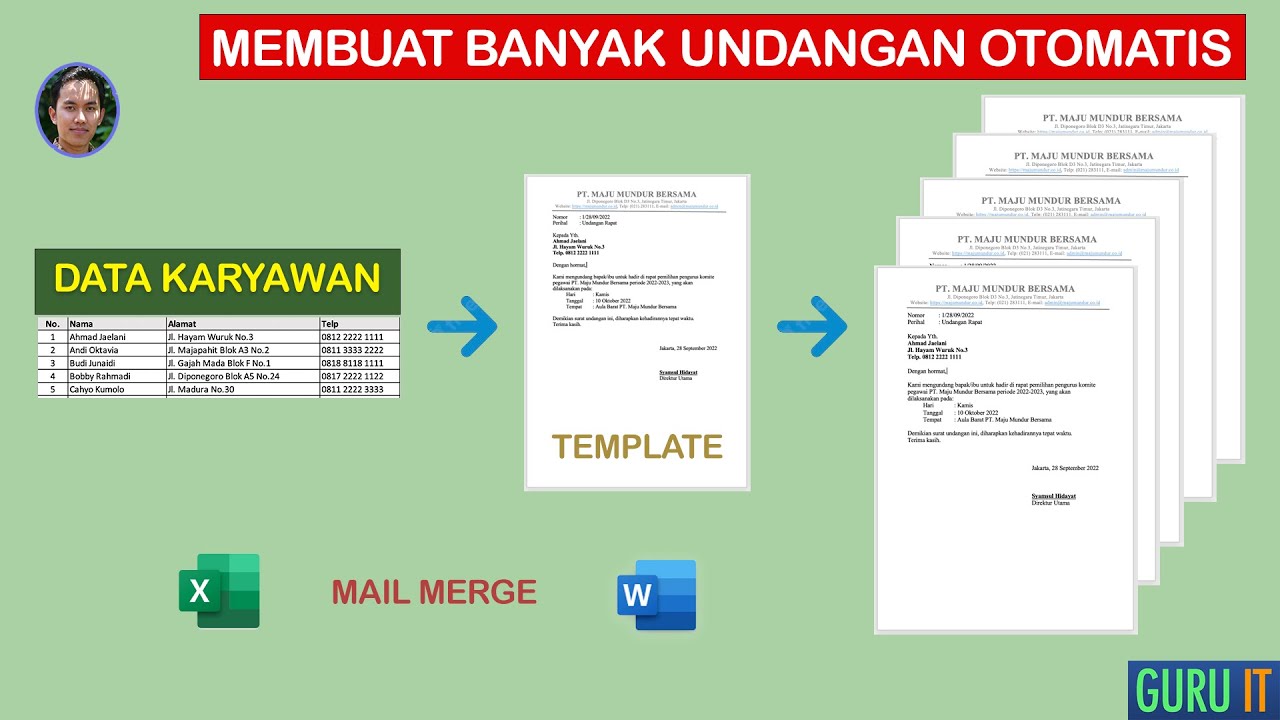
  • 📑 You can either create a new recipient list from scratch or use an existing file like an Excel workbook for the addresses.
  • 📝 After selecting your recipient list, you can personalize the document with specific information for each recipient, such as their address or a personal greeting.
  • 🏷️ To insert an address block, place the cursor in the desired spot, click on the address block option, and select the format.
  • 👋 Add a personalized greeting by selecting the appropriate format for how you want to address each recipient.
  • 👀 Preview the document to ensure that all recipient information is correctly merged, using arrows to view individual copies.
  • 🖨️ Once satisfied, complete the merge by printing or saving the documents for all recipients, adjusting settings if necessary.

Q & A

  • What is Mail Merge used for?

    -Mail Merge is used to create multiple documents that are mostly the same but personalized in some way, such as adding unique names, addresses, or other information. It’s especially helpful for creating letters, labels, or envelopes.

  • What type of document is being used in this example?

    -The example in the script is using a letter that offers customers a discount on their next order.

  • What is the first step to start the Mail Merge process?

    -The first step is to go to the Mailings tab in Word, click on Mail Merge, and then select 'Step-by-Step Mail Merge Wizard.' This will guide you through the process.

  • What types of documents can Mail Merge be used with?

    -Mail Merge can be used with various types of documents, such as letters, envelopes, labels, or name tags. The type of document can be chosen in the wizard.

  • How can you provide recipient information for Mail Merge?

    -Recipient information can be provided by either typing a new list directly into Word or using an existing list, such as an Excel spreadsheet. In this example, an Excel workbook is used.

  • How do you select the worksheet from an Excel workbook for Mail Merge?

    -After choosing to use an existing list, you browse to the Excel file, click Open, and then select the worksheet that contains the recipient information. In the example, the worksheet is 'Sheet 1.'

  • How do you add an address block to the letter in Mail Merge?

    -To add an address block, place the cursor where the address should go, then select the 'Address Block' option from the Mail Merge tools. You can preview and choose different formatting options for the recipient's name.

  • What can you do after adding an address block to the letter?

    -After adding an address block, you can also include other personalized elements, such as a greeting. You have the ability to adjust the formatting of these elements.

  • How can you preview the letters after setting up the Mail Merge?

    -You can preview each letter by clicking through the recipient list using the arrow buttons. This allows you to see how the information from the list appears in each individual letter.

  • What happens after you complete the Mail Merge process?

    -After previewing and ensuring everything looks correct, you can complete the merge by printing the documents. Mail Merge will ask which pages you want to print, and you can adjust settings as needed before printing.

Outlines

00:00

📧 Introduction to Mail Merge

Mail Merge is an efficient tool that saves time by helping to create multiple documents that are mostly similar but personalized in some way, like event name tags or envelopes with individual names and addresses. The script introduces a letter template offering customers a discount, and explains the need to personalize each copy for each customer using a spreadsheet.

🔄 Starting the Mail Merge Process

To begin a Mail Merge, navigate to the Mailings tab in Word, click Mail Merge, and choose 'Step-by-Step Mail Merge Wizard.' This tool guides users through the process, starting with the document type selection. The user opts to create a letter and continues using their existing document rather than a new template.

📋 Setting Up the Address List

To personalize the letters, an address list is required. Word allows you to either create a new list manually or use an existing one, such as an Excel spreadsheet. The video explains how to browse for the desired Excel file, select the worksheet (in this case, sheet 1), and choose which recipients to include. In this scenario, all recipients are selected.

✍️ Writing the Personalized Letter

The next step is to write the letter. You can add personalized elements like an address block and greeting. The script describes placing the cursor where the personalized information will go, selecting the desired format for the address block, and previewing how it will appear. A placeholder is inserted in the document to indicate where the address will be placed later.

👋 Adding Personalized Greetings

Besides adding an address block, the script explains how to insert a greeting. This feature also allows formatting customization to suit different preferences. The video then moves to the next step, previewing the finished product to ensure that everything looks correct.

👀 Previewing and Completing the Merge

The user can preview each recipient's letter by navigating through the copies using arrows. After confirming that the information appears correctly, the next step is to complete the merge. The Print command prompts the user to choose which pages to print, with the option to print all documents in the recipient list.

✅ Finalizing the Mail Merge and Printing

Once everything is set, the final step is to adjust the printer settings if needed, then click OK to print the letters. The video concludes by emphasizing the importance of knowing how to use Mail Merge for creating multiple personalized documents, highlighting the efficiency and time-saving benefits.

Mindmap

Keywords

💡Mail Merge

Mail Merge is a feature in word processing software that allows users to create multiple documents that are similar but include personalized information. In the video, Mail Merge is used to create personalized letters for customers, with unique details like their names and addresses. This feature is especially useful for sending mass communications efficiently, such as invitations or newsletters.

💡Step-by-Step Mail Merge Wizard

The Step-by-Step Mail Merge Wizard is a tool in Word that guides users through the Mail Merge process. In the script, it helps the user create personalized documents by providing instructions and options for each stage, such as choosing the type of document and selecting the recipient list. This wizard simplifies the process for beginners.

💡Letter

In the context of this video, a letter refers to the document being personalized and sent to multiple recipients. The user in the video is customizing a letter to offer customers a discount on their next order. The letter remains mostly the same, with personalized information like names and addresses added using Mail Merge.

💡Recipient List

A recipient list is a collection of names and addresses that are used to personalize the documents created in Mail Merge. In the video, the user has this information stored in a spreadsheet (Excel workbook) and selects it during the Mail Merge process. This list is crucial for creating personalized versions of the letter for each individual.

💡Excel Workbook

An Excel workbook is a file containing one or more worksheets, where data can be organized in tables. In the video, the recipient list containing customers' names and addresses is stored in an Excel workbook, which is then imported into Word during the Mail Merge process. The user specifically selects 'sheet 1' to access the needed data.

💡Address Block

An address block is a placeholder used in Mail Merge to insert the recipient’s address into each document. In the video, the user adds an address block to the letter, allowing each customer's address to appear in the correct spot once the merge is completed. This helps to automate the customization of multiple letters.

💡Greeting

A greeting in the context of this video refers to a personalized salutation, such as 'Dear [Customer's Name],' that is automatically generated in each letter through Mail Merge. The user in the video adds a greeting to personalize the letters further, making each one feel more tailored to the recipient.

💡Preview

Previewing refers to the process of reviewing each document before finalizing the Mail Merge. In the video, the user uses the preview function to ensure that all personalized information, such as names and addresses, is correctly placed in the letters. This step is important to verify the accuracy of the merge before printing or sending the documents.

💡Print

Printing is the final step in the Mail Merge process where the personalized documents are physically produced. In the video, after the user completes the Mail Merge and previews the documents, they choose to print all the letters for their recipient list. This is a crucial part of the Mail Merge workflow, especially for mass communication.

💡Personalization

Personalization refers to the customization of each document with unique information, such as the recipient’s name or address. In the video, the user personalizes letters to customers by using the data from an Excel spreadsheet, ensuring that each letter includes specific details for the individual recipient. This enhances the relevance of the communication.

Highlights

Mail Merge is a great time saver if you need to create multiple documents that are mostly the same but unique in some way.

Mail Merge is useful for tasks such as creating name tags for an event or printing envelopes with each person's name and address.

The document used in this example is a letter offering customers a discount on their next order.

Mail Merge allows personalizing documents by addressing each copy to the recipient using information stored in a spreadsheet.

To start Mail Merge, go to the Mailings tab, click Mail Merge, and select Step-by-Step Mail Merge Wizard.

The first step in the Mail Merge process is selecting the type of document you are working with, such as a letter.

You can use your current document or choose a different template in Mail Merge.

To create multiple personalized copies, you need an address list, which can be created from scratch or imported from an Excel workbook.

Select the worksheet containing the recipient list, such as 'Sheet 1' in the example.

You can choose which recipients to include or exclude by checking/unchecking them in the list.

Add unique elements for each recipient, such as an address block or a personal greeting.

Preview the finished document for each recipient by clicking the arrows to view different copies.

Once the preview looks good, complete the merge by printing all the documents for your recipient list.

Mail Merge will ask which pages to print, but you can keep the default setting to print every document.

Mail Merge is a must-know tool for creating letters, labels, envelopes, and more, offering time and energy-saving possibilities.

Transcripts

play00:08

Mail Merge is a great time saver if you need to create multiple documents

play00:12

that are mostly the same but unique in some way, such as names tags for an event or

play00:18

envelopes printed with each person's name and address.

play00:22

The document I have here is a letter offering customers a discount on their next order.

play00:27

I want to personalize it by addressing each copy of the letter to the customer

play00:32

using some information I have stored in a spreadsheet.

play00:36

To begin go to the Mailings tab, then click Mail Merge and select

play00:42

Step-by-Step Mail Merge Wizard.

play00:46

This will walk you through the process one step at a time using this pane on the right.

play00:51

The type of document I'm working with is a letter so I'm going to go ahead and click Next.

play00:58

I also plan to stick with my current document instead of using something else, like a template.

play01:06

Now I need an address list so Word can create a copy of each letter for each customer.

play01:12

To start from scratch, you can Type a new list

play01:16

then click Create to enter your recipients individually.

play01:25

Alternatively, if you do a file

play01:28

with the information you need, like an Excel workbook in my case, select Use an existing list,

play01:36

then Browse to find it.

play01:42

Now click Open and select the worksheet that contains the list.

play01:45

I know mine is in sheet 1.

play01:49

You can uncheck any recipients that you don't want to include.

play01:55

I want to include everybody though so I'm going to go ahead and click OK,

play02:00

and now it shows that workbook as my recipient list.

play02:04

So now it's time to write my letter.

play02:07

You can add something unique for each recipient including their address,

play02:11

a personal greeting, and more.

play02:14

I'd like to add an address block first. Just place your cursor where you want to go,

play02:20

then click the item.

play02:24

Here's a preview of what it's going to look like and a few alternative formats

play02:28

to choose from for the recipient's name.

play02:32

Click OK

play02:34

and a placeholder will appear in your document. This is where the address will go later on.

play02:40

The other thing I'd like to add is a greeting.

play02:46

Again you have the ability to change some of the formatting if you'd like.

play02:54

Let's move on to the next step:

play02:56

previewing the finished product.

play02:59

I just want make sure that

play03:00

the information from my list appears the way it should.

play03:03

You can take a look at each recipient's copy by clicking the arrows here.

play03:09

Everything looks great so let's complete the merge.

play03:15

if you click the Print command, Mail Merge will ask which pages you want

play03:19

to print before sending you to the final step.

play03:22

I went to print every document my recipient list so I'm just going to keep all.

play03:29

Now all you have to do is adjust the settings if you need to, then click OK

play03:34

Knowing how to use mail merge is a must for creating multiple letters, labels, envelopes, and more.

play03:41

The possibilities, along with the time and energy you'll save, are practically endless.

Rate This

5.0 / 5 (0 votes)

相关标签
Mail MergeDocument AutomationWord TutorialPersonalized LettersExcel IntegrationMailings TabRecipient ListCustom DocumentsBusiness EfficiencyTime Saver
您是否需要英文摘要?