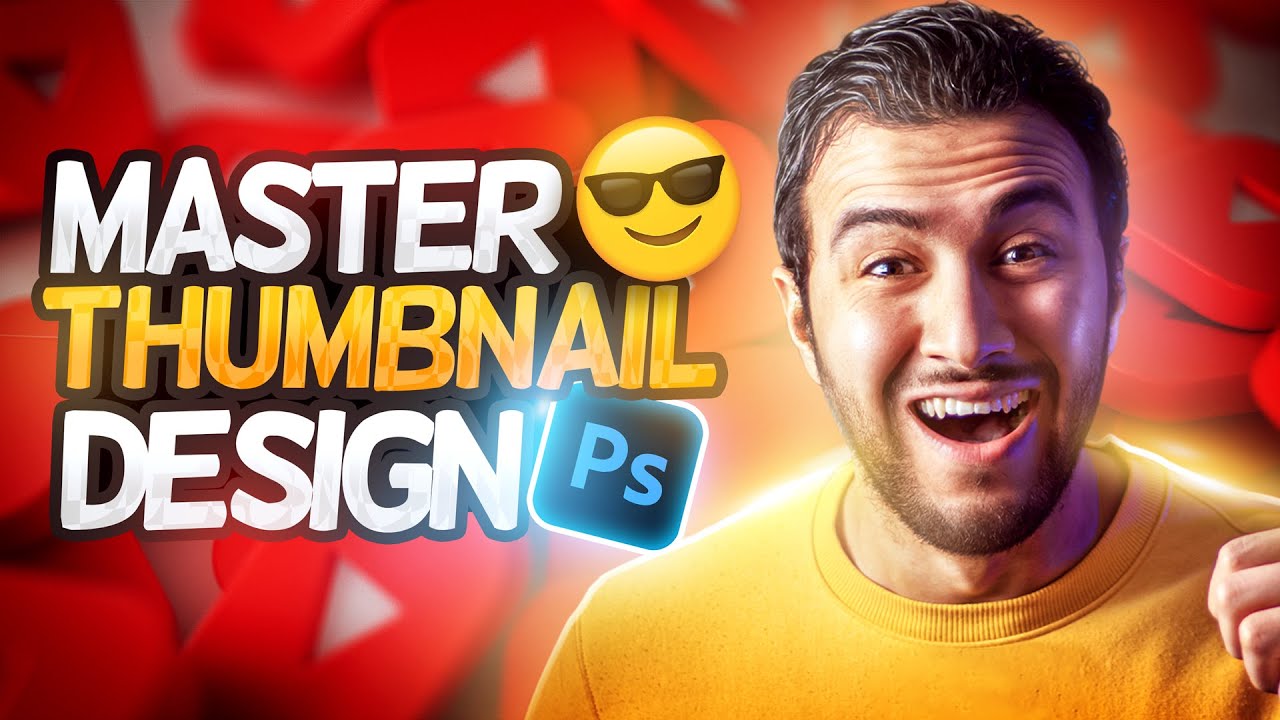
Create Unique Thumbnails with PixelLab | Stand Out on YouTube in 2024!

Single Veer
14 Sept 202404:40

Summary

TLDRIn this tutorial, the host guides viewers on creating a unique and eye-catching YouTube channel thumbnail using simple yet powerful methods. They start by explaining the need for a clean and clear thumbnail to stand out. The host demonstrates how to use the Pixel app to add a background, adjust opacity, and incorporate a personal photo with a glow effect. They also show how to add text, change fonts, and create a glow effect for the text. The video concludes with tips on adding more thumbnails for a series and using grid lines and gradients to enhance attractiveness. The host encourages viewers to subscribe and stay updated for more video editing tips.

Takeaways

  • 😀 The topic is about creating unique and attention-grabbing YouTube thumbnails.
  • 🎨 The method discussed uses tools available in the Pixel Lab to create thumbnails that stand out.
  • 📱 It's suitable for beginners and experts alike, aiming to be a game-changer for channel visibility.
  • 🔍 The process starts with selecting the right thumbnail material, which the speaker will guide on how to find.
  • 🖼️ Customization involves adding a background that should be slightly visible and related to the channel topic.
  • 📸 The speaker demonstrates creating a thumbnail by adding an image, adjusting its opacity, and saving it.
  • 💡 A glow effect is added to the photo background to enhance the visual appeal.
  • 🖌️ Text is added and customized with options like font style, size, and color to match the topic.
  • 🎨 The use of color filters and adjustments is highlighted to improve photo quality and match the thumbnail's theme.
  • ✨ The final touch includes adding a glow effect to the text and adjusting the blur radius for a polished look.
  • 💾 The importance of saving the thumbnail in high quality is emphasized for the best visual impact.

Q & A

  • What is the main topic of the video?

    -The main topic of the video is how to create unique and attention-grabbing thumbnails using Pixel Lab.

  • Why is having a clean and clear thumbnail important?

    -A clean and clear thumbnail is important because it helps your content stand out from the crowd and attract more attention.

  • What tool is being used in the video to create thumbnails?

    -The tool used to create thumbnails in the video is Pixel Lab.

  • What is the first step in creating a thumbnail using Pixel Lab?

    -The first step is to open Pixel Lab, click on the three dots, and then select 'Image Search' to find a custom background.

  • How does the presenter suggest adjusting image opacity?

    -The presenter suggests selecting the opacity option and adjusting it as needed to fit the thumbnail design.

  • How can one add a personal photo to the thumbnail?

    -A personal photo can be added by clicking the plus sign, selecting the image from the gallery, and setting it on the thumbnail.

  • What effect is added to the photo to enhance its appearance?

    -A glow effect is added to the photo using a PNG file for lighting.

  • How can the font and text be customized in the thumbnail?

    -The font and text can be customized by typing the desired text, changing its size, and selecting different fonts available in Pixel Lab or uploading a custom font.

  • What is the purpose of adding a glow effect to the text?

    -The glow effect is added to the text to make it more eye-catching and visually appealing.

  • How does the presenter finalize and save the thumbnail?

    -The presenter finalizes the thumbnail by adjusting layers, adding additional images like arrows or PNGs, and then saving it in high quality.

Outlines

00:00

🎨 Creating an Attention-Grabbing YouTube Thumbnail

This paragraph provides a step-by-step guide on how to create an eye-catching YouTube thumbnail using the Pixel Lab app. It emphasizes the importance of having a clean and clear thumbnail to stand out from the crowd. The process starts with subscribing to the channel and enabling notifications for updates. The tutorial then moves on to opening the Pixel Lab app, searching for images, and customizing the background. It continues with adding a related image, adjusting opacity, and adding a glow effect to the photo. The presenter also discusses adding text, adjusting font, and creating a glow effect around the text to make it pop. The paragraph concludes with tips on adding more thumbnails for a more attractive look and saving the final thumbnail in high quality.

Mindmap

Keywords

💡Unique Thumbnail

A unique thumbnail is a distinctive image that stands out among others, capturing viewers' attention. In the context of the video, creating a unique thumbnail is essential for making one's channel stand out in a crowd. The script mentions using a 'clean and clear thumbnail' to achieve this, suggesting that simplicity and clarity are key elements in thumbnail design.

💡Pixel Lab

Pixel Lab is likely a reference to a graphic design tool or software used for creating thumbnails and other visual content. The video suggests that using Pixel Lab can help create 'attention-grabbing thumbnails', indicating that it offers features that enhance the visual appeal and effectiveness of the thumbnails.

💡Custom

The term 'custom' in the script refers to the process of personalizing or tailoring the thumbnail design to fit the specific needs or themes of the channel. The video mentions 'clicking custom' to add a background, which shows that customization is a key step in the process of creating a thumbnail that aligns with the channel's branding.

💡Opacity

Opacity refers to the degree of transparency of an object or image. In the video, adjusting the opacity of certain elements is discussed as a technique to create a layered and visually appealing thumbnail. For example, the script mentions reducing the opacity of an image to make it blend well with the background.

💡Glow Effect

A glow effect is a visual technique that adds a luminous halo around an object or text. In the video, the glow effect is used to enhance the thumbnail's attractiveness by giving it a dynamic and eye-catching appearance. The script describes adding a glow effect to the text to make it stand out.

💡Layer

In graphic design, a layer is a transparent piece of the image that can be manipulated independently. The video script mentions 'layer' in the context of arranging different elements of the thumbnail, such as adding a photo on top of a background and adjusting its position and effects.

💡Quality Adjustment

Quality adjustment involves modifying the visual properties of an image or video to improve its appearance or fit specific requirements. In the script, the creator talks about adjusting the quality of a photo to ensure it looks good when used in the thumbnail, which is crucial for maintaining a professional and polished look.

💡Typography

Typography refers to the art and technique of arranging type to make written language legible and appealing. In the video, the term is used when discussing the choice of fonts and text styles for the thumbnail's title. The script mentions changing the font to make the thumbnail more attractive, highlighting the importance of typography in visual communication.

💡Irregularity

Irregularity in design can refer to the use of asymmetrical or unconventional elements to create a unique and memorable look. The script talks about adding 'irregularities' to the thumbnail, such as uneven edges or shapes, to make it stand out and appear more dynamic.

💡Stock

Stock in the context of the video likely refers to pre-made design elements or images that can be used in creating thumbnails. The script mentions adding stock elements to the thumbnail, suggesting that these can be a quick and effective way to enhance the design without starting from scratch.

💡High Quality

High quality in the context of video production refers to the clarity and professionalism of the final output. The script emphasizes the importance of saving the thumbnail in high quality to ensure it looks crisp and polished when viewed by the audience.

Highlights

Introduction to creating a unique and attention-grabbing YouTube channel thumbnail

The importance of a clean and clear thumbnail for standing out in the crowd

A simple and powerful method to create attention-grabbing thumbnails using Pixel Lab

The process starts with selecting the right thumbnail material

Instructions on subscribing to the channel and staying updated with the latest content

Opening the Pixel app and navigating to the image search feature

Adding a custom background to the thumbnail for a more professional look

Creating a thumbnail related to the channel topic to increase relevance

Adjusting the opacity of the background to ensure it doesn't overpower the thumbnail

Adding the channel logo to the thumbnail for brand recognition

Applying a glow effect to the logo for a more eye-catching appearance

Enhancing the photo quality with color filters and adjustments

Adding text to the thumbnail with a catchy topic to draw viewers in

Customizing the font and style of the text for better readability and aesthetics

Creating a glow effect around the text for a more dynamic look

Adding layers and elements to the thumbnail to make it more visually appealing

Incorporating additional thumbnails to showcase variety and creativity

Using texture and grid lines in the background for a more professional finish

Finalizing the thumbnail with a high-quality save for optimal viewing

Transcripts

play00:00

नमस्कार दोस्तों आज का टॉपिक है यूनिक

play00:02

थंबनेल अगर आप चाहते हैं कि आपका थंबनेल

play00:04

भीड़ में अलग दिखे तो आपको क्लीन एंड

play00:07

क्लियर थंबनेल बनाना होगा आज मैं आपको

play00:09

बताने वाला हूं एक ऐसा सिंपल और पावरफुल

play00:12

मेथड जिससे आप पिक्सल लैब से ही अटेंशन

play00:14

ग्रेविंग थंबनेल बना सकते हो चाहे आप

play00:16

बिगिनर्स हो या एक्सपर्ट यह मेथड आपके लिए

play00:19

गेम चेंजर बन सकता है सबसे पहले हमें

play00:22

थंबनेल मटेरियल चाहिए जो कि मेरे पास है

play00:24

कहां मिलेंगे सब कुछ बताऊंगा आगे बढ़ने से

play00:26

पहले चैनल को सब्सक्राइब नहीं किया हो तो

play00:27

जल्दी सब्सक्राइब करके साथ ही बेल आइकॉन

play00:29

प्रेस कर लीजिए ताकि लेटेस्ट अपडेट आपको

play00:31

मिलती रहे तो चलिए मैं पिक्सल ैप को ओपन

play00:33

कर लेता हूं ओपन करने के बाद थ्री डॉट पे

play00:35

क्लिक करके इमेज सर्च पे क्लिक करना है और

play00:37

कस्टम पे क्लिक करके

play01:00

को बैकग्राउंड में ऐड कर लेना है जो कि

play01:02

थोड़ी बहुत दिखना चाहिए तो मेरा टॉपिक है

play01:04

कि थंबनेल कैसे बनाए तो मैं यहां पर

play01:05

थंबनेल से रिलेटेड एक इमेज क्रिएट किया

play01:07

हूं उसे प्लस प क्लिक करके अपने गैलरी से

play01:09

ला लेता हूं तो यह रही इसे यहां पर सेट कर

play01:12

लेता हूं इसकी ओपेसिटी कम कर लेता हूं तो

play01:14

यहां पर ओपेसिटी प क्लिक किया और इसे मैं

play01:17

इतने में सेट करके सेव कर लेता हूं अब

play01:19

यहां पर अपनी फोटो ऐड कर लेता हूं तो प्लस

play01:21

पे क्लिक करके इसे भी गैलरी से ला लेता

play01:22

हूं यह रही यहां पर सेट कर लेता हूं अपने

play01:25

फोटो के बैकग्राउंड में ग्लो इफेक्ट देने

play01:27

के लिए मैं लाइटिंग की पीएनजी ऐड कर देता

play01:29

हूं तो प्लस पे क्लिक करके इसे भी अपने

play01:31

गैलरी से ला लेता हूं यह रही यहां पर मैं

play01:34

सेट कर लेता

play01:35

हूं लेयर पे क्लिक करता हूं और अपनी फोटो

play01:38

पे क्लिक करके इसे ऊपर सेट कर लेता हूं

play01:40

मेरी फोटो की क्वालिटी उतनी सही नहीं है

play01:41

तो मैं इसकी क्वालिटी को थोड़ी एडजस्ट कर

play01:43

लेता हूं तो यहां पर मैं कलर फिल्टर पे

play01:45

क्लिक किया और यहां पर जो भी ऑप्शन है मैं

play01:47

इन्हें कम ज्यादा करके कुछ इस तरीके से

play01:49

क्वालिटी इंक्रीज कर लिया आप अपने फोटो के

play01:51

हिसाब से एडजस्ट कर सकते हो अब ए पे क्लिक

play01:54

करके टेस्ट पे क्लिक करना है जो भी आपका

play01:56

टॉपिक हो यहां पर टाइप कर लेना है तो मेरा

play01:57

टॉपिक है थंबनेल तो मैं यहां पर लिख लेता

play02:00

हूं कैपिटल में

play02:01

थंबनेल डन कर लेता हूं इसे जूम करके यहां

play02:05

पर सेट कर लेता हूं इसका फंट भी चेंज कर

play02:07

लेता हूं तो यहां पर फंट का ऑप्शन है इस

play02:09

पर क्लिक किया यहां पर आपको बेसिक फंट ही

play02:11

मिलेंगे अगर आप अपने गैलरी में रखे हो तो

play02:13

माय फंट प क्लिक करके ऐड कर लेना है तो

play02:15

मेरा टेस्ट रेडी हो चुका है इस पर ग्लो

play02:17

देने के लिए मैं यहां पर कुछ ड्रॉ कर लेता

play02:19

हूं तो यहां पर क्लिक किया ड्रॉ पे क्लिक

play02:21

करके यहां पर मैं कलर सिलेक्ट कर लेता हूं

play02:23

यहां पर मैं रेड कलर सिलेक्ट कर लेता हूं

play02:25

नीचे आता हूं नीचे वाले ऑप्शन को इनेबल कर

play02:28

देता हूं ब्लर रेडियस को पूरा फुल कर देता

play02:30

हूं पेन को बड़ा कर लेता हूं स्मूथ को भी

play02:33

हैंड कर लेता हूं और टेस्ट पर कुछ इस

play02:35

तरीके से ग्लो इफेक्ट क्रिएट कर लेता

play02:39

हूं सेव कर लेता हूं इसे थोड़ी बहुत इरेज

play02:43

कर लेता हूं तो यहां पर इरेजर पे क्लिक

play02:45

किया ब्लर को बढ़ा देता हूं और इस तरीके

play02:47

से मैं इरेज कर लेता हूं सेव कर लेता हूं

play02:50

अब लेयर पे क्लिक करके टेस्ट और अपनी फोटो

play02:52

के नीचे सेट कर लेता हूं अब यहां पर दो

play02:55

थंबनेल ऐड कर लेता हूं जिससे दिखने में

play02:57

अट्रैक्टिव लगे तो प्लस पे क्लिक करके सेप

play02:59

लेता हूं इसे इस तरीके से लंबा कर लेता

play03:01

हूं और छोटा करके यहां पर सेट कर लेता हूं

play03:04

रेडियस बढ़ा देता हूं 20 पर कर लेता हूं

play03:06

सेव कर देता हूं इसकी एक कॉपी लेता हूं

play03:09

इसको यहां पर सेट कर लेता

play03:12

हूं अब इन पर थंबनेल ऐड कर लेता हूं तो

play03:15

टेक्सचर पे क्लिक करके और गैलरी वाले आइकन

play03:18

पे क्लिक करके ऐड कर लेता हूं तो यह रहा

play03:20

थंबनेल सेव कर देता हूं इसे इनेबल करके

play03:23

सेव कर देता हूं अब इस वाले में ऐड कर

play03:25

लेता हूं तो फिर से टेक्सचर पे क्लिक किया

play03:27

गैलरी से ऐड कर लेता हूं तो मैं यहां पर

play03:29

दो थंबनेल ऐड कर लिया हूं इनमें स्टॉक दे

play03:31

देता हूं तो यहां पर स्टॉक पे क्लिक किया

play03:33

इनेबल कर देता हूं सेव कर देता हूं इस पर

play03:36

भी स्टॉक दे देता हूं सेव कर लेता हूं अब

play03:38

यहां पर एरो ड्रॉ कर लेता हूं ताकि

play03:39

व्यूवर्स को टॉपिक समझने में आसानी हो तो

play03:42

यहां पर ड्रॉ का ऑप्शन है इस पर क्लिक

play03:44

किया कलर में वाइट सिलेक्ट कर लेता हूं और

play03:46

कुछ इस तरीके से ड्रॉ कर लेता

play03:48

हूं तो मेरा थंबनेल रेडी हो चुका है थोड़ी

play03:51

बहुत जोर रह गया है तो चलिए फटाक से पूरा

play03:53

कर लेता हूं तो फाइनली थंबनेल रेडी हो

play03:56

चुका है बैकग्राउंड में ग्रेड लाइन और मनी

play03:58

की पीएनजी ऐड कर लिया हूं तो इससे दिखने

play04:00

में और भी अट्रैक्टिव लगने लगा इसी थंबनेल

play04:02

से रिलेटेड कुछ और भी थंबनेल बनाया हूं

play04:04

देख सकते

play04:07

हो अगर आपको भी मनी की पीएनजी या फिर

play04:09

ग्रिड लाइन यानी कि जो कुछ भी चाहिए

play04:11

सिंपली आपको

play04:27

google3 हे थंबनेल बनाना तो सीख गए अगर

play04:29

वीडियो एडिटिंग नहीं सीखे तो सब बेकार है

play04:31

तो उसके लिए आप यह वाली वीडियो जरूर देखना

play04:33

थंबनेल रेडी होने के बाद इसे हाई क्वालिटी

play04:35

में सेव कर लेना है चलिए मिलते हैं अगली

play04:37

वीडियो में तब तक के लिए आप अपना ध्यान

play04:38

रखें जय हिंद

Rate This

5.0 / 5 (0 votes)

相关标签
YouTube ThumbnailsVideo EditingPixel LabDesign TipsGraphics TutorialChannel GrowthVisual EffectsContent CreationSocial MediaMarketing Strategies
您是否需要英文摘要?