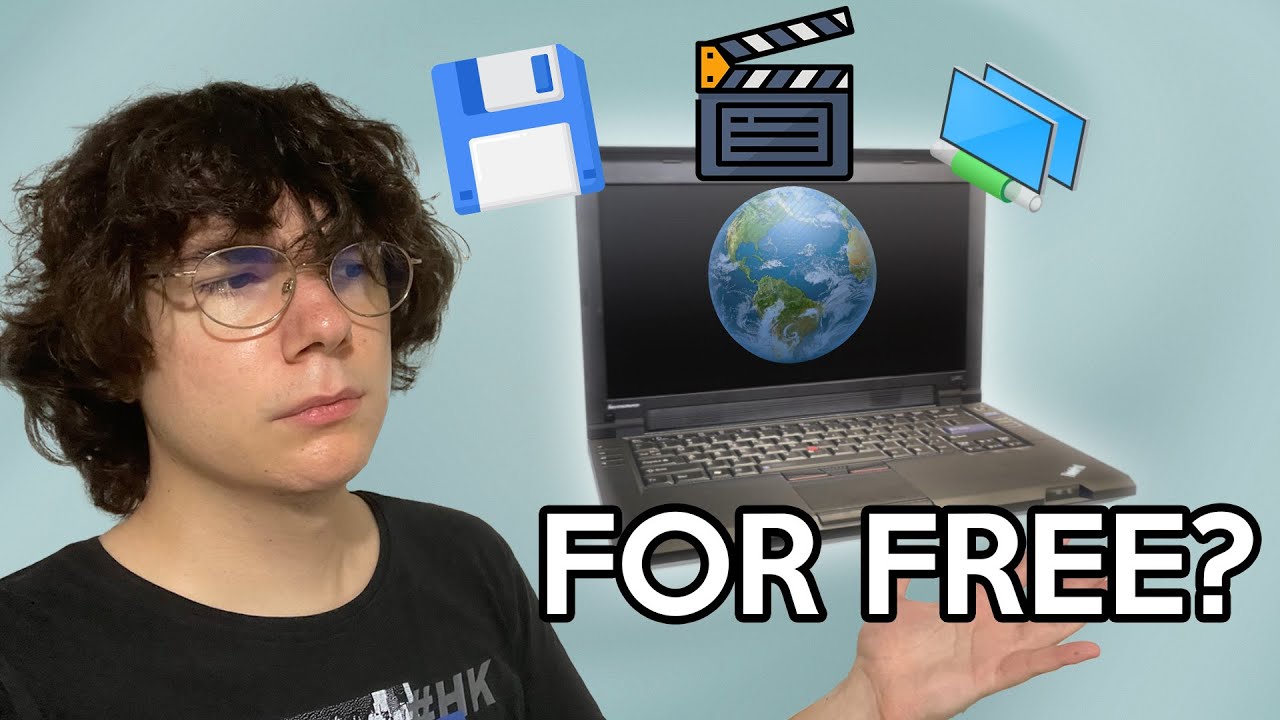
Your Old PC is Your New Server
Summary
TLDRThe video shows how to repurpose an old Windows PC into a personal home server for cheap or free. It explains that any old computer can serve this purpose and walks through fully resetting and updating Windows 10 on an old OptiPlex. It then shows step-by-step how to install Plex Media Server to host your own cloud media and storage, and Pulseway for remote management. Additional steps like sharing network folders and adding more storage are covered. The video makes home servers accessible for intermediate users wanting more control over their data and media without learning Linux.
Takeaways
- 😀 You can repurpose an old PC into a home server for cheap or even free
- 🖥️ Servers are just computers optimized for different roles like reliability and redundancy
- 💾 An old laptop, Raspberry Pi, or $30 PC can act as a basic home server
- 👍🏻 Using an old Windows PC makes setup easy since you already know the interface
- 🎥 Plex media server lets you host your own streaming media storage
- ☁️ With remote access you can manage headless servers from anywhere via web browser
- 🔐 Pulseway allows full remote access and control of your server securely
- 📁 Simple instructions to share folders on your network for basic file serving
- 🛠️ Upgrading to larger hard drives expands capacity and enables drive mirroring
- 💰 Building your own home server saves money over paid cloud storage services
Q & A
What are some key benefits of repurposing an old PC as a home server?
-Key benefits include hosting your own cloud storage to avoid paying for services like Google Drive, hosting your own media server instead of running USB drives through your TV, and generally having more control and customization for your home network and storage needs.
What are some examples of roles a home server could play?
-Some examples include hosting files/media, running a Plex media server, hosting torrents, running network-wide ad blocking, providing network storage, acting as a backup machine, and more.
What hardware considerations should you make when repurposing an old PC as a server?
-Consider the CPU, RAM, storage, and power supply. More cores and RAM help for hosting multiple services. Storage capacity and redundancy matter. The power supply needs enough wattage and connectors for any upgrades.
Why use Windows instead of Linux for a starter home server?
-Windows provides an easier starting experience if you already have a Windows machine, without needing to learn Linux. It allows downloading apps with GUIs instead of command line.
How can you manage the server remotely without attaching peripherals?
-Use remote management software like Pulseway to access files, settings, etc from any web browser instead of needing directly attached keyboard, mouse, and display.
How can you make the server's storage available on your home network?
-Share a folder on the server over the network, allowing read/write access. Client PCs can then mount it as a network drive for access.
What is RAID and what type was used on the storage drives?
-RAID allows combining multiple drives for redundancy and/or better performance. A RAID 1 mirror was used - drives are duplicated so if one fails, no data is lost.
What kind of old hardware did they use as the server base?
-An OptiPlex 7010 with a Quad Core i7 CPU, 12GB of RAM, 128GB SSD boot drive, and 1TB storage drive, costing $176.
What upgrade did they perform to allow fitting more storage?
-Removing unused optical DVD drive to free up space, cables, and connector for adding second 3.5" drive.
What remote monitoring software did they use and why?
-Pulseway - it allows fully remote management, updating, and file access instead of needing keyboard, mouse, and display hooked up.
Outlines
😊 Reusing an old PC as a home server
The paragraph introduces the idea of repurposing an old personal computer into a home server instead of throwing it away. It talks about how you can use it to host your own cloud storage, media server, etc. without needing high-end specs. The example system used is a cheap OptiPlex with an Intel i7, SSD, and 1TB HDD.
👨💻 Setting up the operating system
This paragraph covers setting up the operating system on the old PC to prepare it for use as a server. It recommends resetting to factory settings, upgrading to Windows 10/11 if needed, disabling automatic updates and bloatware, and installing Plex Media Server and Pulseway for remote access.
🎉 Basic home server is ready
The paragraph states that with Plex and Pulseway set up on the reset Windows install, the basic home server is now ready. It talks about the convenience of managing it remotely via Pulseway without needing peripherals connected. It also covers sharing a network drive for access from other local devices.
Mindmap
Keywords
💡Server
💡Network Share
💡RAID
💡Headless
💡Media Server
💡Remote Desktop
💡Storage Spaces
💡Hyper-threading
💡ECC Memory
💡SATA
Highlights
Servers are just computers that serve a role rather than a specific hardware type
Even an old PC, laptop, or $30 Raspberry Pi can act as a home server
The quad-core i7 and SSD make this old desktop a good server candidate for $176
We can operate the server headlessly, controlling it via any web browser with Pulseway
The Windows user experience for setting up a home server isn't complete crap
Sharing files on the network is easy - just turn on network discovery and sharing
We can access Plex media, use remote desktop, update Windows remotely with Pulseway
TrueNAS Core is an easy intermediate option for more control without Windows
These IronWolf drives will pay themselves off in under a year compared to cloud storage
Freed up the DVD drive to make room for a second hard drive
Always check cables - display port issues can prevent old PCs from outputting signal
Set up RAID 1 disk mirroring for 12TB redundant NAS storage under $1000
Easy to hide this server box and use Pulseway for remote monitoring
Let us know if you want to see more DIY home server content
This is an easy way to repurpose an old Windows PC into a home server
Transcripts
- Remember that old PC you stuffed in the closet?
Yeah, that one.
Today, it's been given a second chance.
This old machine isn't worthless,
even with it's nine year old CPU
and complete lack of a Graphics Card.
Why?
I like, you know a little secret.
Not all PCs need to be for gaming.
Tired of paying for Google Drive,
host your own Cloud storage.
Hate running USB drives through your TV,
host your own media server.
The possibilities are endless.
With the help of Pulseway, the sponsor of today's video,
we're going to show you how to repurpose that old rig
into your own personal server for cheap or even free.
(techno music)
The first thing to learn is that servers are just computers.
The word describes a role not a specific type of hardware.
Sure, the servers in big data centers
do look different than your home PC.
They're built for reliability
with redundant power supplies and ECC Memory.
They prefer many slower cores rather than a few fast ones
and they lack consumer IO like tons of USB audio
or display outputs.
But that's because they're serving hundreds,
if not thousands of clients.
We are not.
Which is why even our aging closet PC,
an old laptop or even a $30 Raspberry Pi
can all act as our first home server.
This OptiPlex 7010 we picked up
from our local recycler, Free Geek
is the perfect candidate,
not just because it's cheap at 176 US dollars,
but because the bones are solid.
It's got a hyper-threading Quad Core Intel i7 3770,
a 128 Gig SATA SSD for a boot drive
and a reasonable 1 Terabyte of bulk storage.
At this price point though,
there are some compromises we have to make.
It's 12 Gigs of RAM are mismatched
and predictably it doesn't have a GPU.
And even if we did add one,
we would likely run into issues with the power supply
because value engineered power supplies
like this 250 watt one,
while they're generally pretty solid,
they don't leave a whole lot of headroom to play with,
nor does it offer additional PCI Express Power Cables.
But, don't fret.
What really matters here is that
we have a blank canvas to work from.
And by the way, now's a great time to open up your rigging.
Give it a good dusting
and maybe refresh your thermal paste while you're at it.
It needs some love.
Now, let's set up our OS.
Now before you say it,
we're not gonna install Linux today.
We know that moving to a Linux or FreeBSD based option
does have both performance
and feature benefits over Windows.
However, if you're just starting out
and you've got an old Windows based machine already around,
this is the easiest way to get your foot in the door.
And that's what we want this video to be.
A start, not the end.
If you guys wanna see a follow-up
where we use TrueNAS or similar,
rattle your sabers in the comments and get subscribed.
The first thing you're going to want to do
is factory reset the PC.
Now, if you're running Windows 7 or 8,
now is a good time to upgrade to Windows 10 or 11.
Keep in mind that a lot of those old Windows keys
will still work to activate newer versions of Windows.
If you're already there,
hit the Windows key and type, Reset.
Hah, it's slow.
Then click on, Get Started.
All you need to do from here is run through the prompts
until you have a fresh Windows install.
We ran WinAero Tweaker to disable automatic updates
and kill Cortana and also disabled lot of the extra bloat
like Telemetry that can suck away valuable resources
from an older system like this.
Now we're ready to set up our server to actually do stuff.
For starters, we're going to download Plex Media Server
for our media and Pulseway to manage our system remotely.
If you're thinking,
why would I need remote access to this dinosaur?
Well, it's not because we plan on accessing it
from across the world but rather because we may not have
a spare monitor keyboard and mouse to leave connected to it,
let alone the space.
Instead, we can operate it headlessly,
that is completely controlled via any web browser
or the Pulseway app.
Neat.
Setting up Plex is simple.
Install the application,
run through the prompts and definitely read that EULA.
Am I right?
They are very legally binding.
The beauty of using a Windows PC
to start your server hosting journey
is that the user experience isn't,
and I mean this with the utmost respect
to all command line warriors, complete crap, usually.
You just download what you need.
The links are in the description
and install and configure it with a gooey
and then you're done.
It really is that easy.
We can't cover all the options here, of course.
You could run a remote torrenting box
or an Ad blocking server, for instance.
But if you're following along
and you do hit some roadblocks,
hop on over to our forum,
where there are tons of friendly fellow nerds
willing to help you out.
Love you guys.
Pulseway set up is similarly easy.
Just click through the wizard and sign in.
At this point, you'll have full access to your files
and settings from whatever web browser you use
to access Pulseway.
And we're done.
Service is running, Pulseway is up.
You can actually get away with
not even setting up a network share or anything
and just using Pulseway to manage your files remotely.
But having a direct folder share
on your local network is pretty nice.
So, we're gonna do that too.
It just takes a few more steps and you won't be able
to access 'em from Starbucks, unfortunately or fortunately.
We've got a drive set up here called LTT Simple Server
that we'll go into and we have a folder we want to share.
What we'll do is we'll right click and go to,
Give access to, and then click on specific people.
From here, either you can allow only one person
to access the file like it is normally
or in our case, we're going to give everyone
in our local network access.
Be sure to change the permissions from Read only
to Read and Write, creating a melting pot.
And boom, the folder is now able to be added
as a Network Share by copying the link
into the Add a Network folder prompt
in any network machine on your local network.
Don't forget to go to the Network and Sharing Center
to ensure both Network Discovery
and File and Printer Sharing are turned on
under the private settings.
Or if your network is set as public,
you should set that as private because it won't work
on public networks, not by default.
Double check that.
Really, that's it for making a basic file server.
And with it, we can do a litany of cool things.
We can point our Plex server to the storage folders
and access the entire drive over the network.
We can set up a Windows remote desktop connection
or go easy mode and use Pulseway's built-in
Remote Desktop Tool to control our server
from anywhere in the world
without exposing our IP to the net.
We can also update Windows without having to log in
to the system itself, even from your phone.
And the best part is that we're still running Windows.
We're not running Linux.
You don't have to learn anything new.
If your main rig works itself,
you have an easy to configure backup PC,
just waiting in the wings.
But what if you want more control
or what if you don't have a Windows license
to throw at your pile of spare parts.
You could run a standalone Linux server, of course,
but as we've seen in the Linux challenge,
that's not always for the faint of heart.
Unraid and Proxmox are also feature rich options
but they're not super easy to use either.
For an intermediate user, we would suggest TrueNAS CORE,
previously known as FreeNAS.
It's free, easy to install and has a decent UI.
That's it, video over.
Nah, just kidding.
Let's kick it up by adding more storage and data redundancy.
These two 12 terabyte IronWolf Pro drives
can handle that beautifully.
At $400 a pop, they aren't cheap,
but considering that 10 terabytes of Google storage
costs 70 bucks a month.
If we did the math, this upgrade will pay itself off
in under a year including the PC,
not to mention you will own and control all of your data.
All right, we've got the 1 terabyte drive out
and the first 12 terabyte IronWolf in,
but now we have a problem.
Where does this go?
We can't exactly like, just throw it here
and be done with it.
We can't put it here, there's just not enough clearance.
Like there's no provisions.
There's not even another SATA cable, unless,
(Anthony laughs)
This optical drive now serves no purpose.
Oh, there are some screws in there
that I need to get rid of.
Ah, okay, cool.
But there's another problem.
Yes, this freed up some room
and yes, this is SATA.
Um, they're not the same size.
So, that's where this comes in.
This will accept a three and a half inch drive, like so
and slot in, something like so.
Oh, yep, okay.
Obviously I need to actually mount that first
but that's the plan.
Let's get to it.
Let's see if it still works.
Now with the DVD drive out,
because who needs one of these these days,
we have a freed up SATA power and data cable
right where we need it.
So, our second drive, now definitely screwed in
is absolutely plugged into the system
and I'm not getting a display.
This is very troubling.
One moment, please.
Two things that we learned just now.
First, always check your cables.
Second, a lot of these old machines
sometimes have issues with outputting anything
via display port.
Yeah, these are the kinds of things
that these old systems will sometimes give you trouble with.
But, once you have it all set up and running,
here we go, we've got 12 terabytes of storage right here.
Did I say 12?
I meant to say 12 terabytes of redundant storage.
Yes.
Now it's time to RAID these things.
We're gonna be setting up RAID 1,
which means the drives will be mirrored.
There's no performance benefit on Writes anyway,
for Reads, there is.
But if one dies, you get to keep 100% of your data.
Hit the Windows key and type "Storage spaces".
Then create a new pool using the steps
we've linked down below.
(keys clicking)
You will need to format your drives first.
Make sure you do that.
There we go.
On format drives.
(Anthony sneezes)
Ooh, ah, I'm allergic to Dell (beep).
Storage space, Resiliency, two-way mirror, yep.
File system, NTFS.
Size, so 10.9 terabytes, that's 12 terabytes.
And create Storage Space.
Formatting the storage space.
We are good to go.
And there we have it, a 12 terabyte redundant NASBox
for under a thousand dollars.
And each of these hard drives costs about 400 bucks.
So that's telling you something.
This particular form factor is actually really easy
to hide somewhere in conspicuous,
especially if you use Pulseway
to do all of your remote monitoring and maintenance.
So, huge thanks to Pulseway for sponsoring this video.
We hope you enjoyed it.
And if you wanna see more of this,
sort of DIY server content,
don't forget to get subscribed
and check out all of our other server videos.
We'll have those linked in the end screen for you.
For now, see you later.
Browse More Related Video
5.0 / 5 (0 votes)